Colombia’s Hidden Gem: Cabo San Juan del Guia
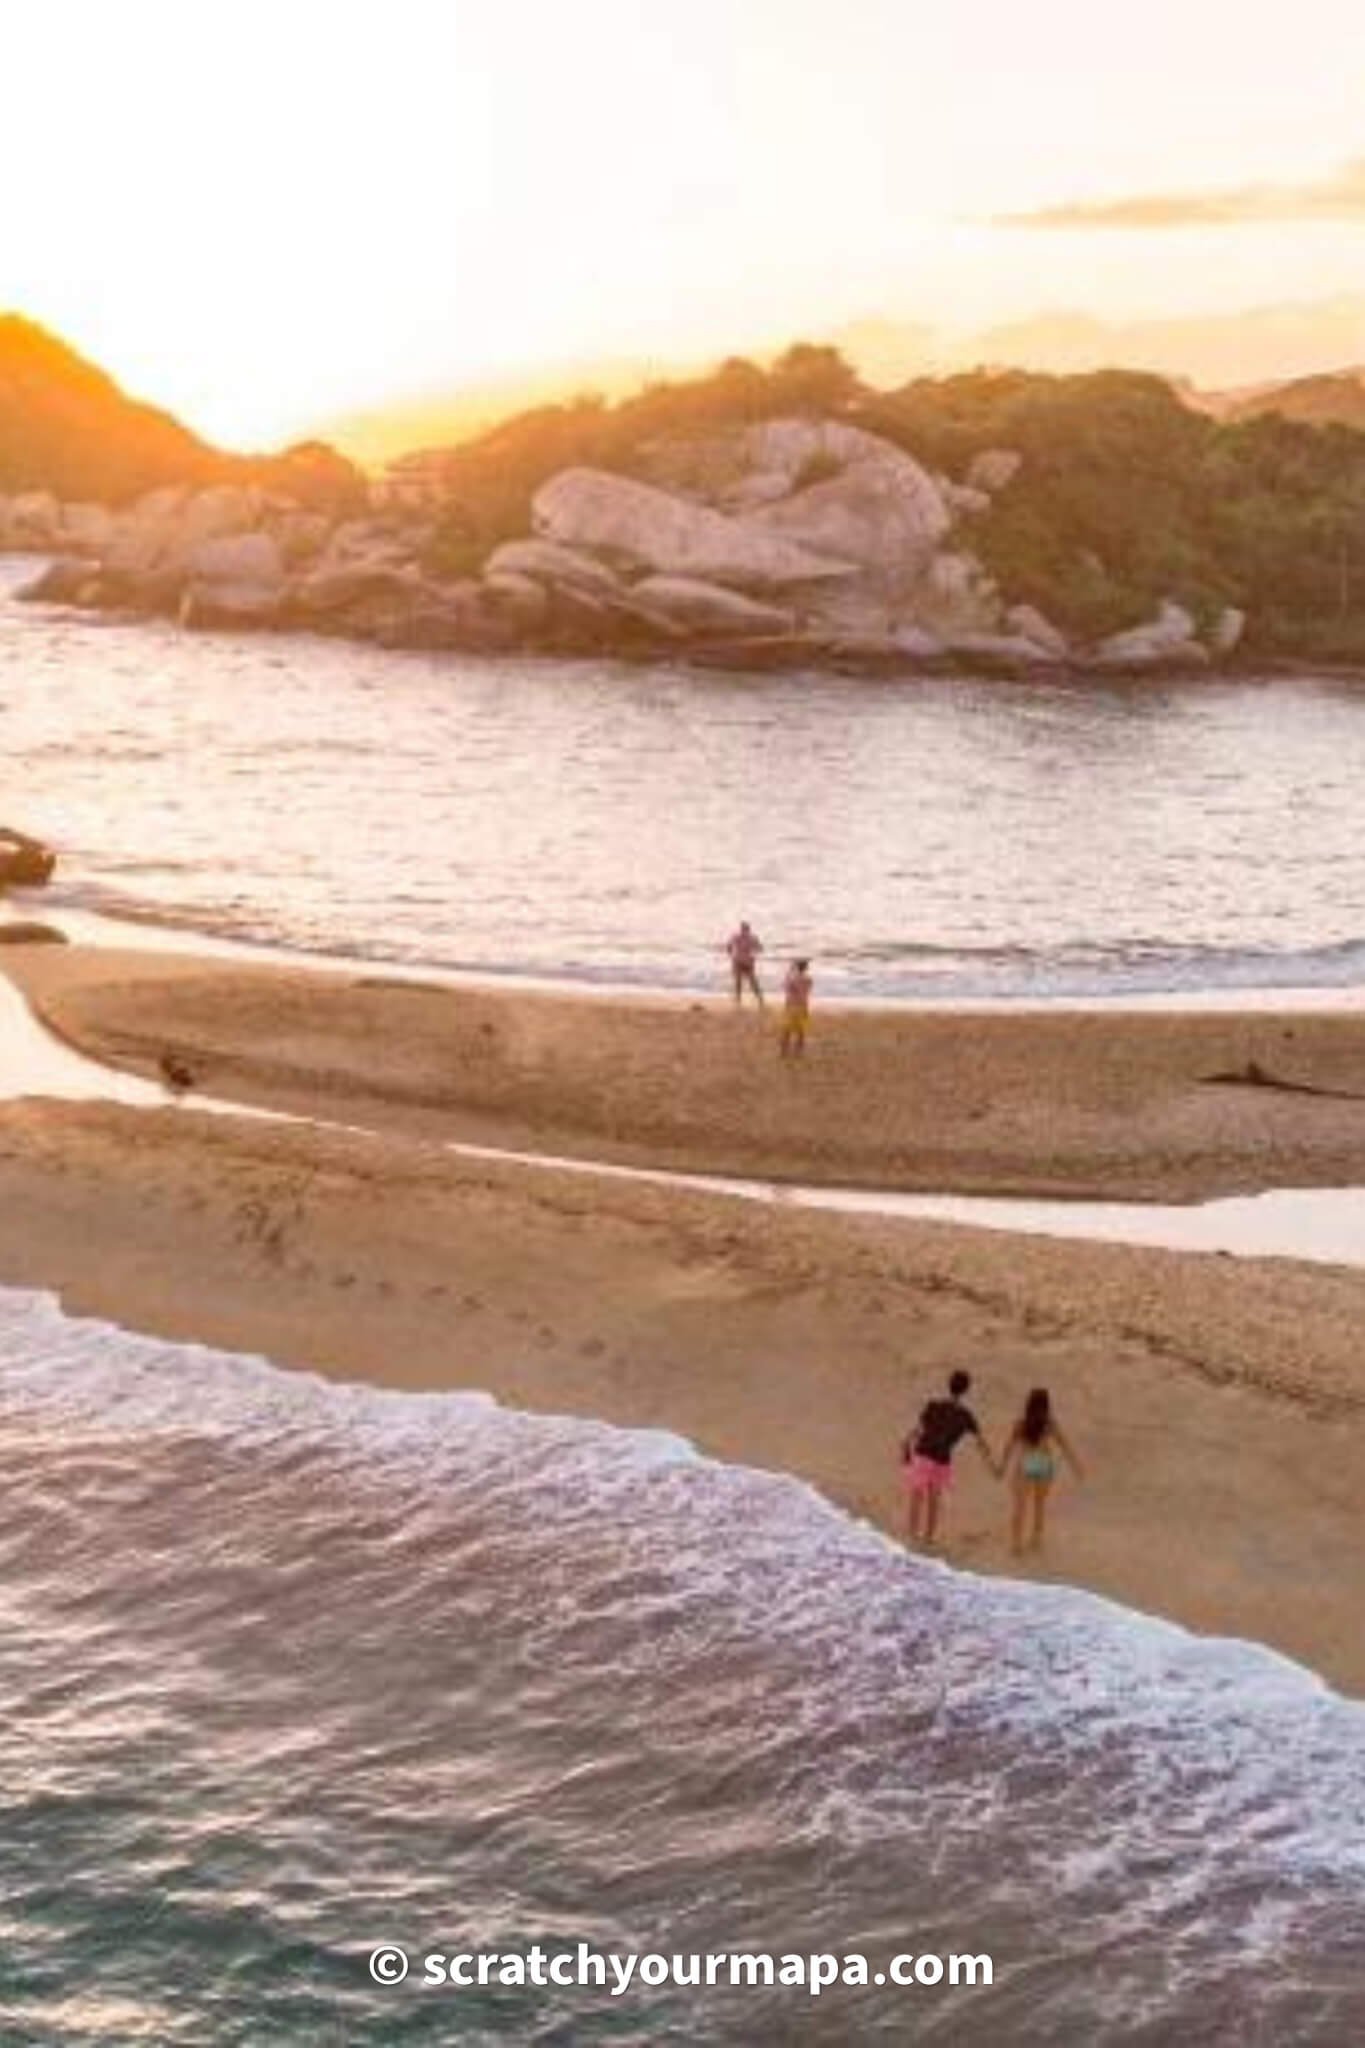
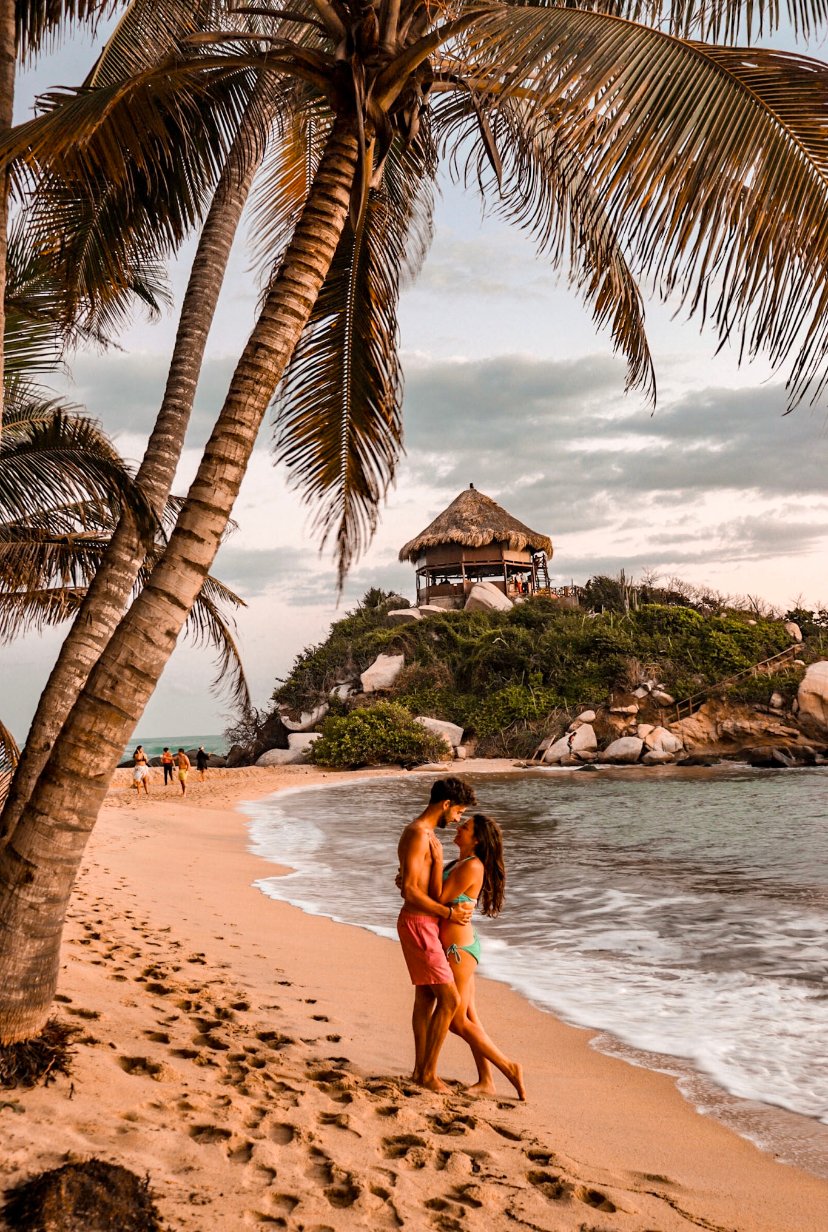
Meet a true hidden gem of Colombia- the beach of Cabo San Juan del Guia. This isn't an ordinary beach, as it is tucked away from it all! The swaying palms trees and turquoise waters make up a true paradise that only those who ready for the challenge can truly experience. Here is everything you need to know about visiting Cabo San Juan del Guia.
Where is Cabo San Juan del Guia?
The gorgeous beach of Cabo San Juan del Guia is located right inside Tayrona Park, which is outside of Santa Marta. The town of Santa Marta is a small beachside city that is along the Caribbean coast, just an hour North of the city of Barranquilla, or two hours if you are traveling from the more popular destination of Cartagena.

The beach of Cabo San Juan del Guia is located outside Santa Marta, Colombia.
How to Get to Cabo San Juan del Guia
First things first, let's check out how to get to Tayrona Park.
Getting to Tayrona Park From Santa Marta
Already made it to Santa Marta? Great! You are just a bus ride away from this national park. Head to the Mercado in town (there is only one main that is right in the center), and you will find buses going regularly from this area. You just need to ask for the bus heading to Tayrona.
Tell the driver that you are going to Parque Tayrona, and they will let you know when to get off. It should take about an hour and a half to arrive due to all of the stops.
Here's an option for getting a bus from Santa Marta to Tayrona Park:
Another option is to rent a car, which is an average of $30-50/day. You can park inside the park, and your car will be safely guarded.
Getting to Tayrona Park From Barranquilla or Cartagena
The best way to get to Cabo San Juan del Guia is from Barranquilla or Cartagena is to rent a car. However, if you'd like to get to Santa Marta by bus, there are plenty of direct buses that go from both cities.
You can book them in advance by clicking the links below:
Tayrona Park
You've made it to the park! Now what?
Entry to Tayrona Park
First things first you will need to purchase the insurance that is required for every person entering to have. This insurance is 5,000 pesos per person (about $1.50 USD) and must be paid in cash. After getting the insurance, you will then need to purchase a ticket for the park.
The park entry is 64,500 pesos per person, which is about $19 USD. This can be paid by card or in cash, and is a one time flat fee regardless of how long you stay inside the park.
Don't have time to read the whole article and want to save it for later? Just pin it!


The Entrance to the Beginning of the Trails
Once you have entered the park, you will have a few miles to go until you make it to the start of the trails. This trail will take about an hour to walk, or you can pay 5,000 pesos (about $1.50 USD) for a van to drive you in just 5 minutes to the beginning of the trails.
Normally, we would choose the walk, but truthfully what to come ahead is where the real adventure is, and the trail before the beginning isn't so scenic. With the extra time and the heat and humidity, it is well worth the 5,000 to skip this beginning part by foot.
The Different Trails of Tayrona Park
When you arrive to the different trails there will be a large fork where you can choose to go to the beach or to the viewpoint.
The Viewpoint in Tayrona Park
We suggest going to the viewpoint first, as once you have gone to the beach you will probably lose the interest to go to the viewpoint. There are two trails to the viewpoint, trail A and trail B. Trail A is a little longer, and a little more strenuous. We decided to take trail A to the viewpoint, and then take trail B back, so that we could do the entire loop.

Transform your photos
One click is all it takes to make your photos look stunning. Get our latest package of Lightroom presets, Into The Wild.
The trails are overall pretty easy, going up and down slightly, but not to the point where its not doable for people. We hiked this with flipflops, as we had no idea what was in store for us. We suggest sneakers, although for this part it's not 100% necessary.
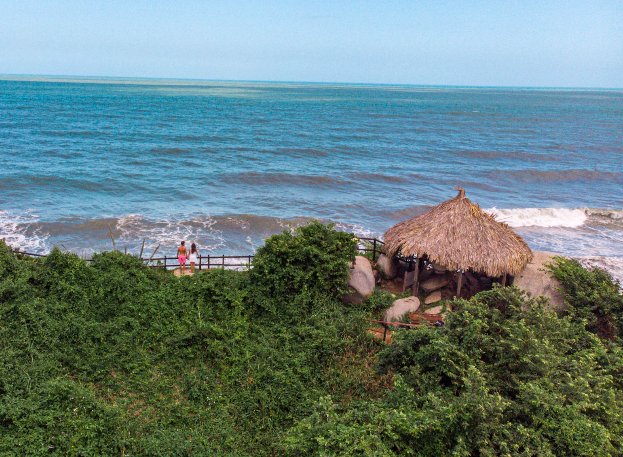

Trail B we enjoyed a little more because there are a few areas that web off into cool areas with giant rocks, as well as small beaches.
In order to start your journey to Playa Cabo San Juan del Guia however, you need to go back to where you started and take the long trail to the left. We enjoyed stopping at the viewpoint, as it was a nice way to start the day. All in all, we took an hour doing the full loop, leisurely stopping for pictures along the way.

The trails in the beginning of Tayrona Park are surrounded by large boulders.
The Hike to Cabo San Juan del Guia
Alright now that you've seen the viewpoint, the real adventure begins! Along the entire journey we asked several people how long this hike was going to take (once again as we were not prepared at all and didn't research enough in advance). We had people telling us 1 hour, 2 hours, and 3 hours. But which one is correct? Well this all depends on a few factors.

Cabo San Juan del Guia is a long hike, but definitely worth the trek.
How Long Will it Take?
Factor number one is your overall shape, and how much you are carrying with you. There are some who camp and bring their own equipment, which can slow you down quite a bit. As well depending on how prepared you are (such as shoes for example) will make quite a difference.
Factor number two we think was the real one that made the true difference- the condition of the ground, which you will learn about in just a few paragraphs.
How To Travel Cheaper and Better in 15 minutes!
How much more would you travel, if it costed you less resources?
With our Free eBook, you will learn how to save money and time on your future trips. Plus, you'll see the exact system we use.
Grab your copy for free when you sign up for our newsletter 👇
The Journey
The first half of the trail (about 45 minutes to an hour hiking) is pretty deceiving, as it is along wooden planks and is quite easy. For the first half you will find it very easy to navigate, but there won't be anything on the way, so make sure you have plenty of water.
Once you have made it to the first stop, you will find a man selling water by the liter (so you can refill your water bottle). It is 4,000 pesos/liter. You will also find a nice viewpoint if you'd like to stop and take a photo.
NOTE: THERE IS NO PLASTIC ALLOWED IN THE PARK SO YOU MUST BRING A REFILLABLE BOTTLE!

The hike to Cabo San Juan del Guia is very picturesque.
The Second Half
The second half of the hike is the more complicated part (and the most fun!). The trail gets a little trickier to follow, and there are no longer wooden boards to make this hike as easy as it was in the beginning.
The further along we went, the more mud we found. At first we were dodging the mud (which adds a significant amount of time to the hike), and then we realized that there was so much mud at some point, that we just gave up and took our flipflops off, embracing the piles of goopy mud.
Keep in mind this can vary greatly! On our way back we decided to go in the morning, and a lot of the mud had actually dried up, making the way back MUCH easier and MUCH less dirty.
Look out for monkeys! We found them about 45 minutes into the hike in the trees near the boarded area.
After going for another half hour to an hour in the muddy jungle, you will finally arrive to the final leg (and the most beautiful) part of the hike. The last 30 minutes of the journey you will start to see stalls of people selling water, fresh orange juice, and even some snacks. You will also start walking along the coast, across some pretty beaches and viewpoints.
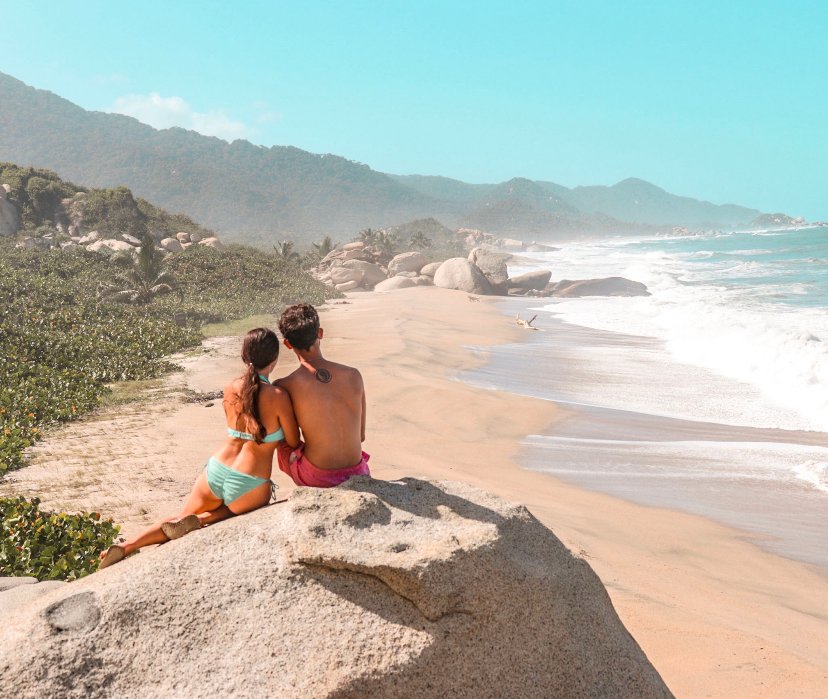
The second part of the hike goes along several beaches.
Arriving in Cabo San Juan del Guia
Yay you've made it! After a pretty intense day you will feel relieved as your are welcomed with turquoise waters, soft sand, and swaying palm trees. Enjoy the atmosphere and get ready to enjoy this awesome place.
Amenities
When getting to Cabo San Juan del Guia, you won't just have a beautiful beach to enjoy, but plenty of other things as well.
Food & Drink
Now that you're here there are more options when it comes to food and drinks. We chose a stand that sold stuffed breads for about $3 USD a piece. The guy there is open from the morning until about 6 pm.
Once the evening hits there is a full service restaurant serving fish, meat, and local dishes. You will also find plenty of people barbecuing with their families, but this is definitely a much larger effort to have to hike with all that equipment.
Because many people stay overnight (which we highly recommend) you will find that first thing in the morning people are already up and starting their day! The good news is that from very early in the morning you will already have fresh coffee for sale, and the restaurant opening for breakfast.

The menu for the restaurant at Cabo San Juan del Guia
You may wonder how it is possible that these employees hike for hours each day to make it to work. But the real story is that all of the people that work here are part of a program, and they actually live on site! Talk about living off the beaten track!
Camping
There are a few options when it comes to staying overnight. Here are your choices:
Rent a Camping Spot
This is a popular option for larger groups as it is cheaper to bring your own camping gear. It definitely adds quite a load for that hike though! The price for this is 20,000 pesos (about $7 USD).
Rent a Tent
Don't want to carry all that camping equipment? Well the good thing is that there are plenty of tents there that are available for rent from a single to multiple person tent. There are mattresses included inside, but not blankets or sheets, so it may be worth it to take a light sheet just to have something to cover you. The price is 100,000 pesos (about $30 USD).
We suggest getting the tent as soon as you arrive, as we got there a little late and by 5:00 everything was completely sold out!
Rent a Hammock
This is definitely the cheapest and easiest option when it comes to staying overnight, as it is much cheaper than renting a tent, and you won't have to bring your own gear with you. Although this might be the most comfortable option, the hike will be much easier, and you will save some money. Nets are included to protect you from the mosquitos at night.
Showers & Bathrooms
Thank god this place does not only have real bathroom stalls, but also showers! They are also free of charge. Make sure you have soap with you. If you need a toothbrush or other sanitary options though, they do have a small shop that sells the necessities.
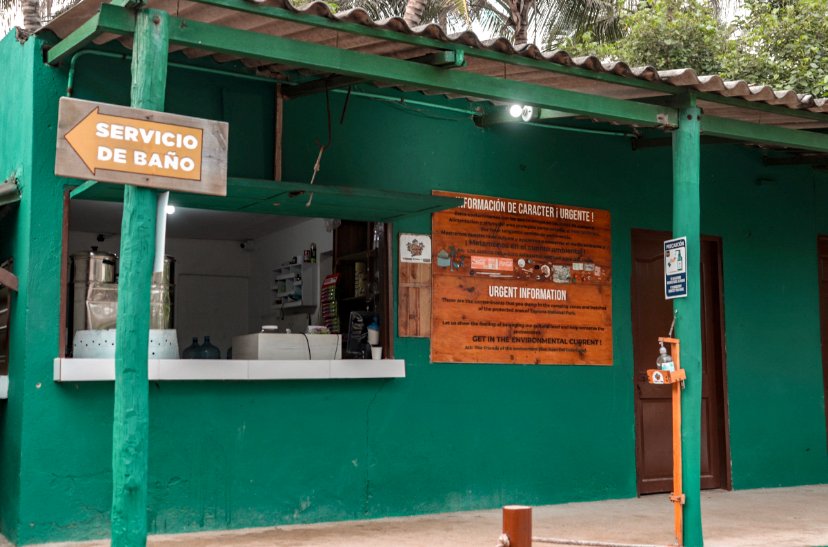
There is a restaurant, as well as bathrooms and showers on site.
Electricity
The one thing that stressed us out about staying overnight was that we didn't have any battery on our cameras or out phones. The great thing is that they have a stand with multiple outlets that are free to everyone. Just make sure you stay by your things to play it safe.
The Journey Back
Heading back for us was much easier than the journey there. When we went back the next morning a lot of the mud had dried, making it much easier to navigate. Here are a few options for going back:
The Hike
On the way back we were full of energy and got through this hike in just an hour and 45 minutes! We left at around 7 am, although we would suggest leaving a little bit later. One of the reasons is because you'll have a few more people on the route with you to make sure that you don't get lost.
The other reason was because around 8 or 9 is when all of the kiosks open along the way in case you want fresh juice, snacks, or a refill on your water supply. Don't go too late though, or you'll have delays from the large numbers of people coming in for the way there.
Rent a Horse
We HATE this option, as we think it is completely inhumane. However, it is improtant to be informative, so we are letting you know that in case of severe circumstances, this is in fact an option. At around 8 am you will find the horses lining up to take people back. The journey will be about an hour and cost 45,000 pesos per person (about $15 USD).

You can opt to ride a horse to get there or back, although this isn't something we suggest.
Take the Boat to Taganga
We absolutely love the idea of this option, but unfortunately were short on time. Want to skip the hike back and enjoy the ride? You can get on a "lancha" (small boat) for around the same price as the horse. The lanchas leave right from the beach, and will take you to the beautiful area of Taganga, which is just a few km from Santa Marta.
There are actually only one group of boats scheduled to leave per day though, which is around 3 pm. This is also dependent on the roughness of the sea, as if there are a lot of waves the boats won't be operating.
This would have definitely been our way back, as the views along the way are apparently very nice, you avoid the crowds, and Taganga is a great place to watch the sunset after arriving from your boat trip. The buses ride back from Taganga very regularly, and are only 2,000 pesos per person (about 60 cents US).

Taganga is where you can get a boat back from Cabo San Juan del Guia.
Want to take an organized excursion to Cabo San Juan del Guia? Here are a few different options:
How to Prepare for a Day at Cabo San Juan del Guia
When we visited here we were not prepared at all! We had no idea what the hike was going to be, nor were we prepared to stay for the night! Here are a few things that we learned:
Wear the Proper Footwear and Clothing
Because the hike can be pretty muddy, we suggest wearing comfortable clothes that you don't mind getting ruined. Bring a bathing suit for the beach, and the proper footwear. Ideally, rubber boots would be perfect, as they will allow you to go through the mud no problem.
We saw people in sneakers, and while this is ideal for part of the hike, they will definitely get ruined and be very uncomfortable if you go through the mud with them.
We wore flipflops which wasn't ideal for some parts, but definitely found that they were good for us as they are easy to wash off. If you find yourself in our shoes, we suggest just going barefoot when you get to a certain point.
Bring a Reusable Water Bottle
There are no plastic bottles permitted in the park, so it is crucial that you bring a reusable water bottle. The bigger the better in this case! Make sure you also have cash so that you can refill your bottle along the way.
Start Early
One of the reasons our hike became so difficult was because we started so late (around 1 pm). It became increasingly muddier, and once we arrived to the beach there was no way back and we had to stay overnight. We loved staying overnight, but wish we were prepared to do so.
Some other Things to Bring
The hike is mostly covered by the trees, so sunscreen isn't so necessary until the end of hike, but will definitely help for the last leg, as well for the time on the beach.
Bug spray is so helpful! During the day we didn't have any issues, but once it starts to get dark out the mosquitos just attack.
Another thing we found to be super helpful were wipes. It can get pretty hot and dirty, so having something to do a quick clean will be of much help while doing this hike.
Bring a towel! (or two). You will need it not only for the beach, but for after showering. We bring Brazilian cangas, as they are super light, quick drying, and super helpful while hiking.
If you are planning on spending the night make sure you bring soap to shower.
Cabo San Juan del Guia Overview
- Make sure you are prepared with a reusable water bottle, the proper footwear, bug spray, and a towel.
- Take the van to the entrance. It will be worth the saving of time and energy!
- We suggest starting EARLY! Especially for those who do not plan to spend the night.
- You can bring your own camping gear, rent a tent, or rent a hammock to stay overnight.
- There are bathrooms, showers, outlets, and a restaurant on site.
- Look out for monkeys along the way! There are tons and they are super cute.

Pay attention during your hike, as there are plenty of monkeys around!
Now you have all the info possible for your journey to Cabo San Juan del Guia! Enjoy your time and if you have any questions make sure to ask them in the comments!
Do you need help planning your next trip? Sit back, relax, and let us do the hard work. Now Scratch Your Mapa offers customized travel planning for extremely affordable prices! Want to learn more? Simply click here to get started.
Here are some other articles you'll love:

