Guatemala’s Most Beautiful View: How to Do the Indian Nose Hike
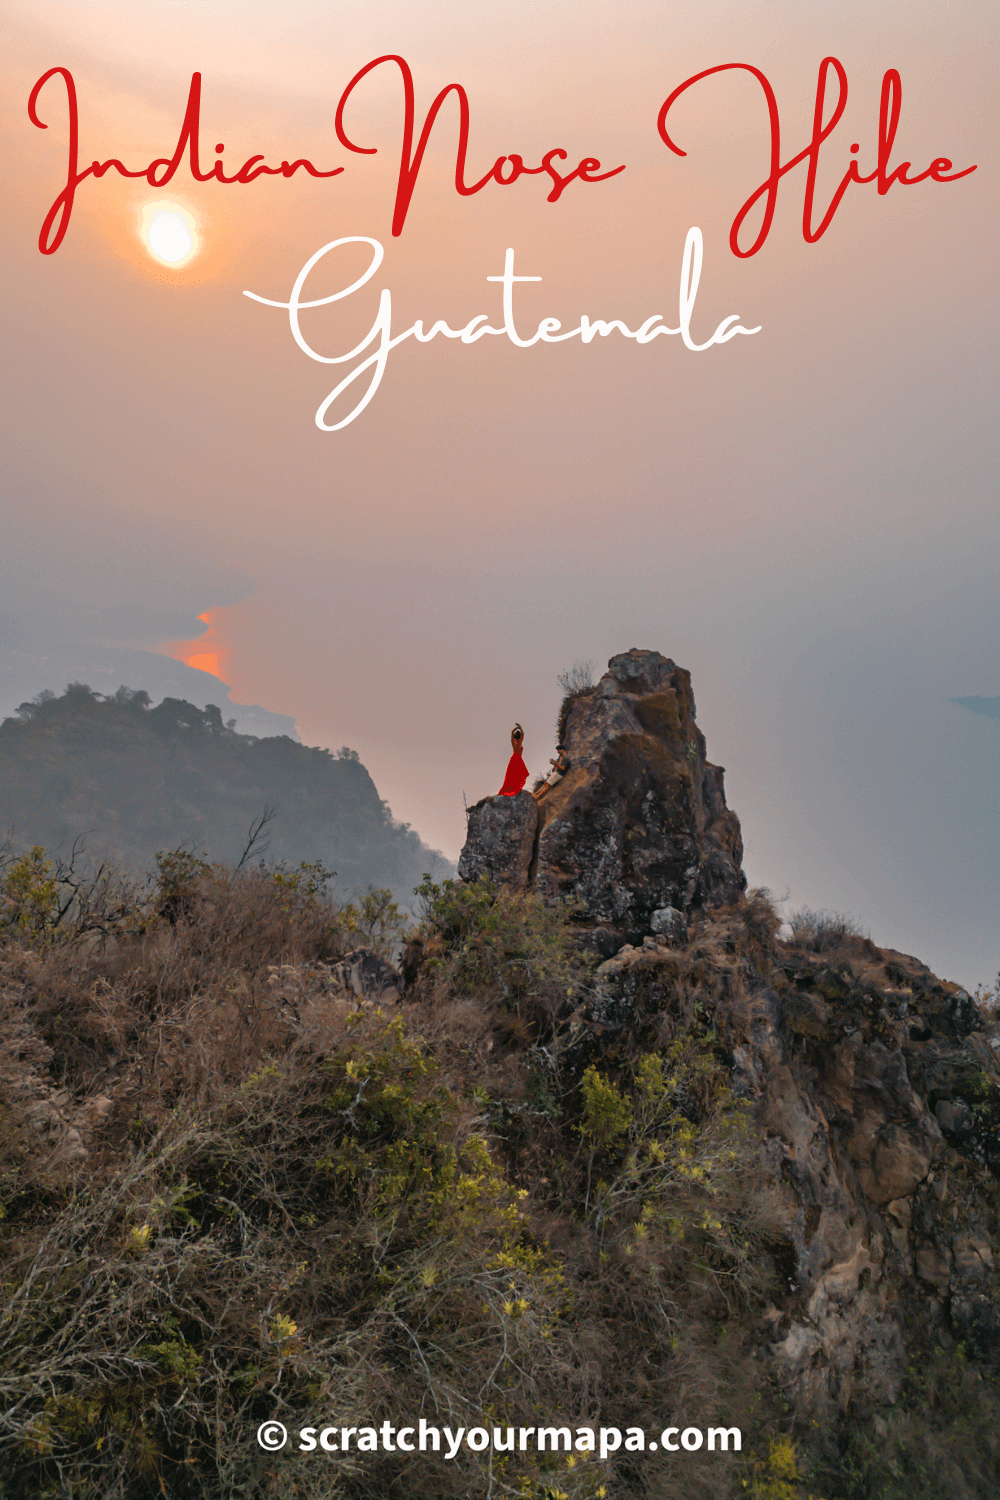
If you're looking for some epic viewpoints in Guatemala, then you won't want to miss out on the Indian Nose hike in Lake Atitlan.
The Indian Nose hike (also known as Rostro Maya) is one of the top activities to do at Lake Atitlan, and has a great risk-to-reward ratio. While the other top hikes in Guatemala take several hours, or require you to melt under the intense sun, the Indian Nose hike is one that is much lighter, and gives you unforgettable views at the top.
While we weren't lucky enough to experience the Indian Nose hike at great visibility, we are happy to be able to share all of the information necessary for you to enjoy this incredible view, and hope our guide helps you plan properly for an epic adventure at Lake Atitlan.
*Please note that this blog post may contain some affiliate links, which we make a small profit on, at zero cost to you. Links are only used on products & services that we've used and believe in, to give you the best buying experience. Purchasing from these links helps us to continue providing free travel guides for you- so thank you for your support!
Our Travel Planning Recommendations


🎫 Get Your Guide (tours)

📸 Best Buy (equipment)
🚗 Rental Cars (car rentals)


Fun Facts About Indian Nose
Before getting into the details about how to get to the Indian Nose hike, we'd like to share some information to hopefully have you a little less confused than we were.
🤔 First- Why is the Indian Nose Hike Called by Different Names?
It's honestly super confusing, as locals and tourists have several different names for this location and hiking trail.
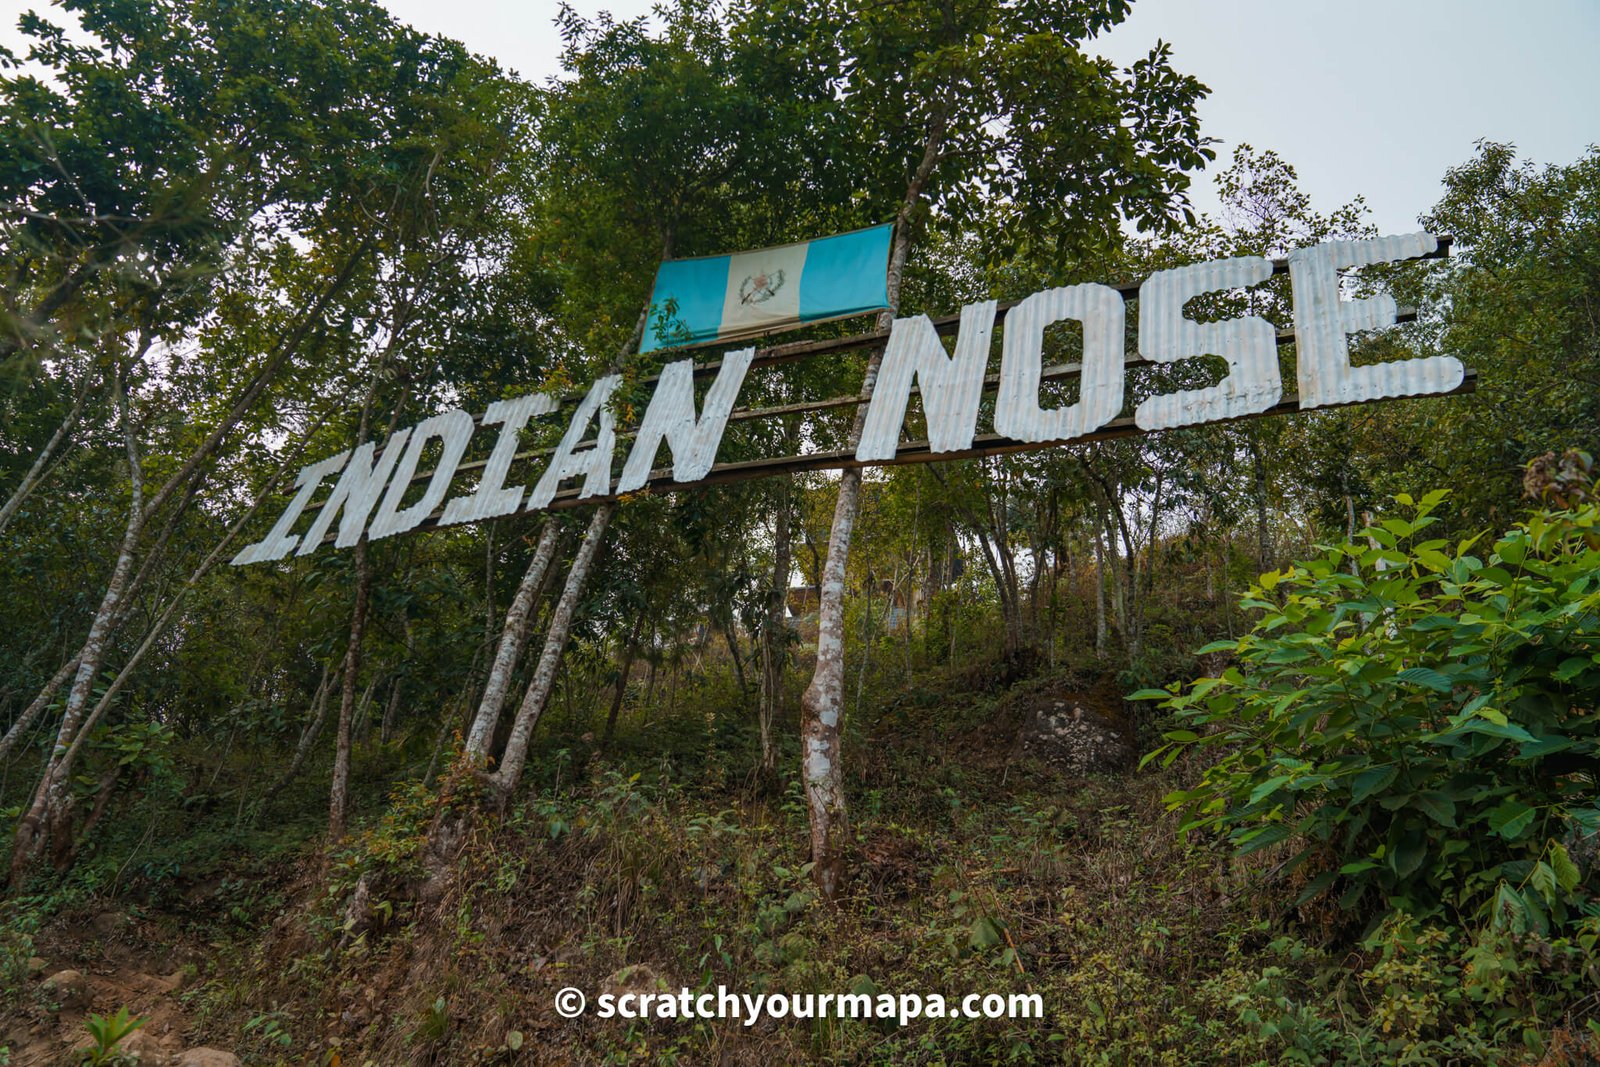
The hill that the Indian Nose trail is located on, is actually called Cerro Cristalino, and the point of the viewpoint itself was named Indian Nose.
As locals don't resonate with the name "Indian", they started to call it "Rostro Maya", which is "Mayan Nose" is English. Little by little signs and tour names are changing from Indian Nose to Rostro Maya, as it is more politically correct. So if you hear Cerro Cristalino, Rostro Maya, or Indian Nose, everyone really is all talking about the same place.
⬆ How Tall is the Indian Nose?
Indian Nose sits at 2,200 meters high, (7,218 feet tall) and Lake Atitlan has an elevation of 1,550 meters (5,085 feet).
If you hike from San Juan de la Laguna, you'll have an elevation gain of 650 meters (2,133 feet), and if you hike from Santa Clara la Laguna, you'll have an elevation gain of 290 meters (951 feet).
🤢 Can You Get Altitude Sickness from the Indian Nose Hike?
The altitude change is honestly not big enough to feel anything, so you shouldn't worry about the altitude making you sick.
📍 Where is the Indian Nose Hike Located?
Indian Nose is located on the hill called Cerro Cristalino, which sits above the west of Lake Atitlan.
How to Get to Indian Nose at Lake Atitlan
The Indian Nose can be done from either San Juan de la Laguna (the longer route) or from Santa Clara la Laguna (the shorter route). Most people choose to do the route via Santa Clara la Laguna, as there is a big difference in the amount of time it takes.
We recommend getting a hotel in San Juan de la Laguna or one of the other nearby towns, rather than visiting from Panajachel, or another town on the other side of the lake.
The hike can either be done with a tour, or on your own. The upside to going on your own is that you can spend as long as you'd like, and the upside of going with a tour is that it typically includes a hot beverage and transportation.
🥾 Which Hike to Indian Nose is Better?
If you are in good shape, and like to get places place, then Santa Clara la Laguna is the better choice.
If you prefer easier and scenic routes, then taking the trail from San Juan de la Laguna is more ideal option.
🚗 How to Get to the Indian Nose Hike in Santa Clara
Since this is the hike we chose to do, we're going to outline the details for this particular route.
The Indian Nose Hike from Santa Clara la Laguna
This is the route we chose, so it's the one we're going to go into detail about.
Where Does the Trail Start for the Indian Nose Hike in Santa Clara la Laguna?
Don't simply put in Indian Nose into Google Maps, as it may bring you to the wrong spot.
Down below you can see exactly where the trail starts.
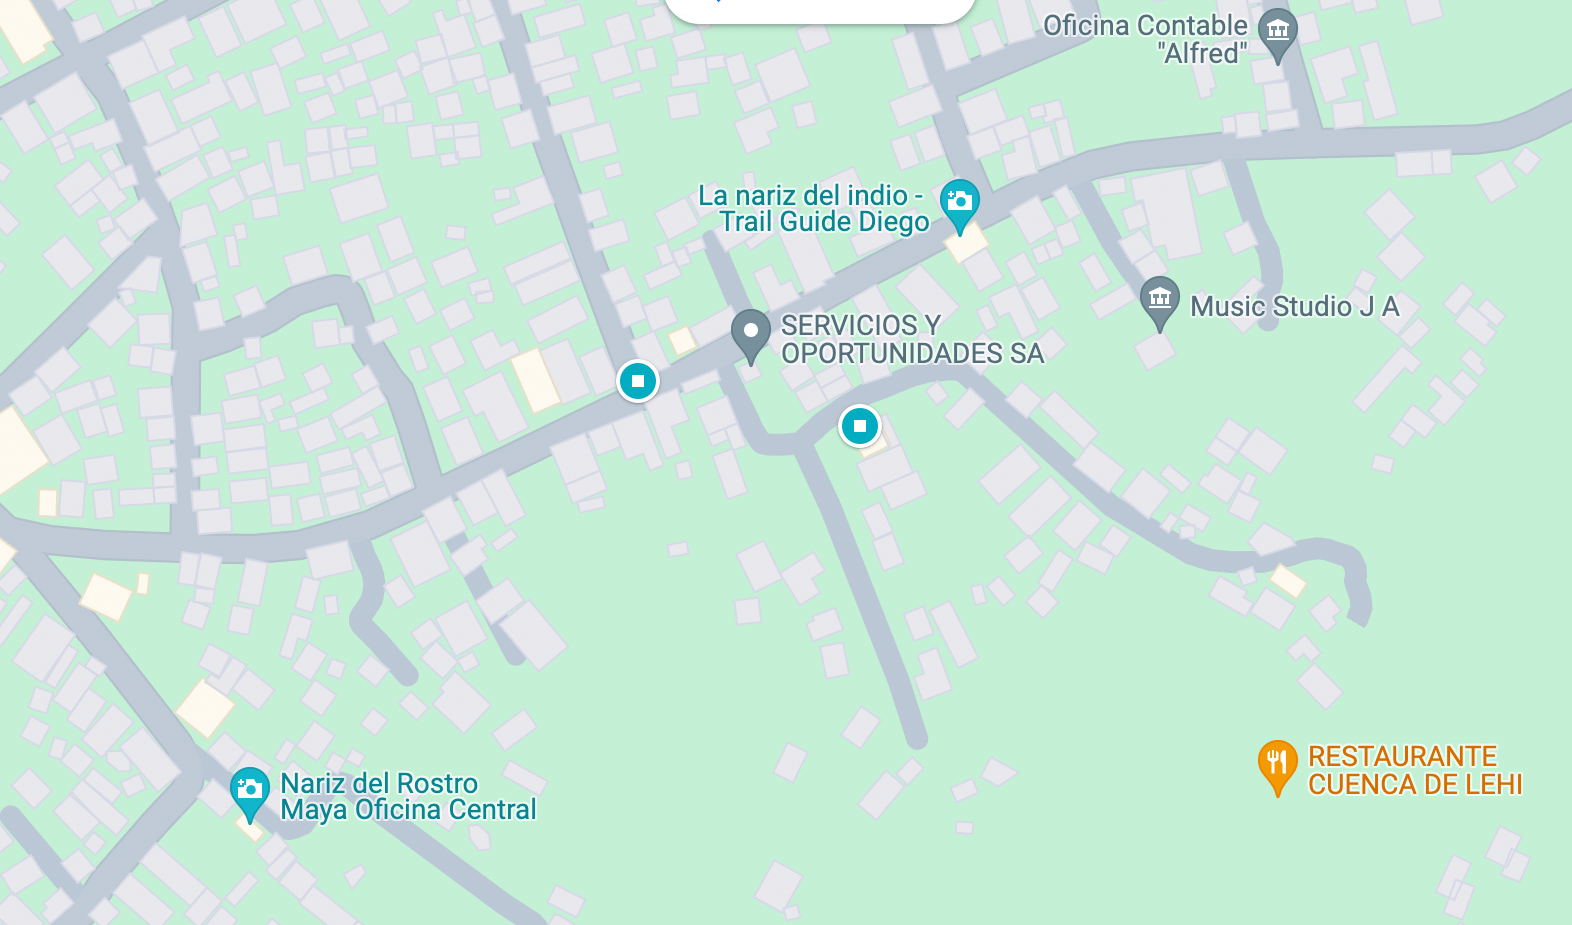
The dot on the left is where we parked, and the dot on the right is where the trail starts.
🅿️ Where to Park in Santa Clara la Laguna
When we arrived there were a few vans pulled up right in front of where the trail starts.
We found a parking spot right on the street that was perpendicular to the starting point of the trail. On Google Maps there is no street name, but it was the street between Taller y Respuestos Shekina and Tienda Cristalinas Cristel.
Parking was free, and not difficult to find at that hour of the morning, but would imagine it isn't as easy later in the day.
The Trail for Indian Nose Hike
Now it's time to start your hike! If you are going at sunrise, it will be super dark, and you'll just have to follow the crowds. However, if you go at any other time, chances are you'll be alone, and you can follow these directions.
Don't have time to read the whole article and want to save it for later? Just pin it!
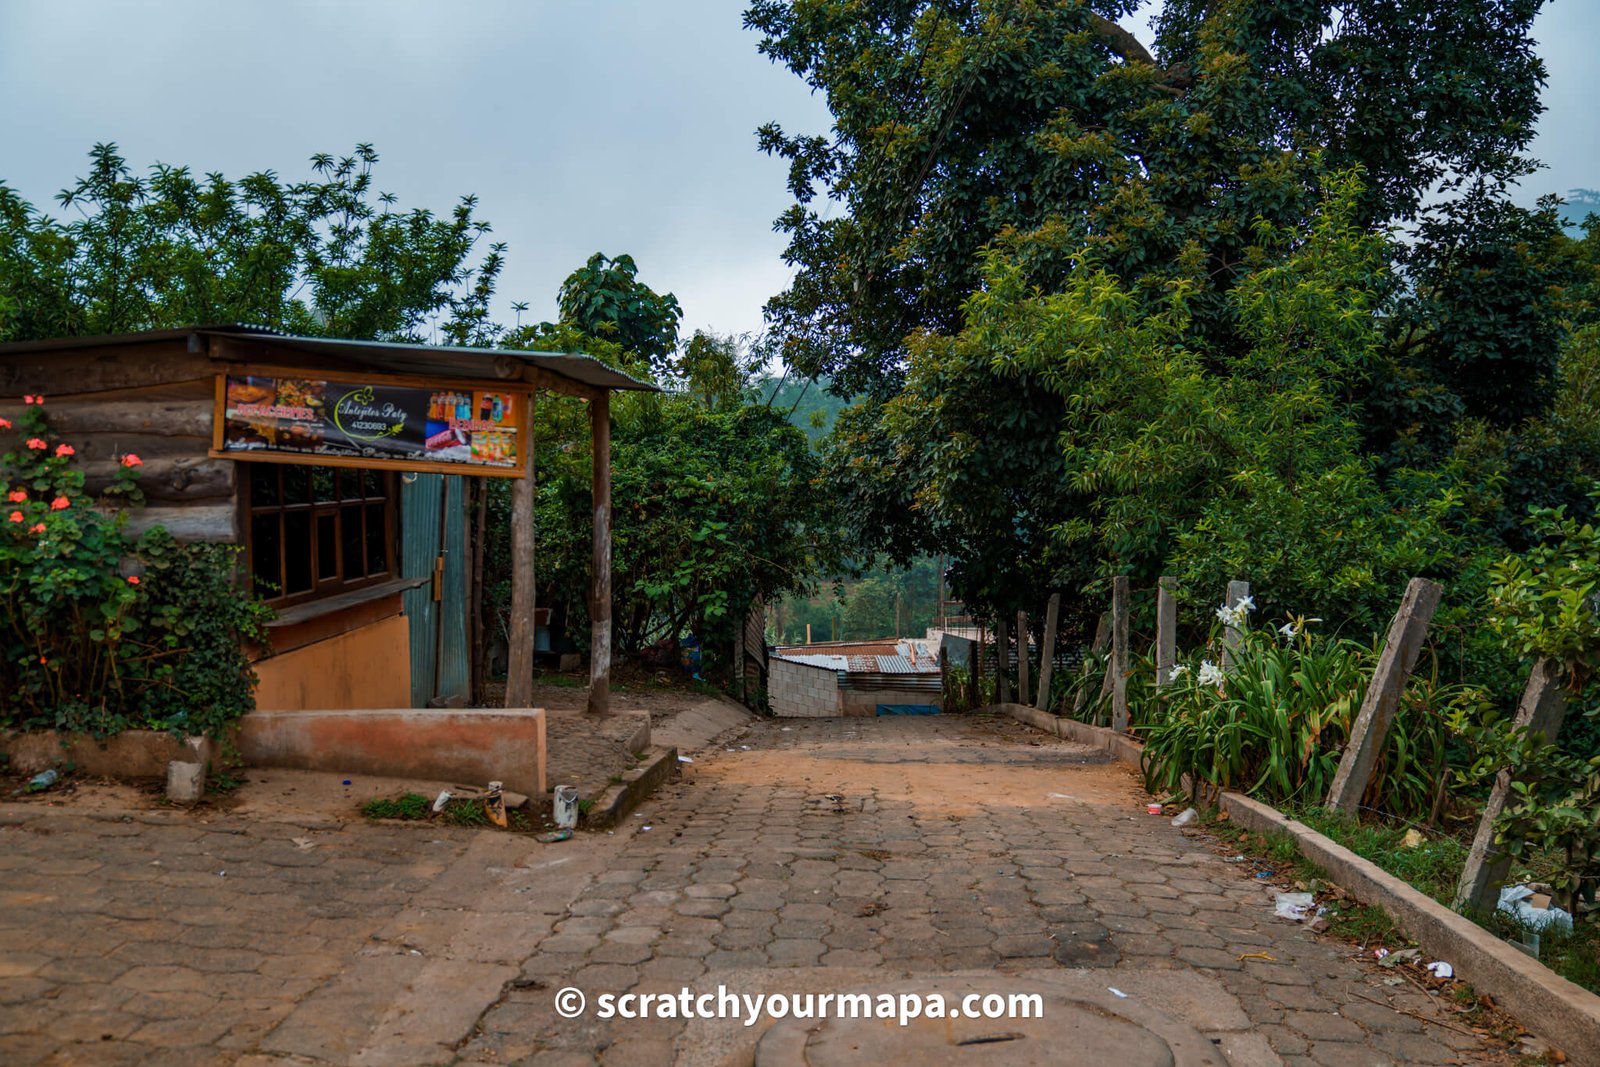
The first few minutes are flat along a road. You'll continue along the road, until you'll see a small path meets another dirt road.

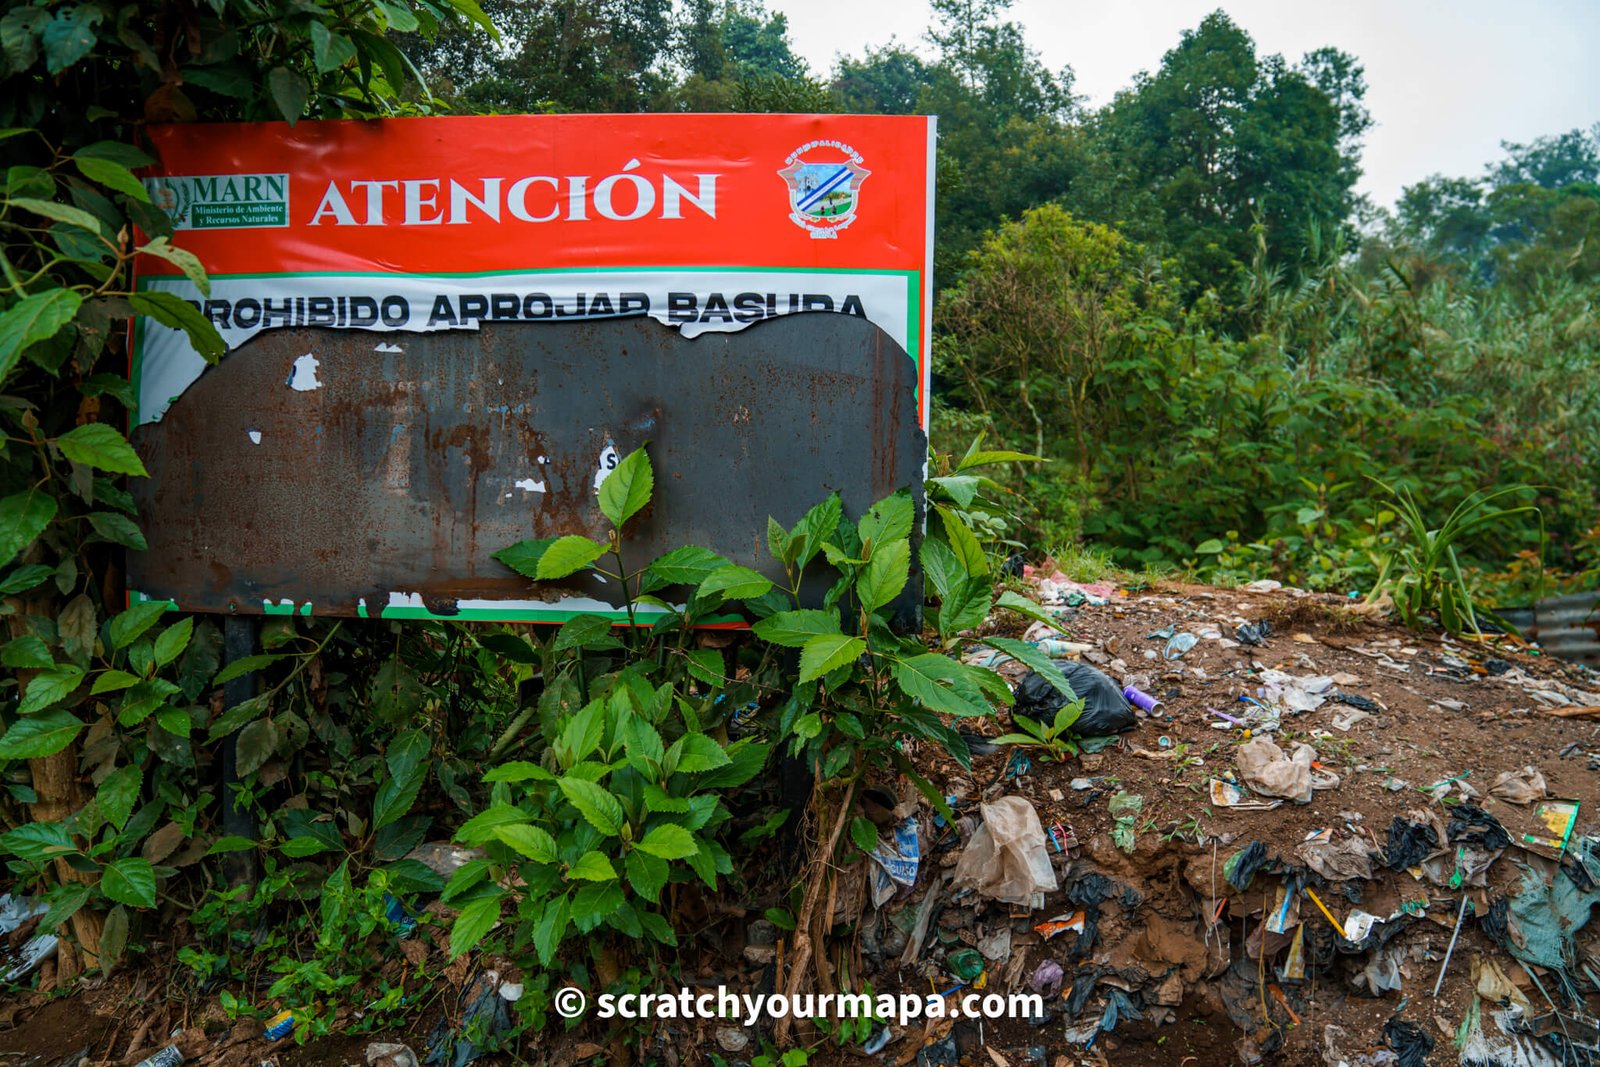
Continue to the right along the path, and you'll soon see a sign that says Atencion: Prohibido Arrojar Basura. This means "Attention: Throwing Trash is Prohibited". Ironically, there are mounds of trash behind it.
You'll then come to a fork, and you'll want to stay to the right.
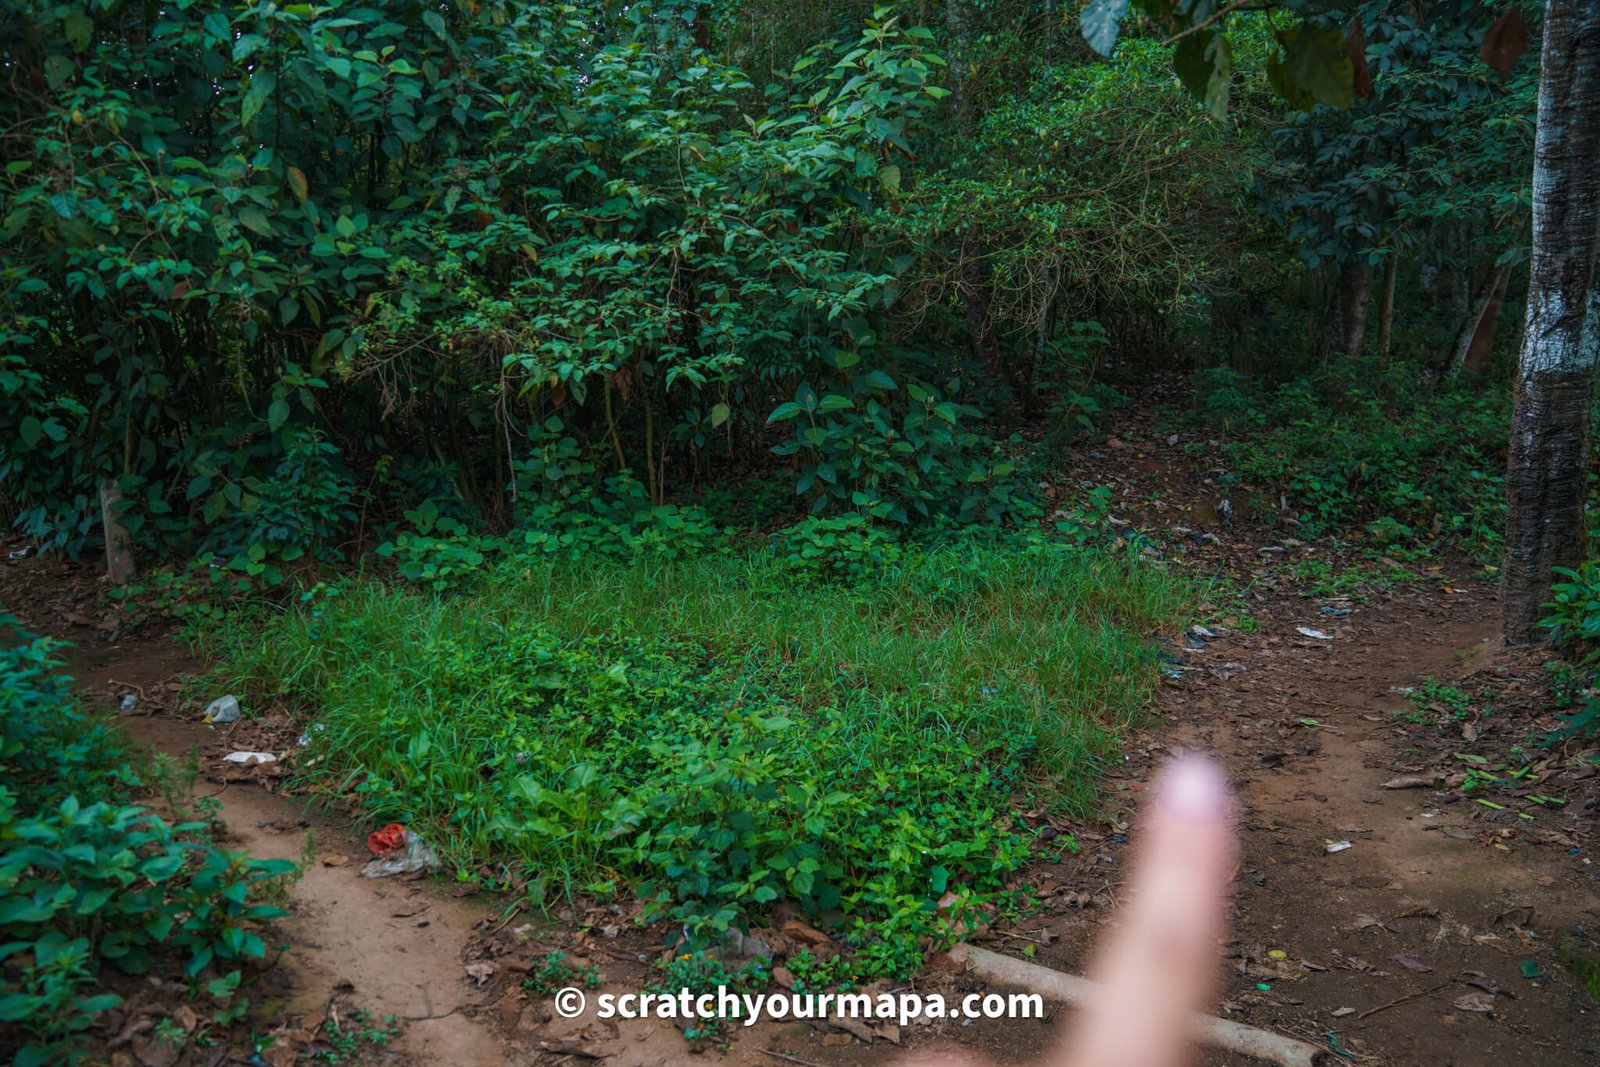
Continue along the trail pictured below.
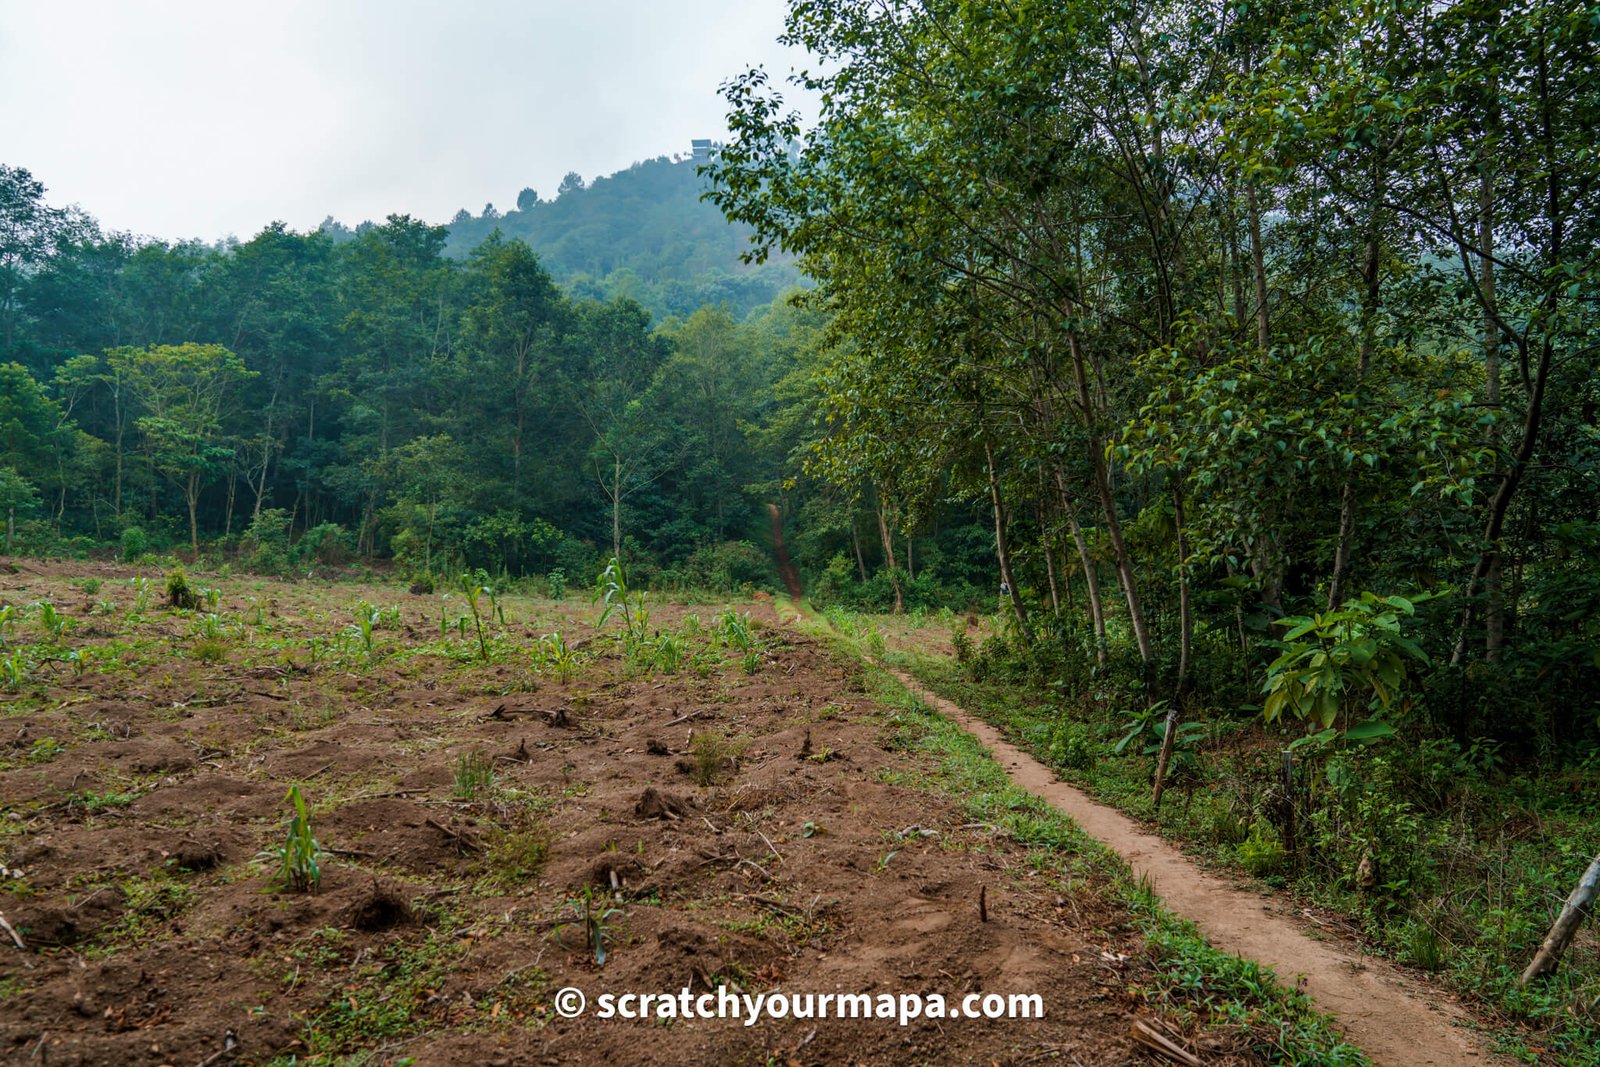
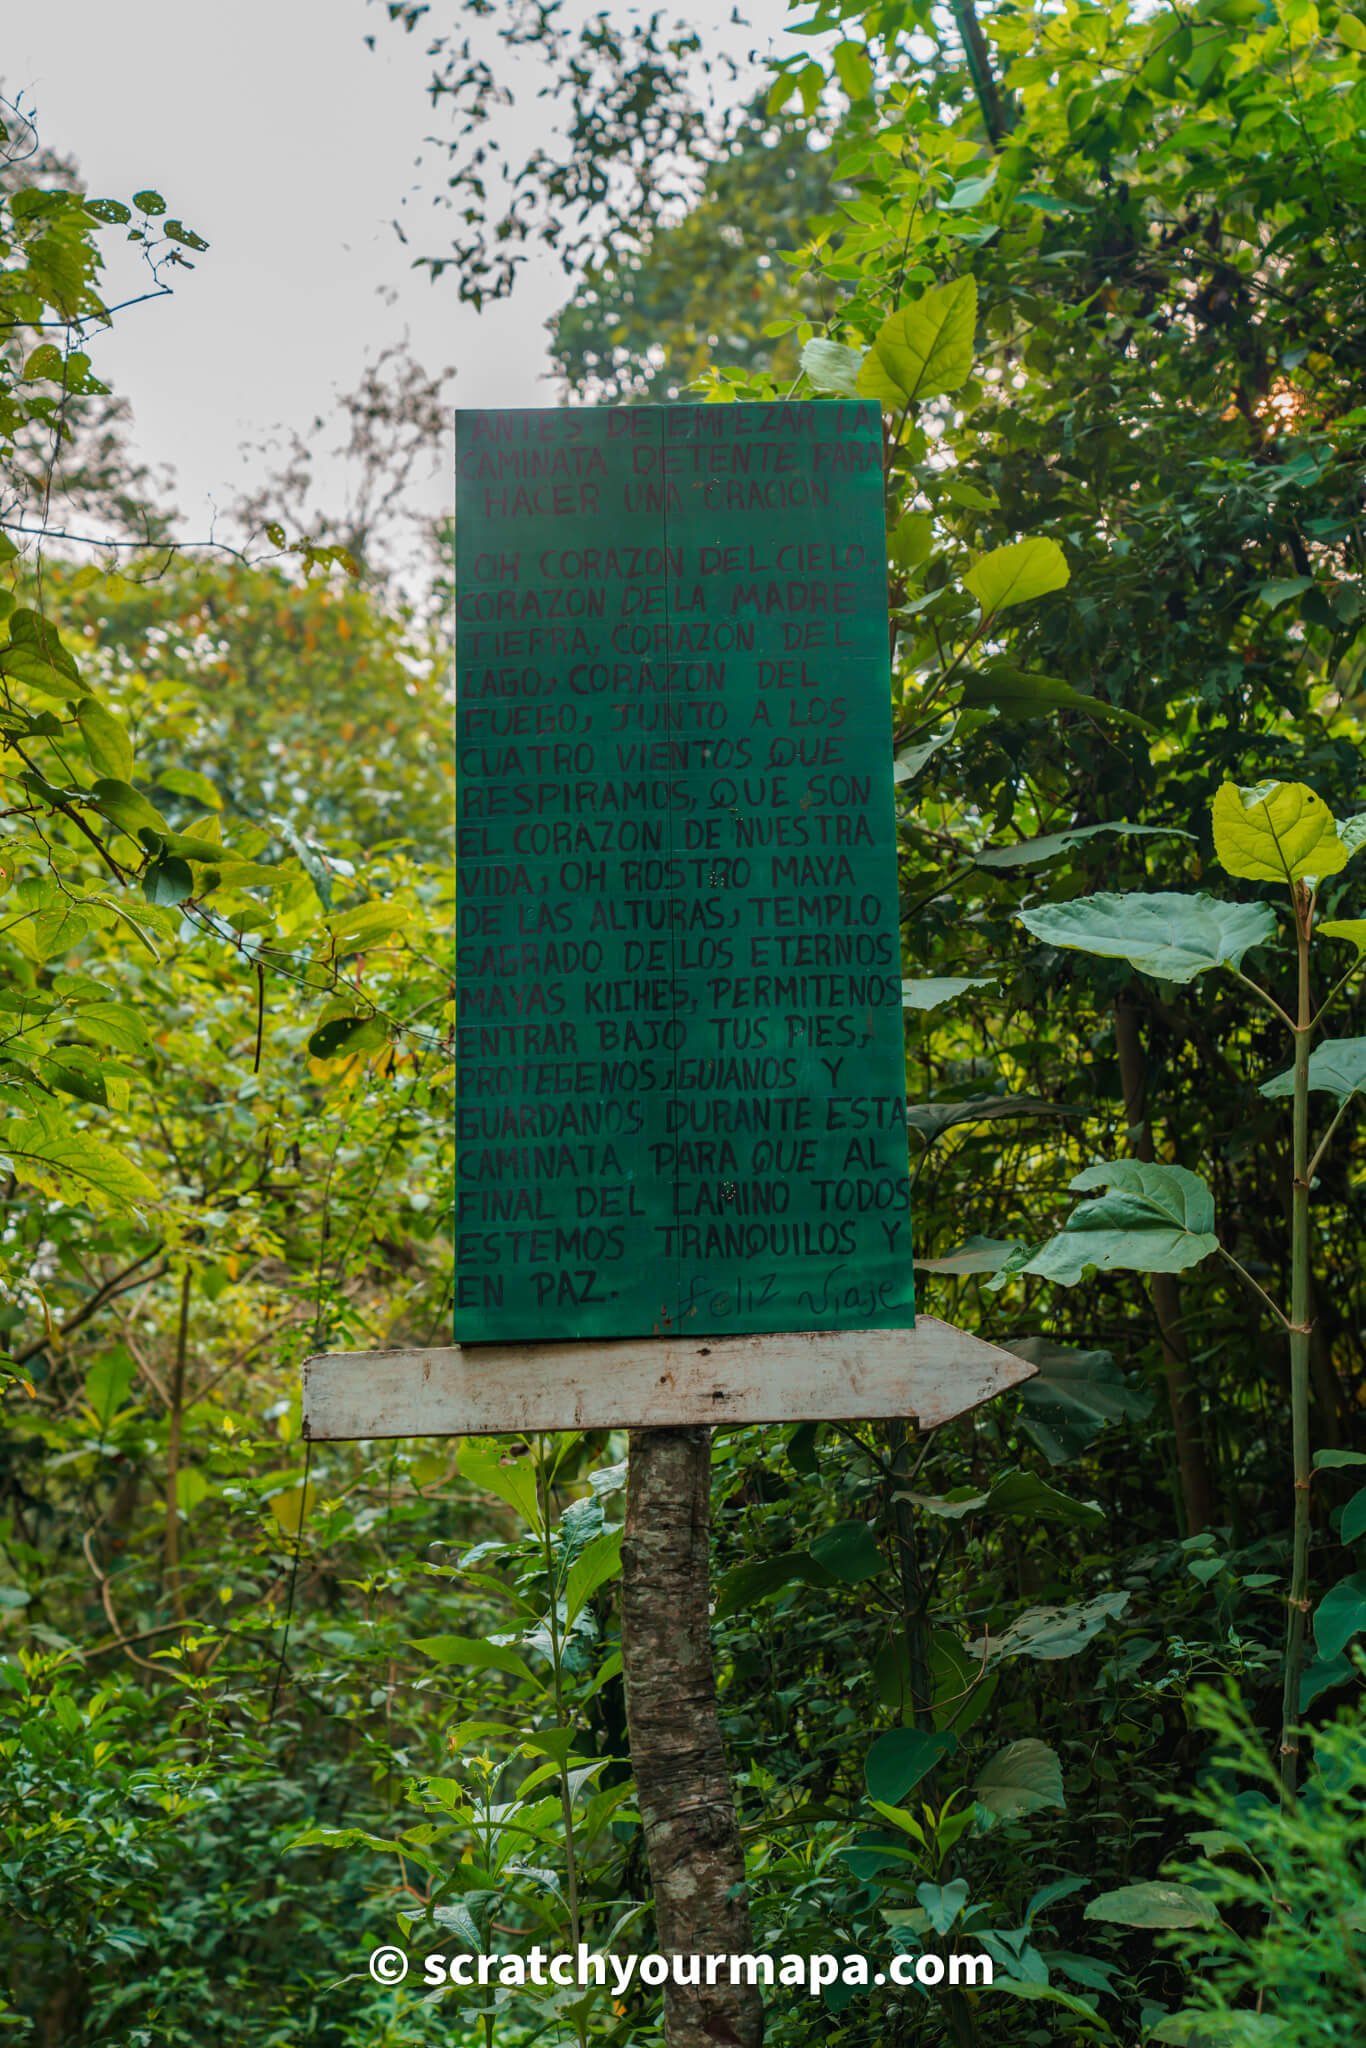
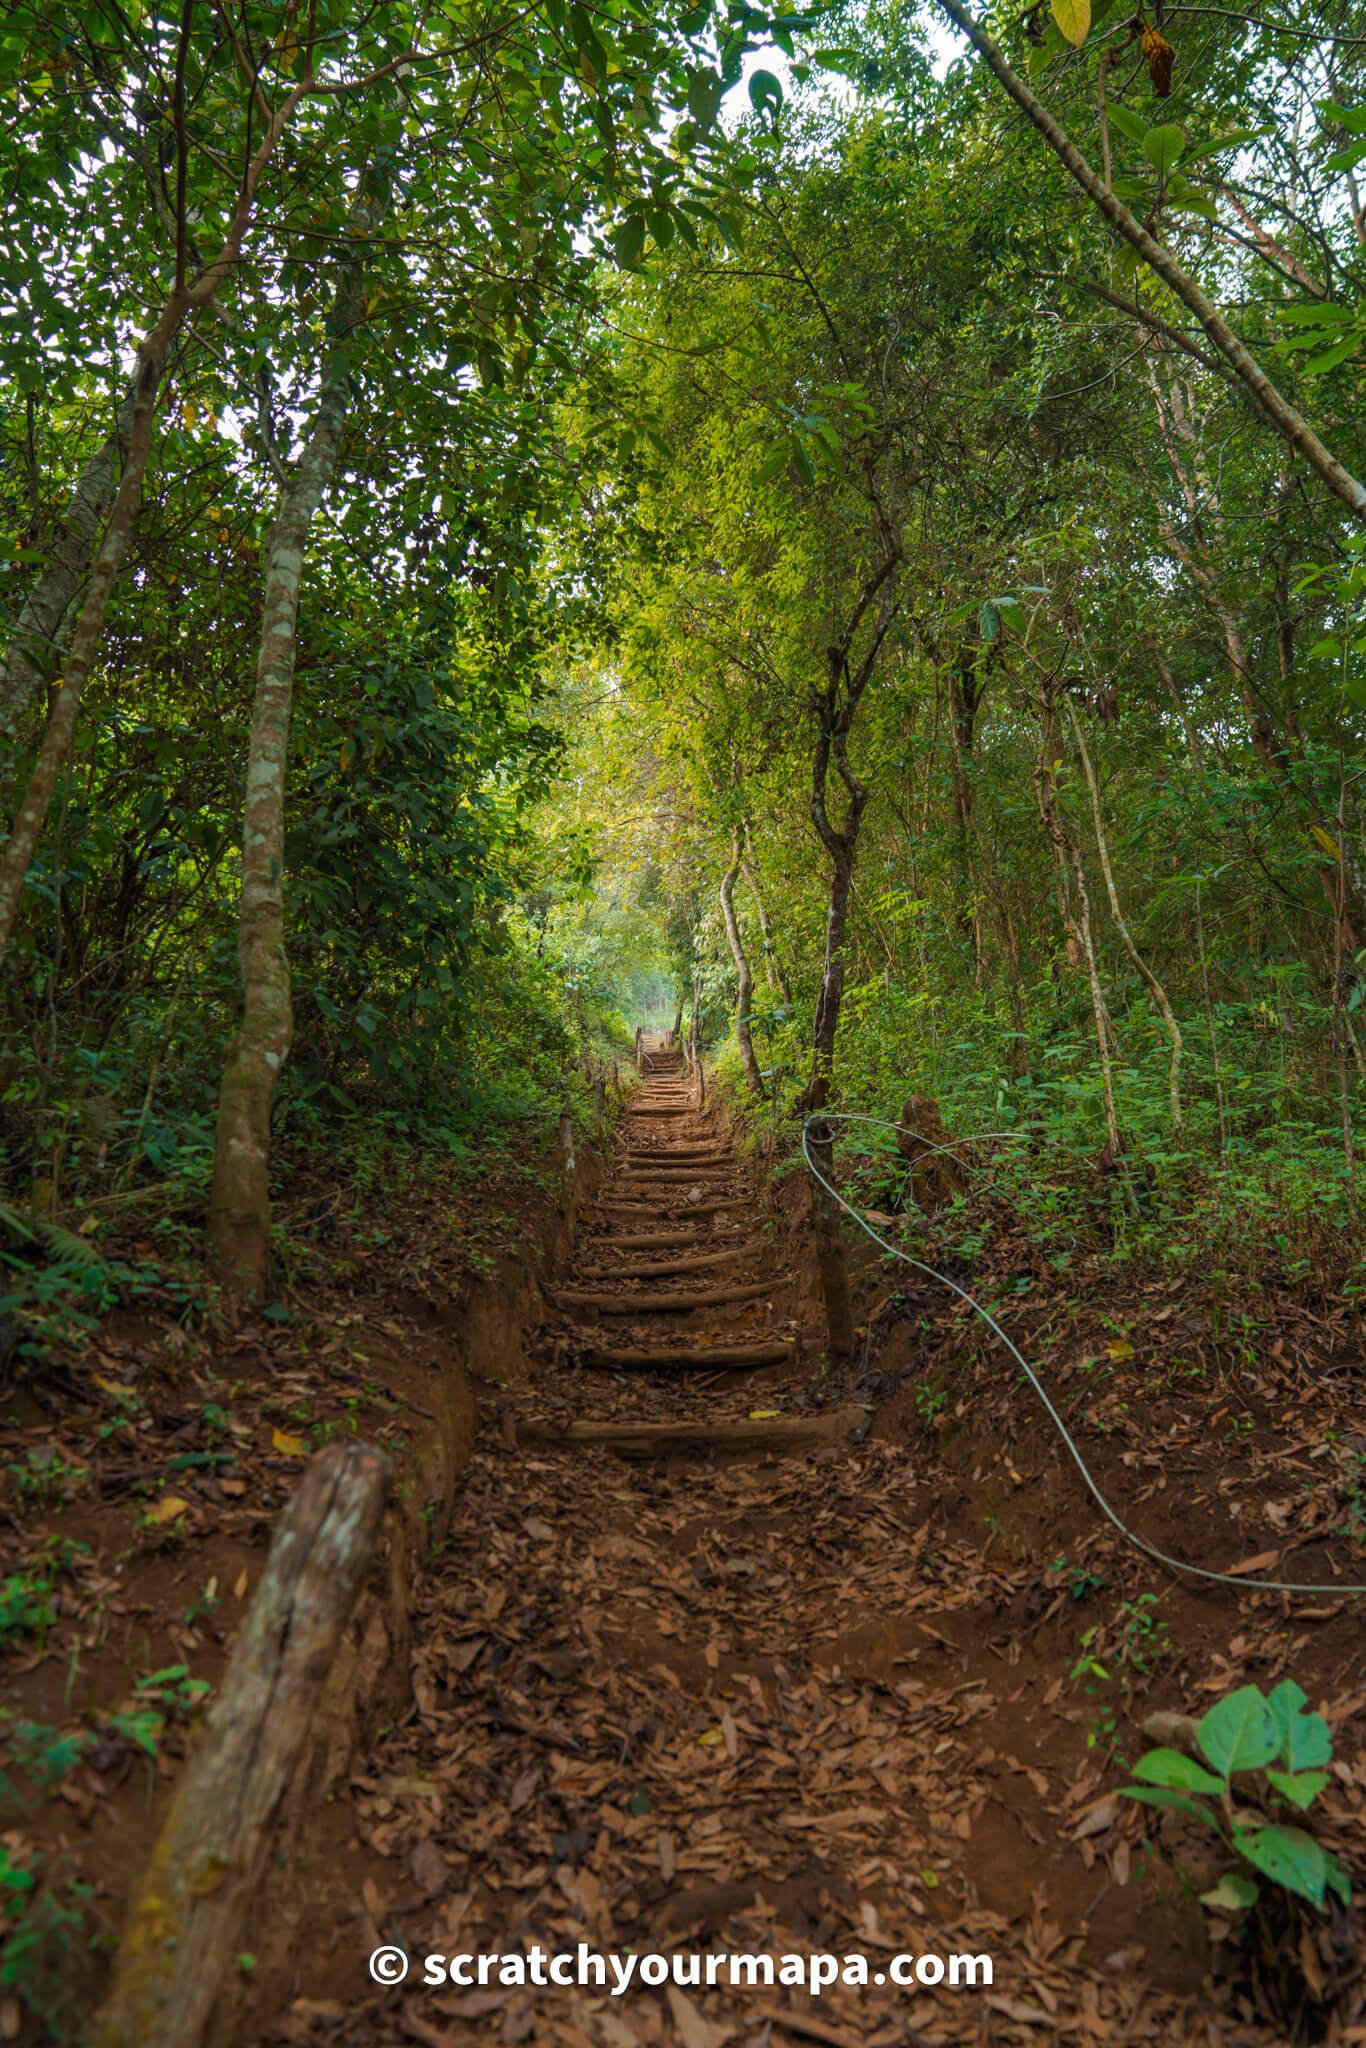
You'll come to a sign, and an arrow. Continue to the left, and now you'll see the intense stairs going up to the viewpoint. Although it's steep, it's pretty simple to climb, and there are a few areas with handrails as well.
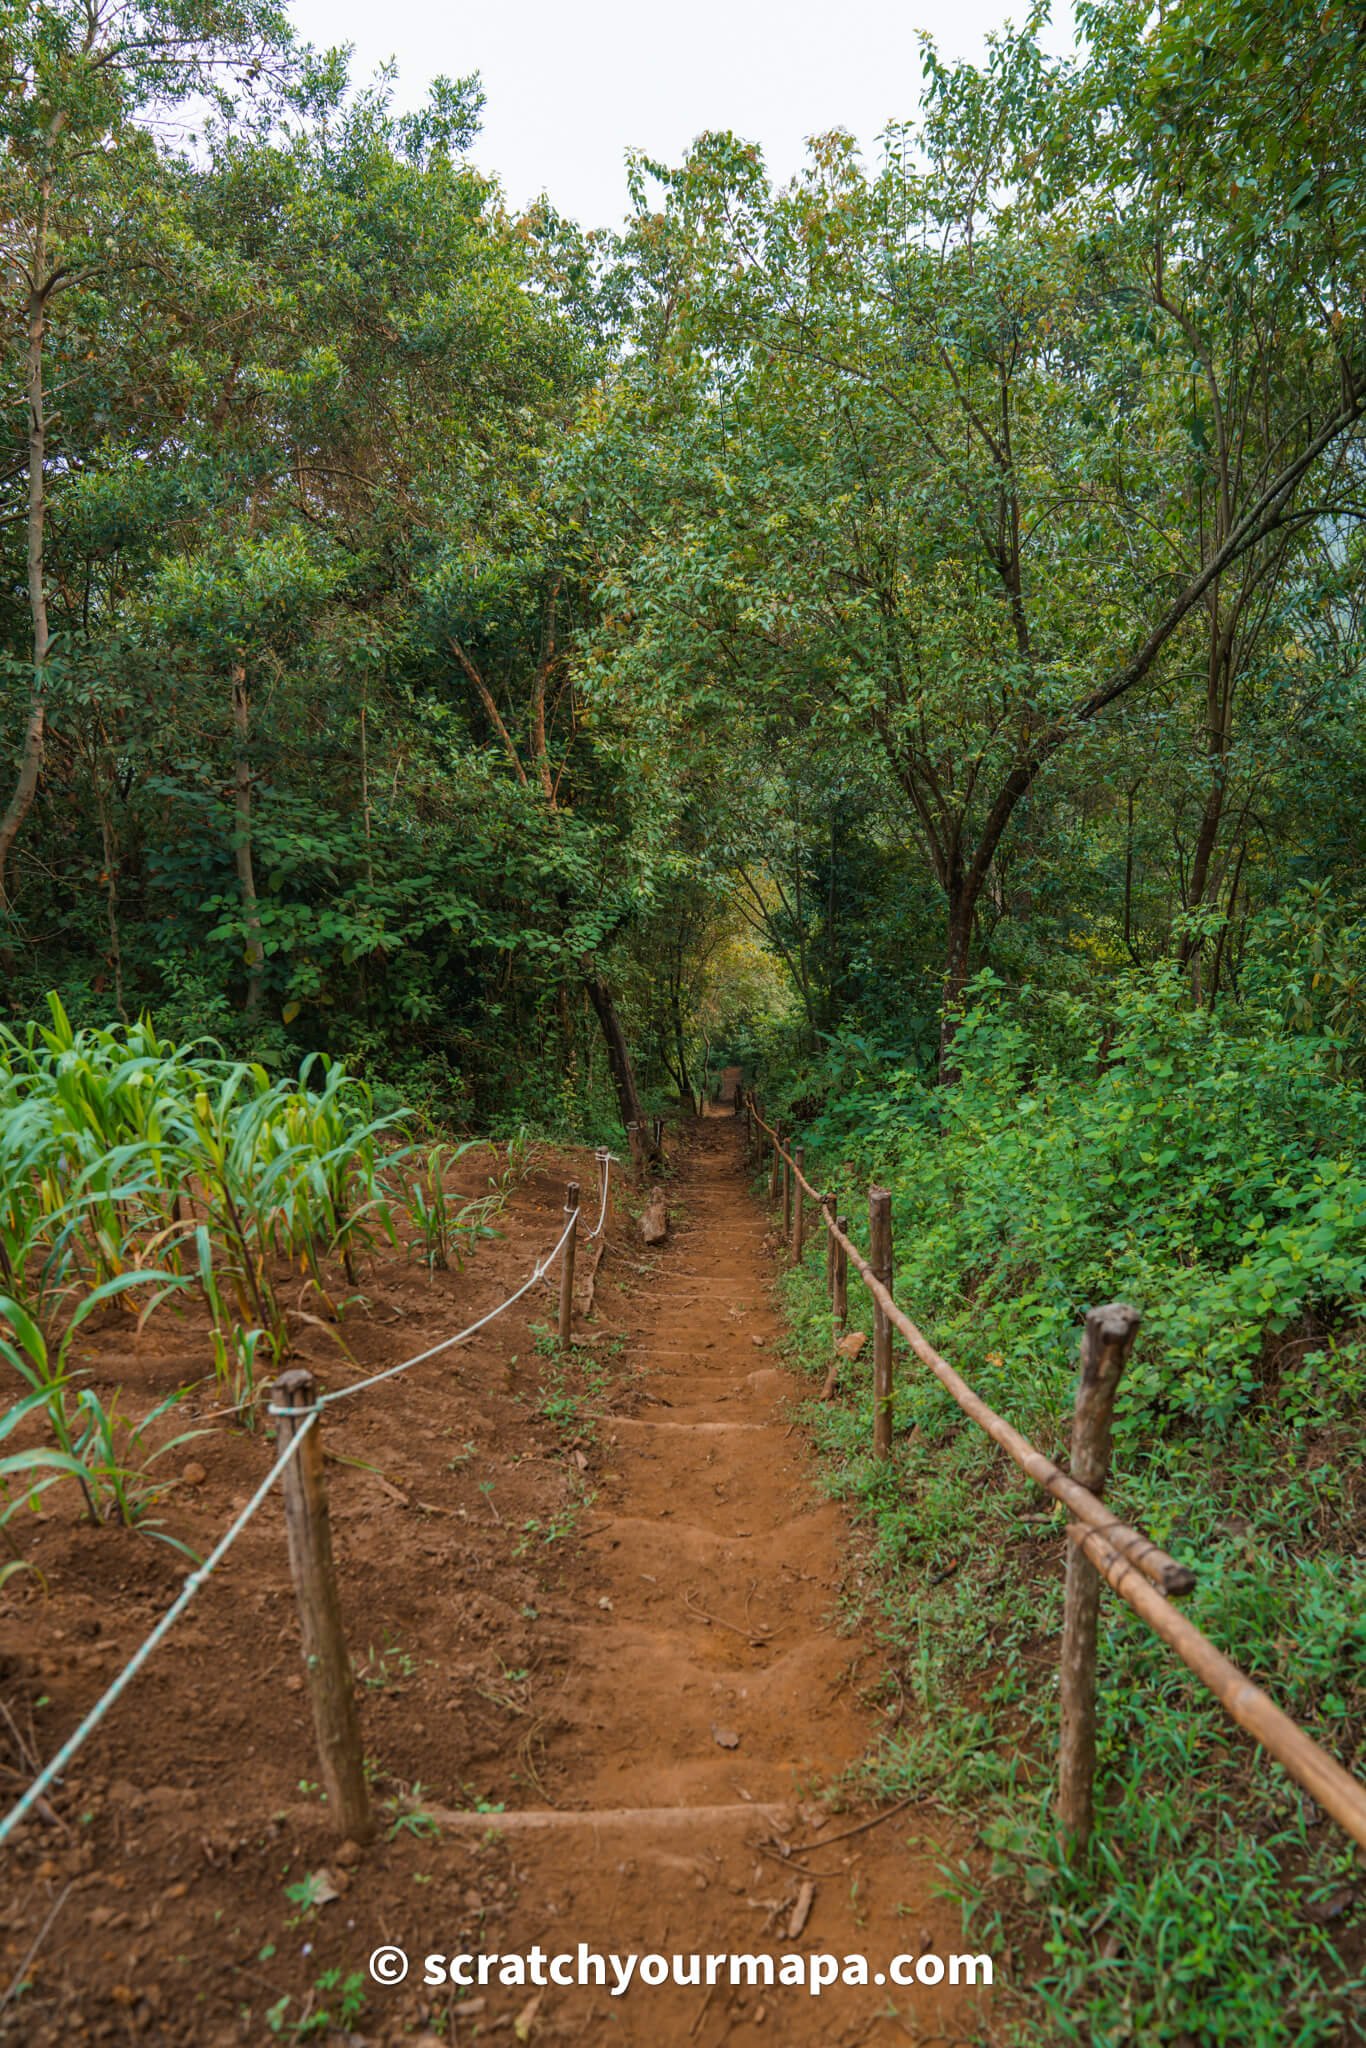
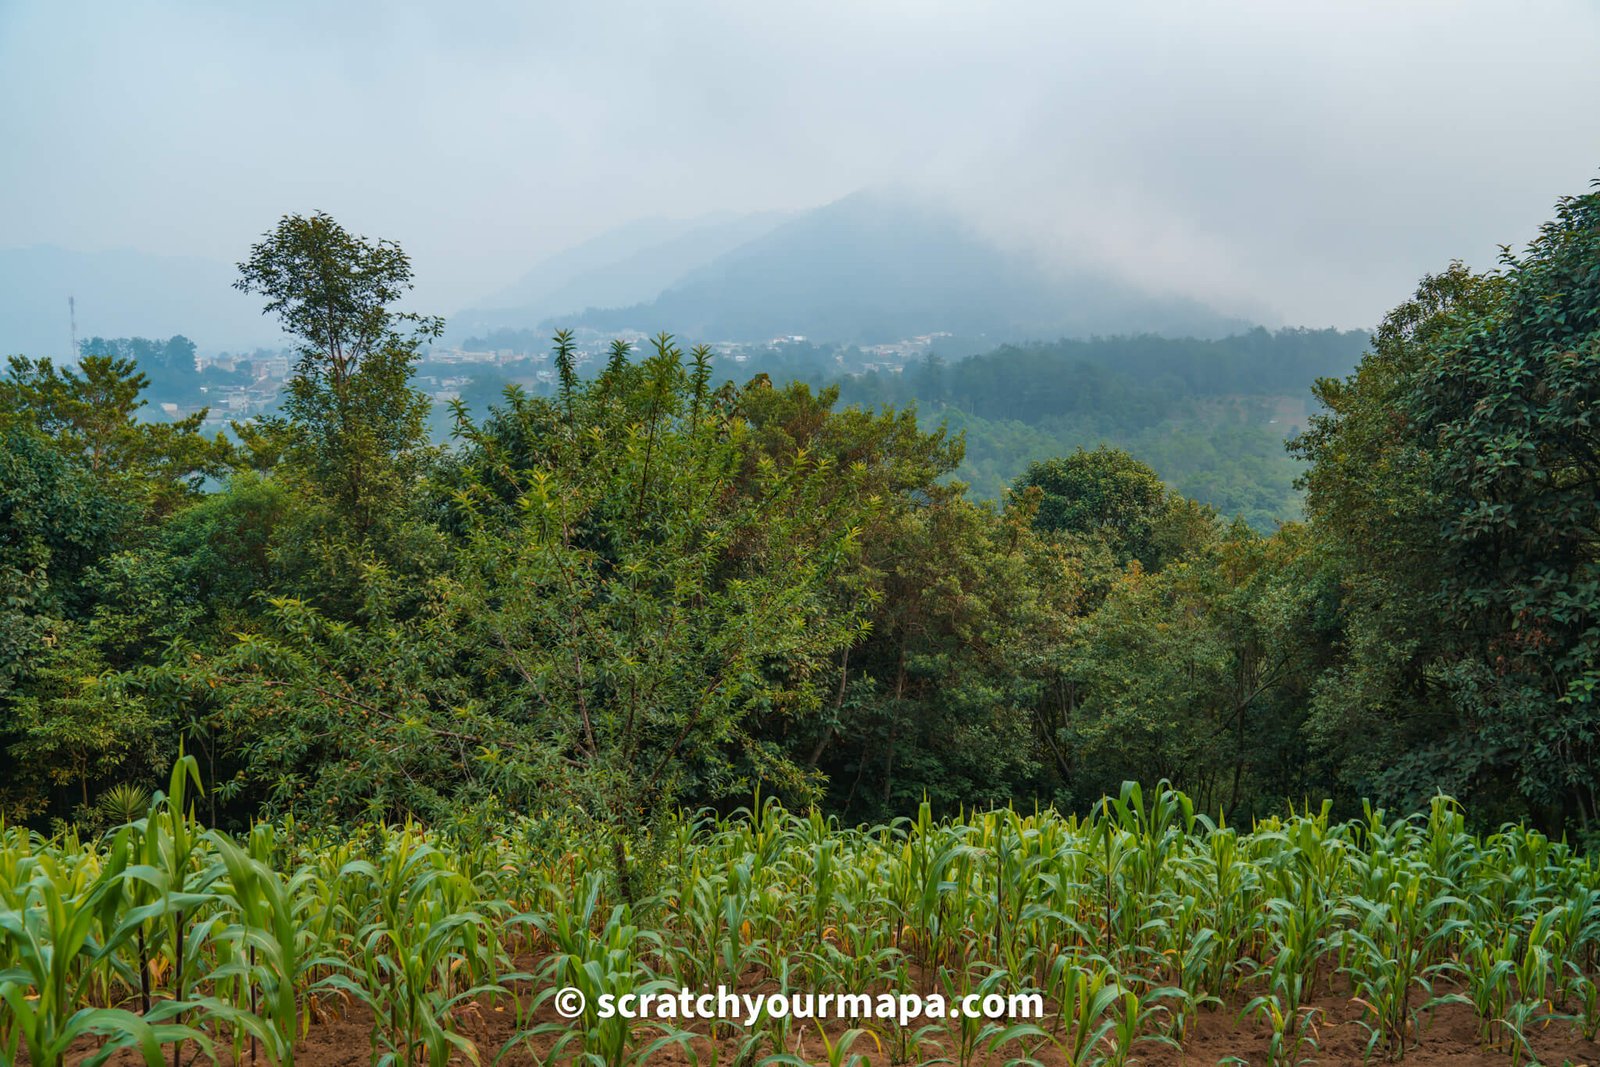
The area will then open up, and you'll be able to appreciate the surrounding mountains, and a few different things being farmed.
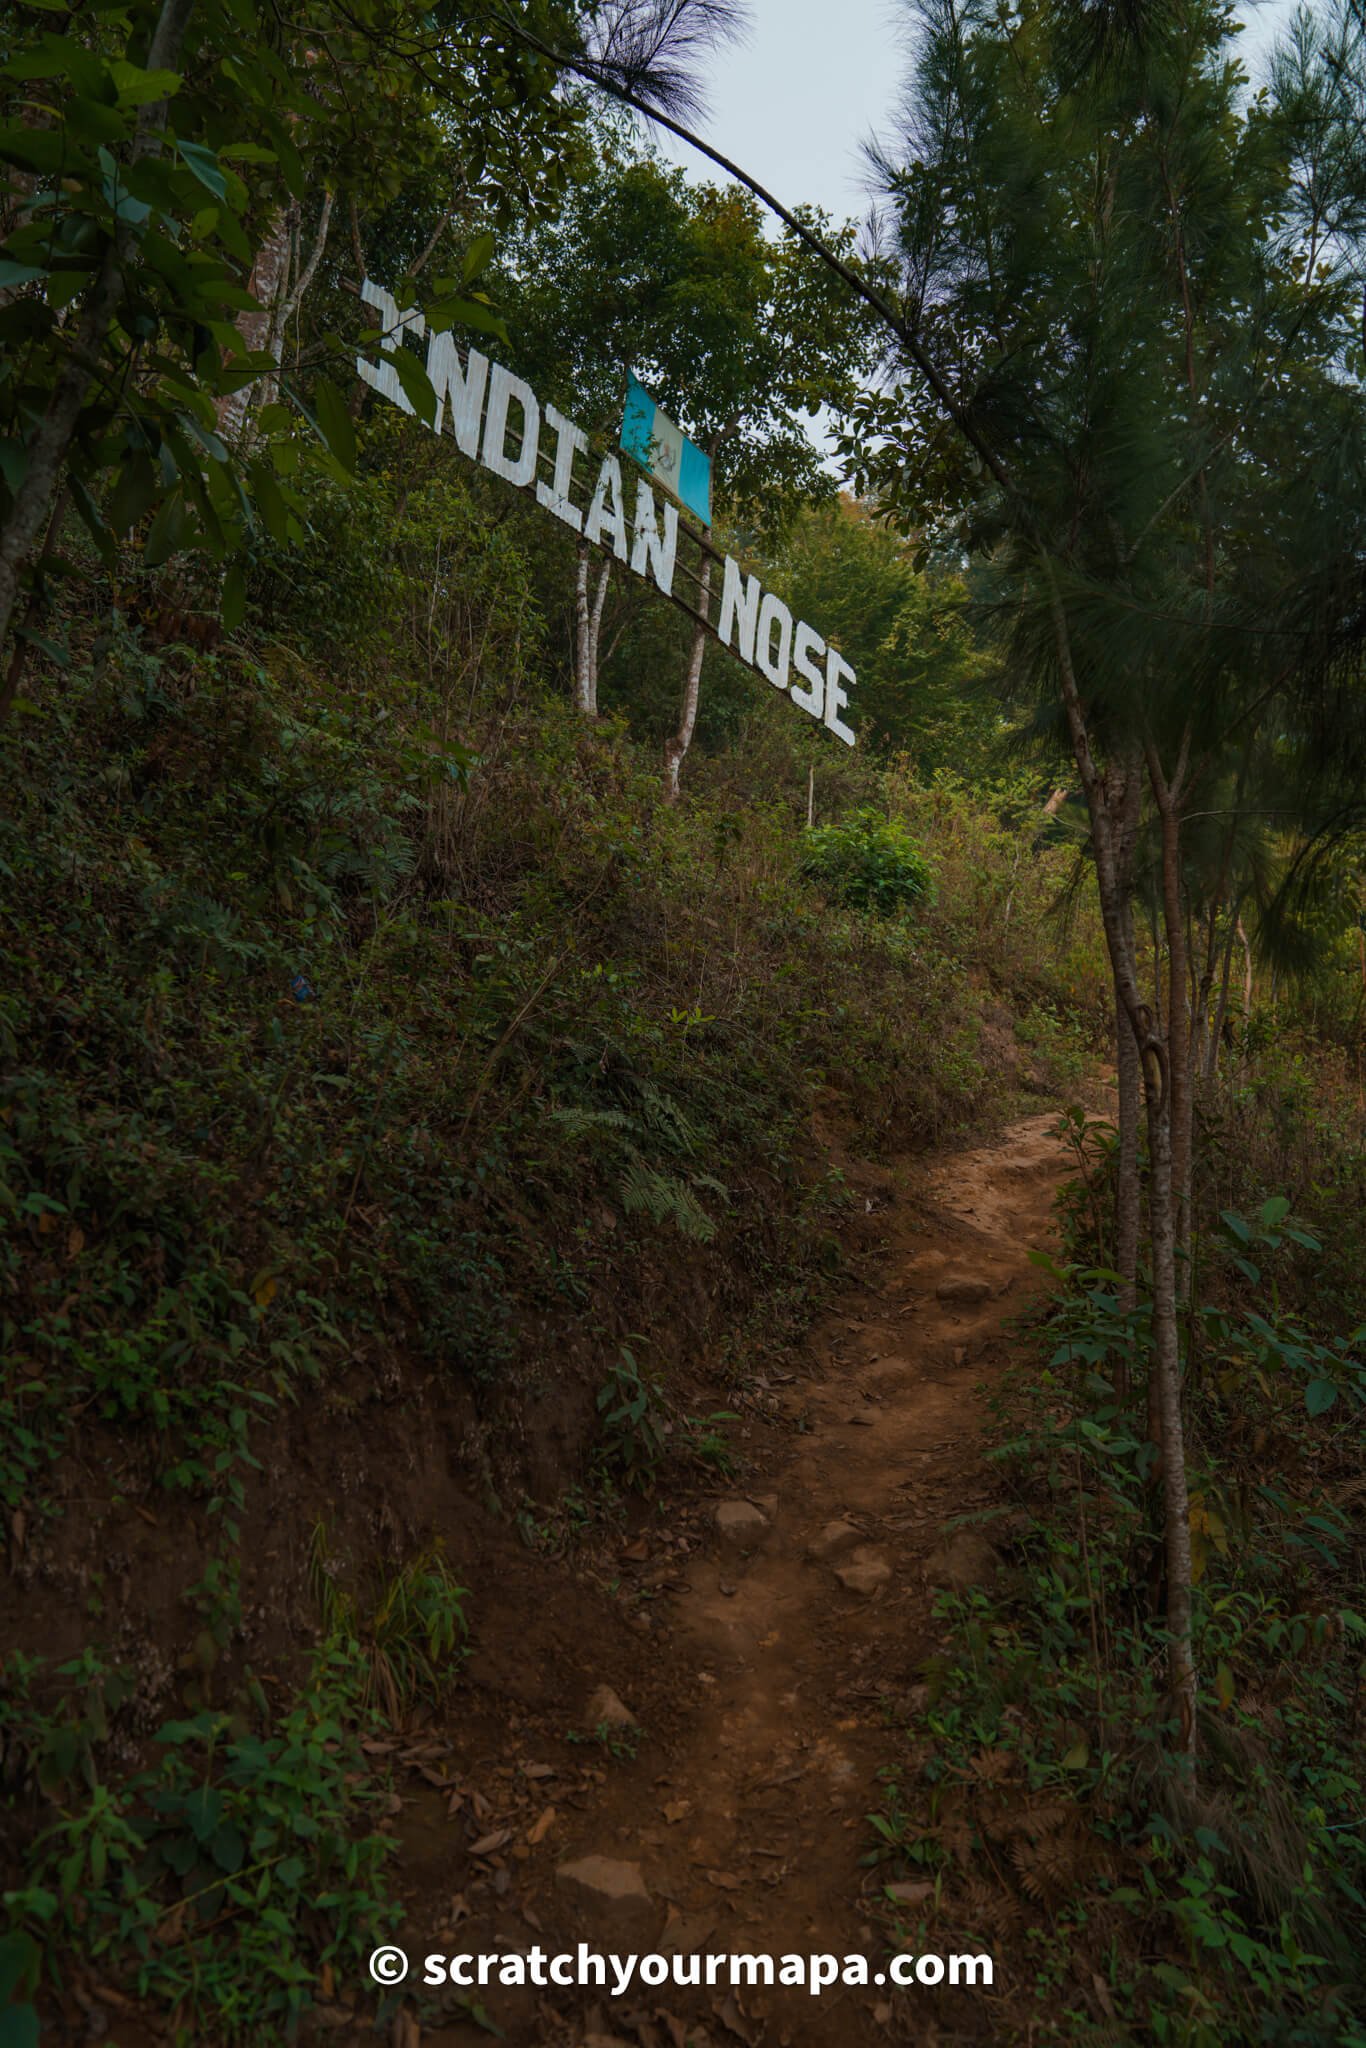
Once you see the sign "Indian Nose", you're on your last set of steps! It zig zags through the trees, and finally you'll be rewarded with the most stunning view in Guatemala!
🗿 Indian Nose Viewpoint
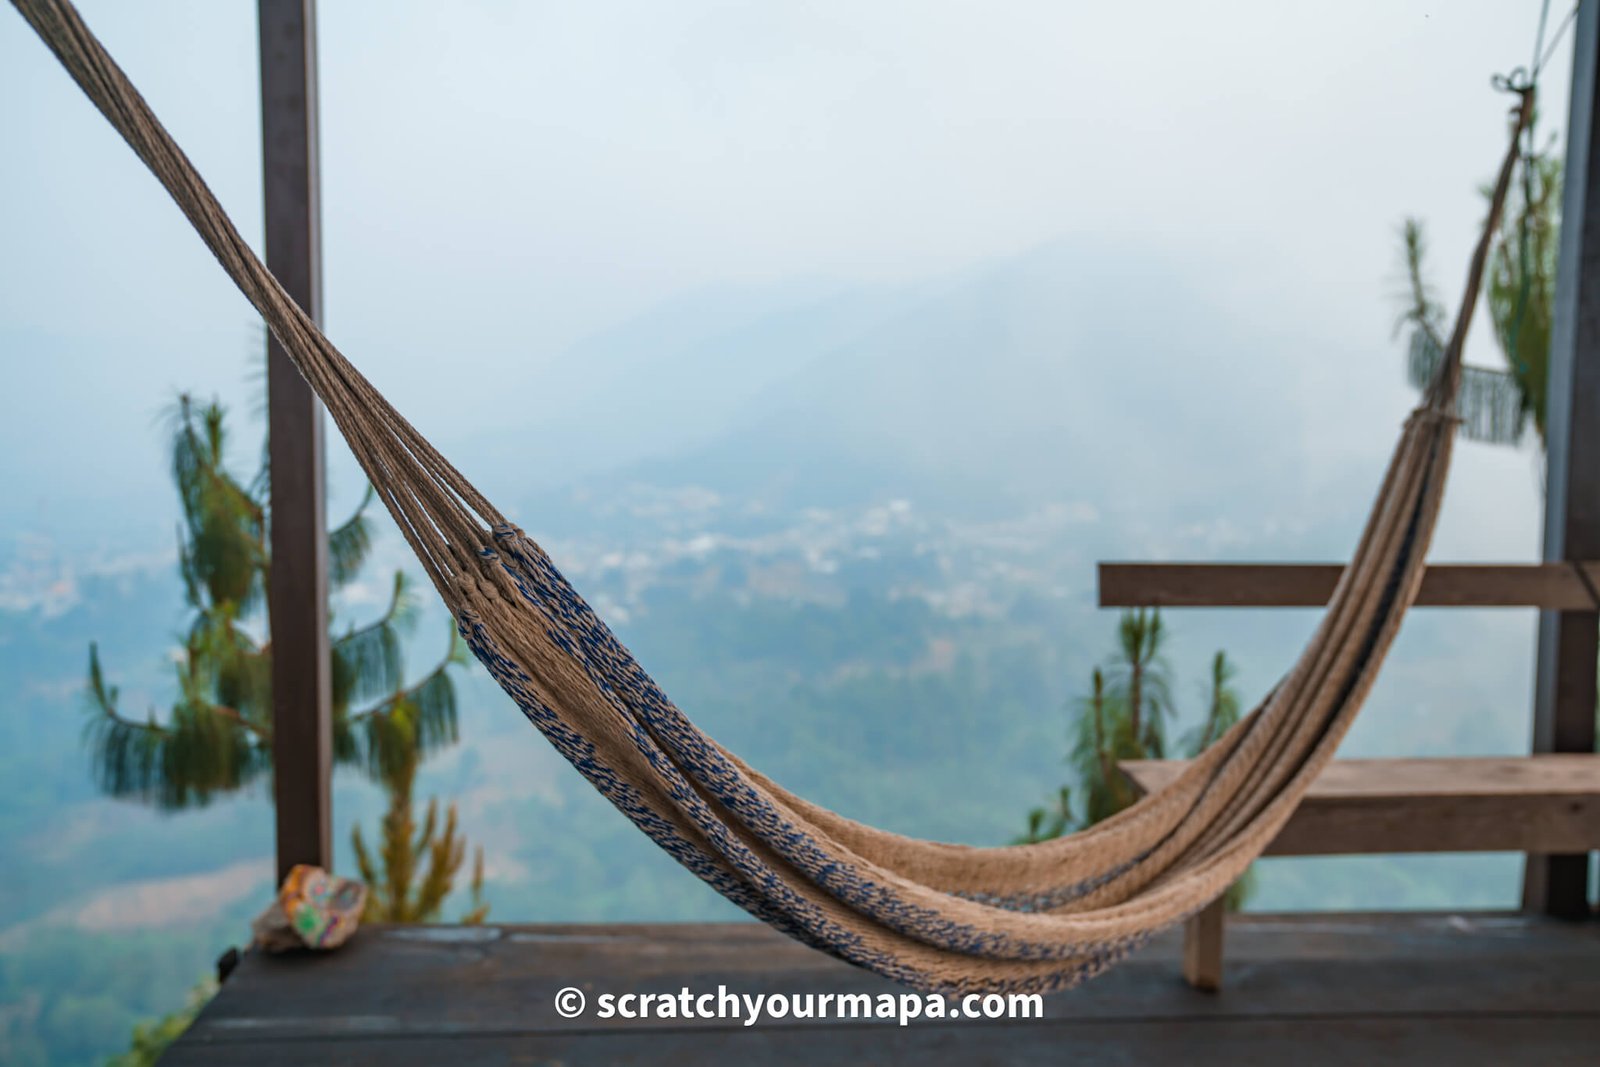
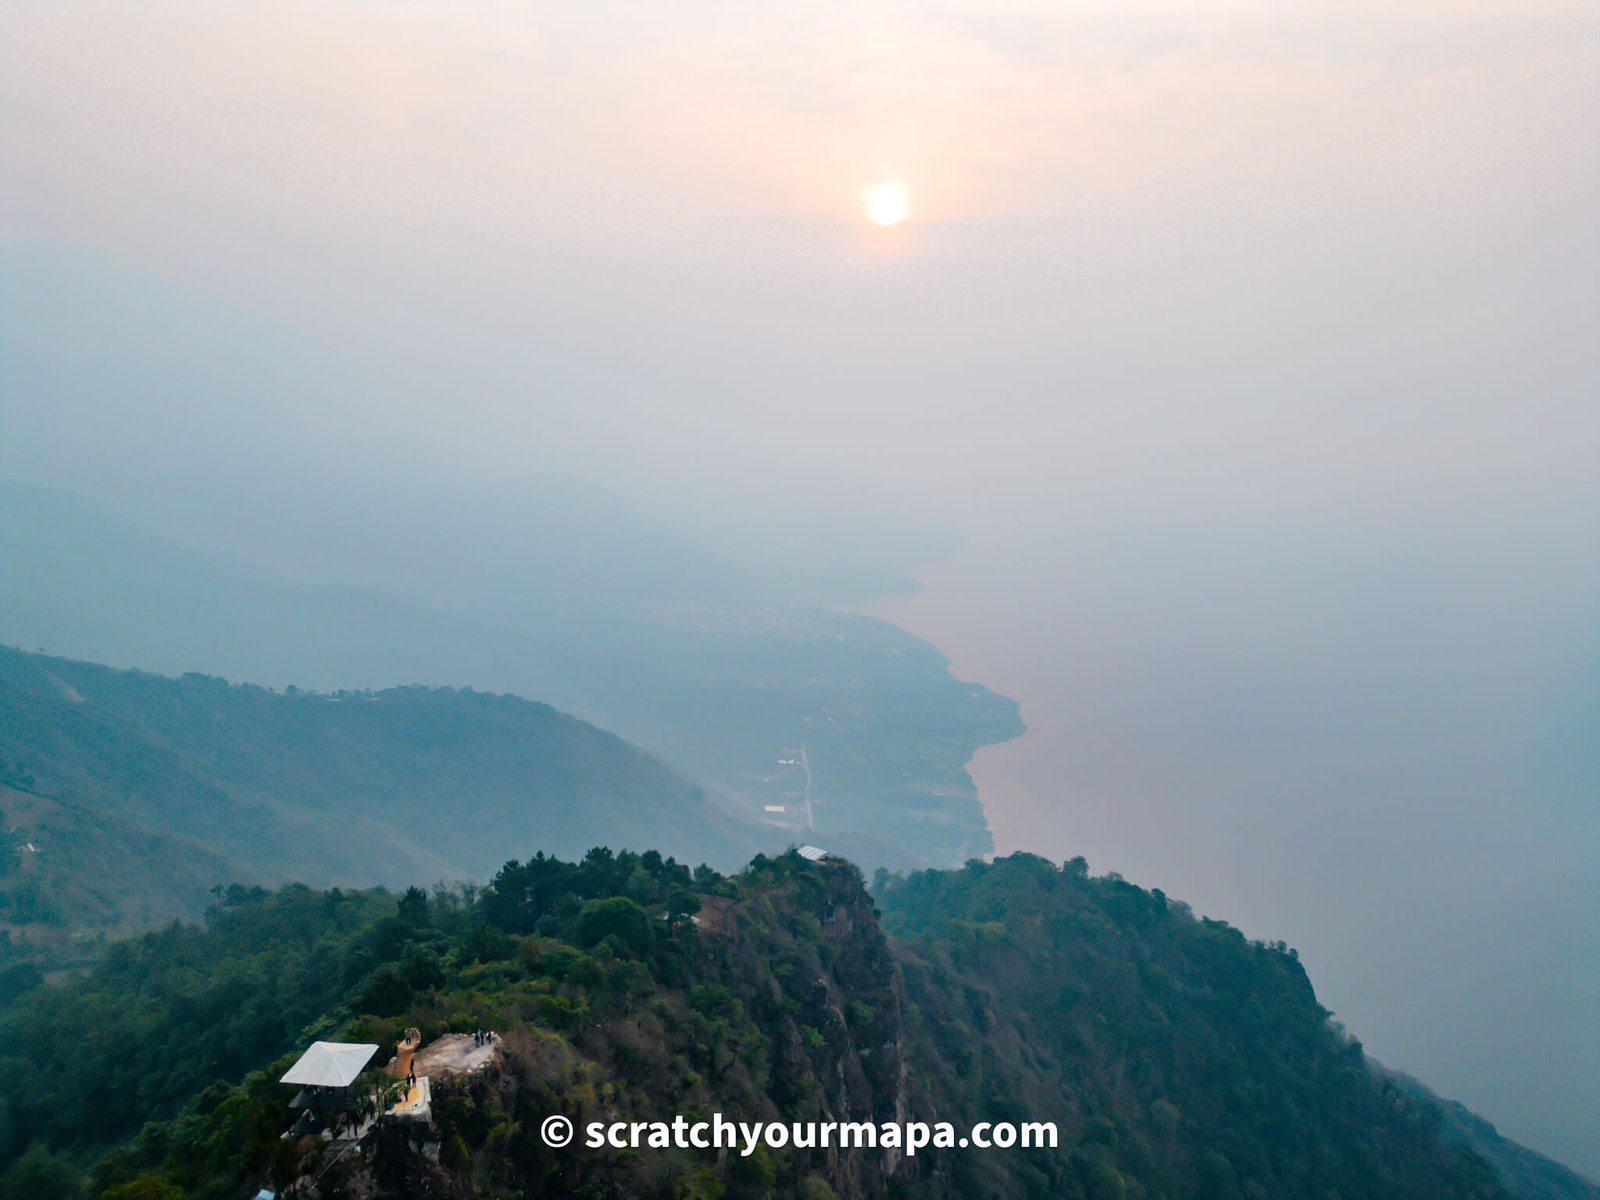
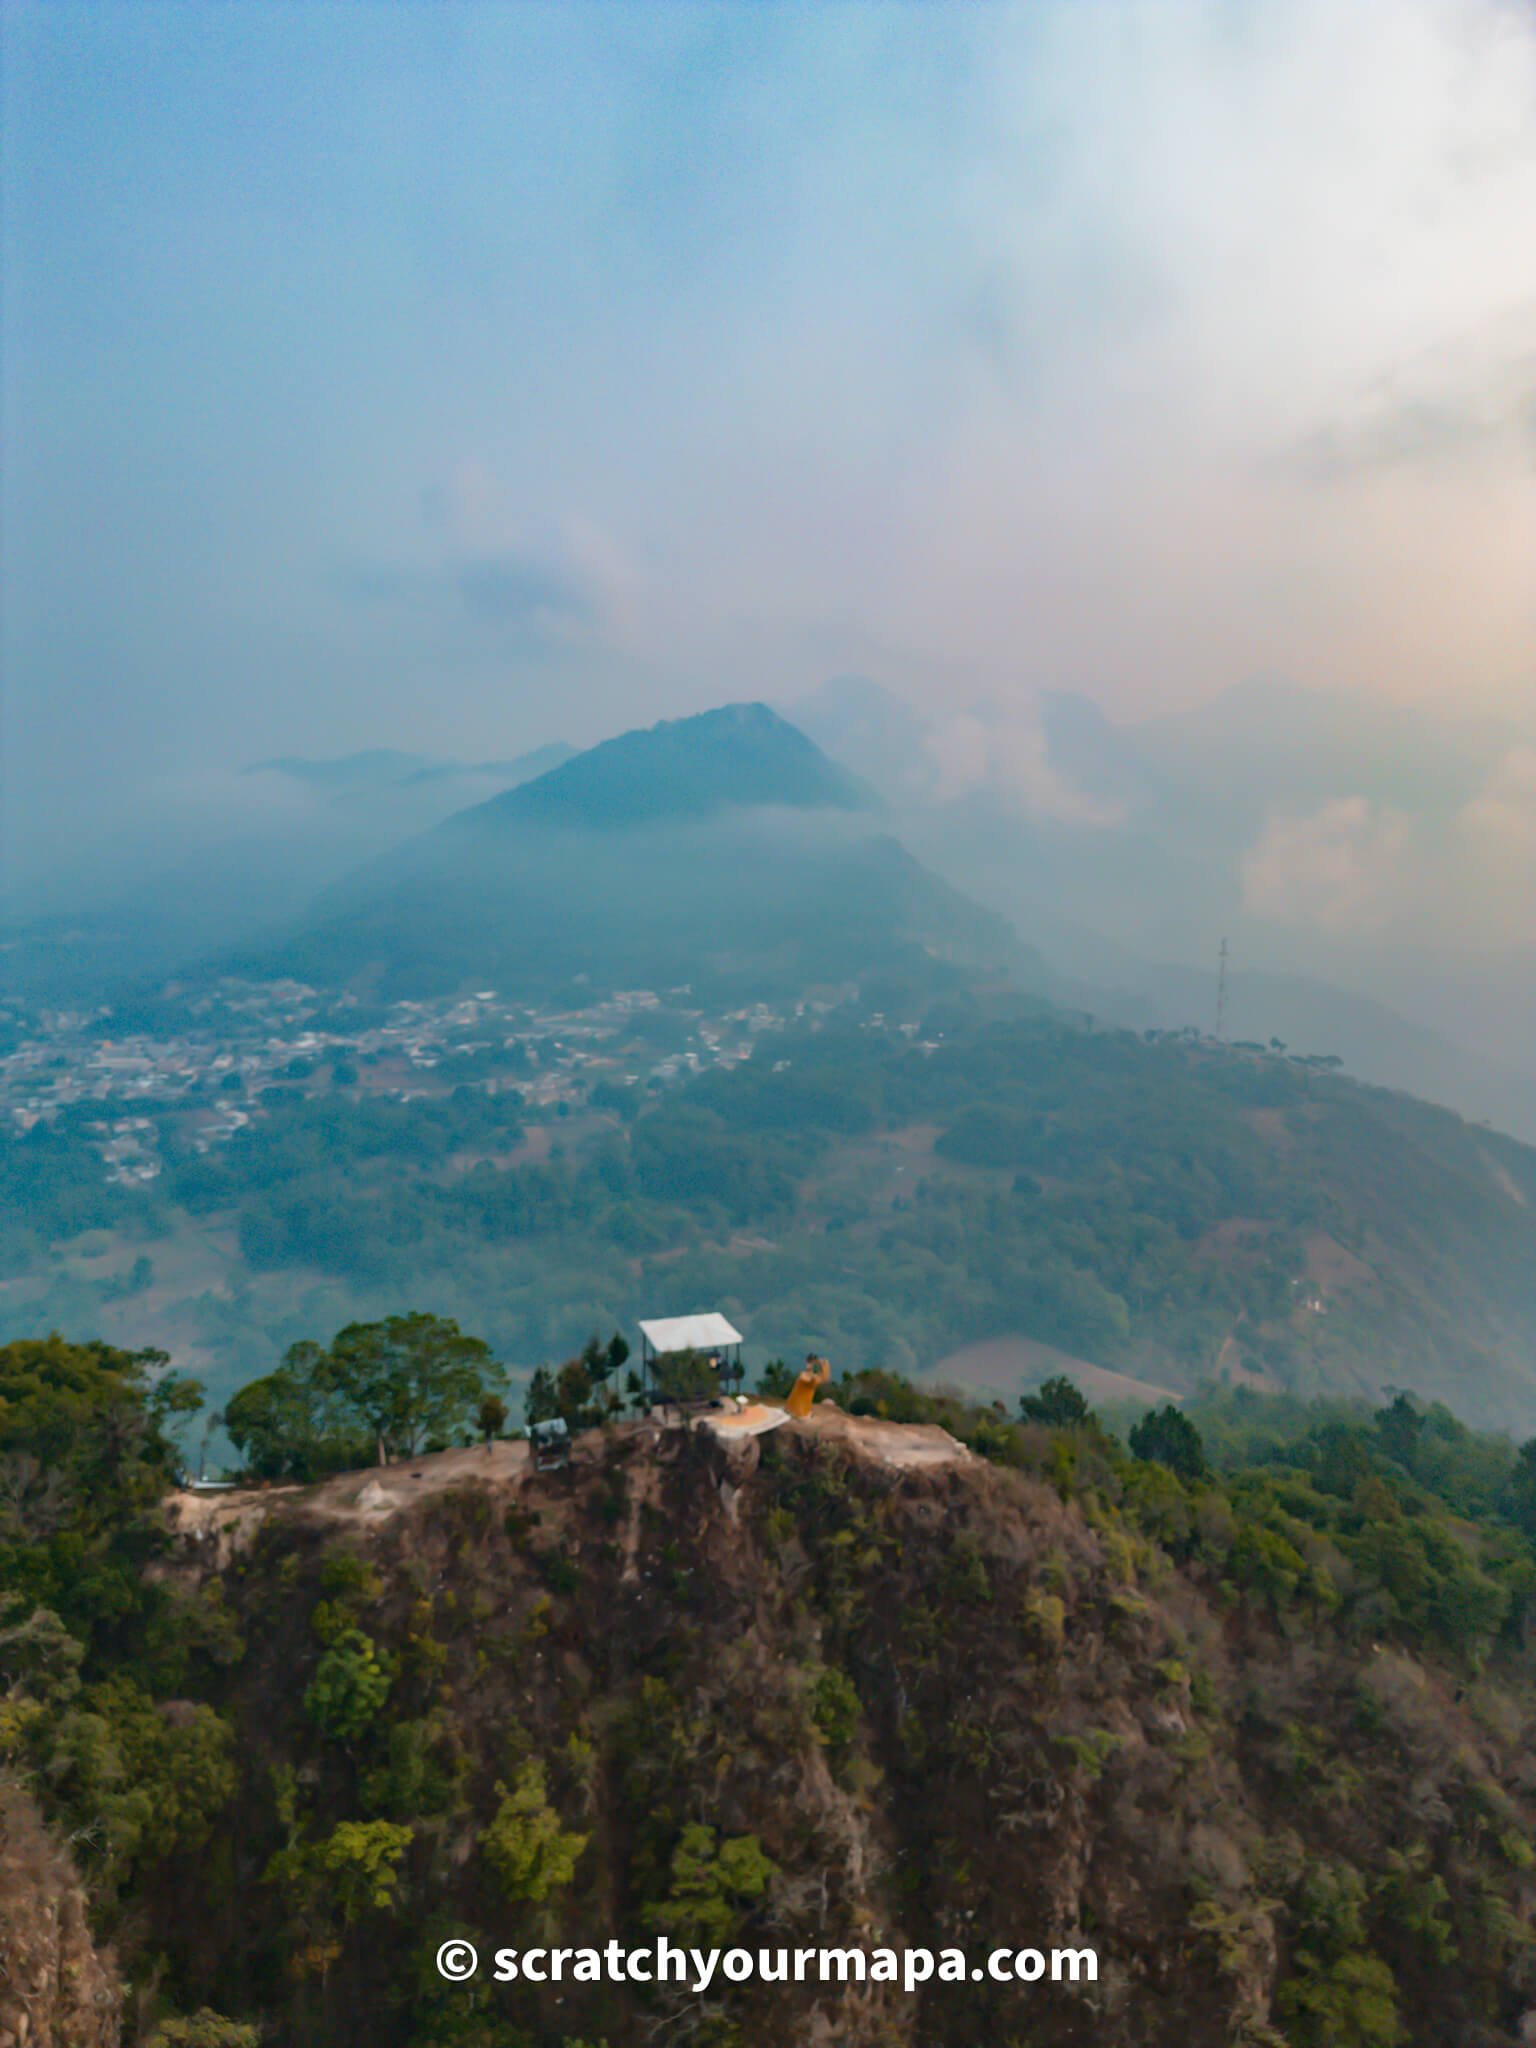
The set up at Indian Nose is quite simple. It has a small structure on the side that has stairs going up to a platform, as well as a hammock.
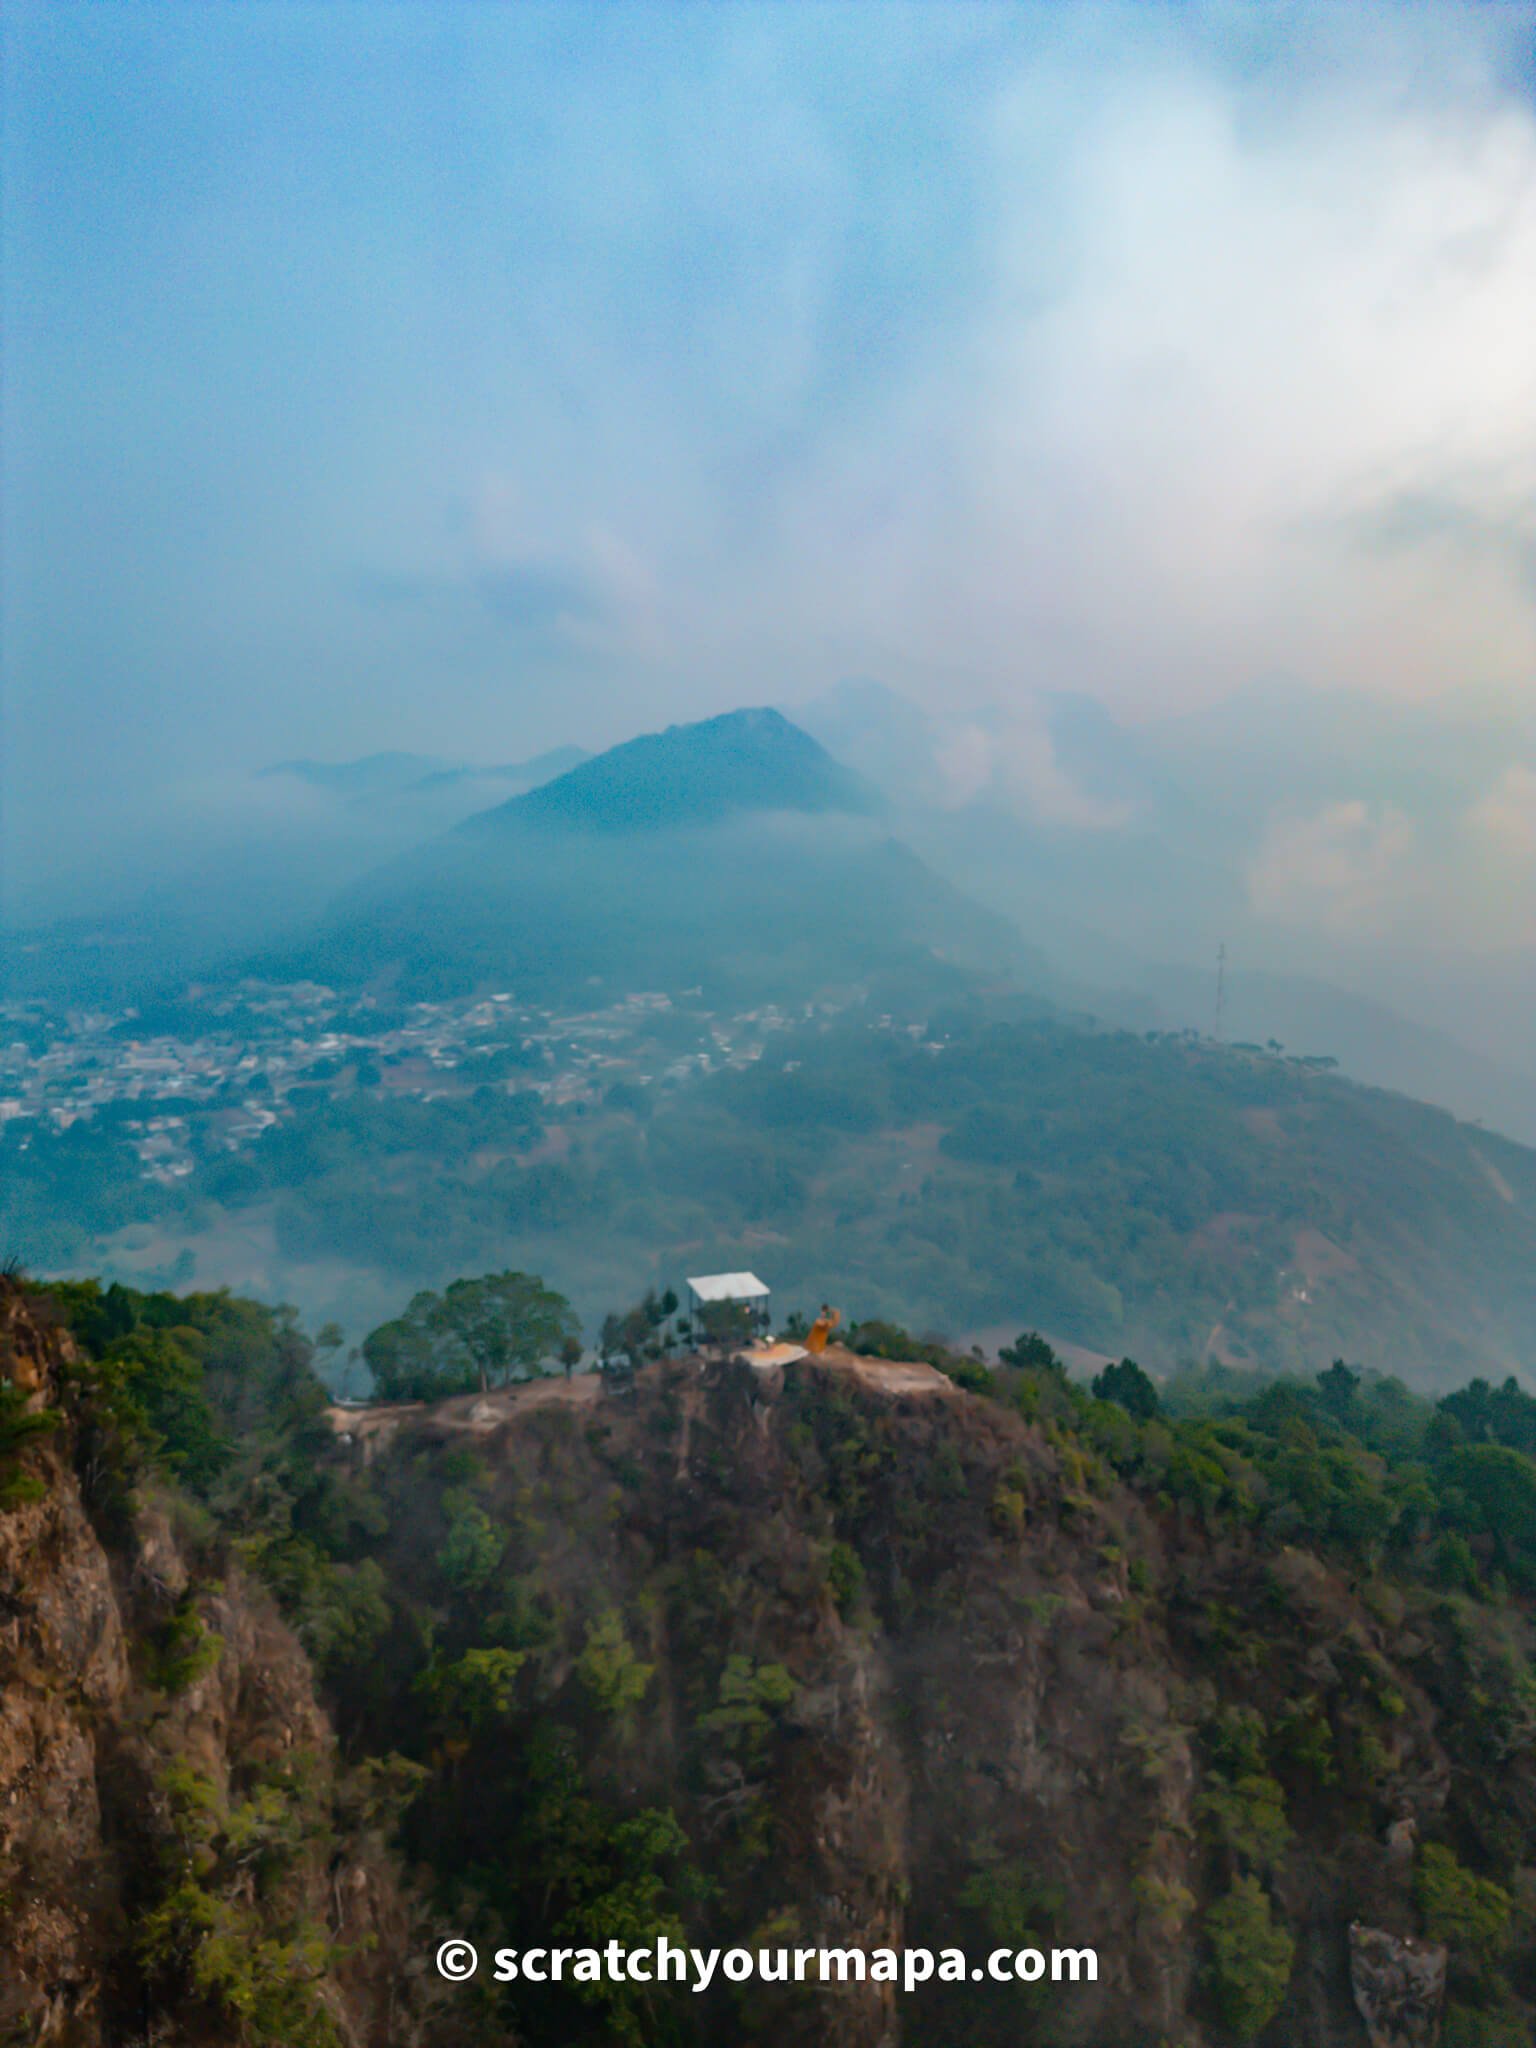
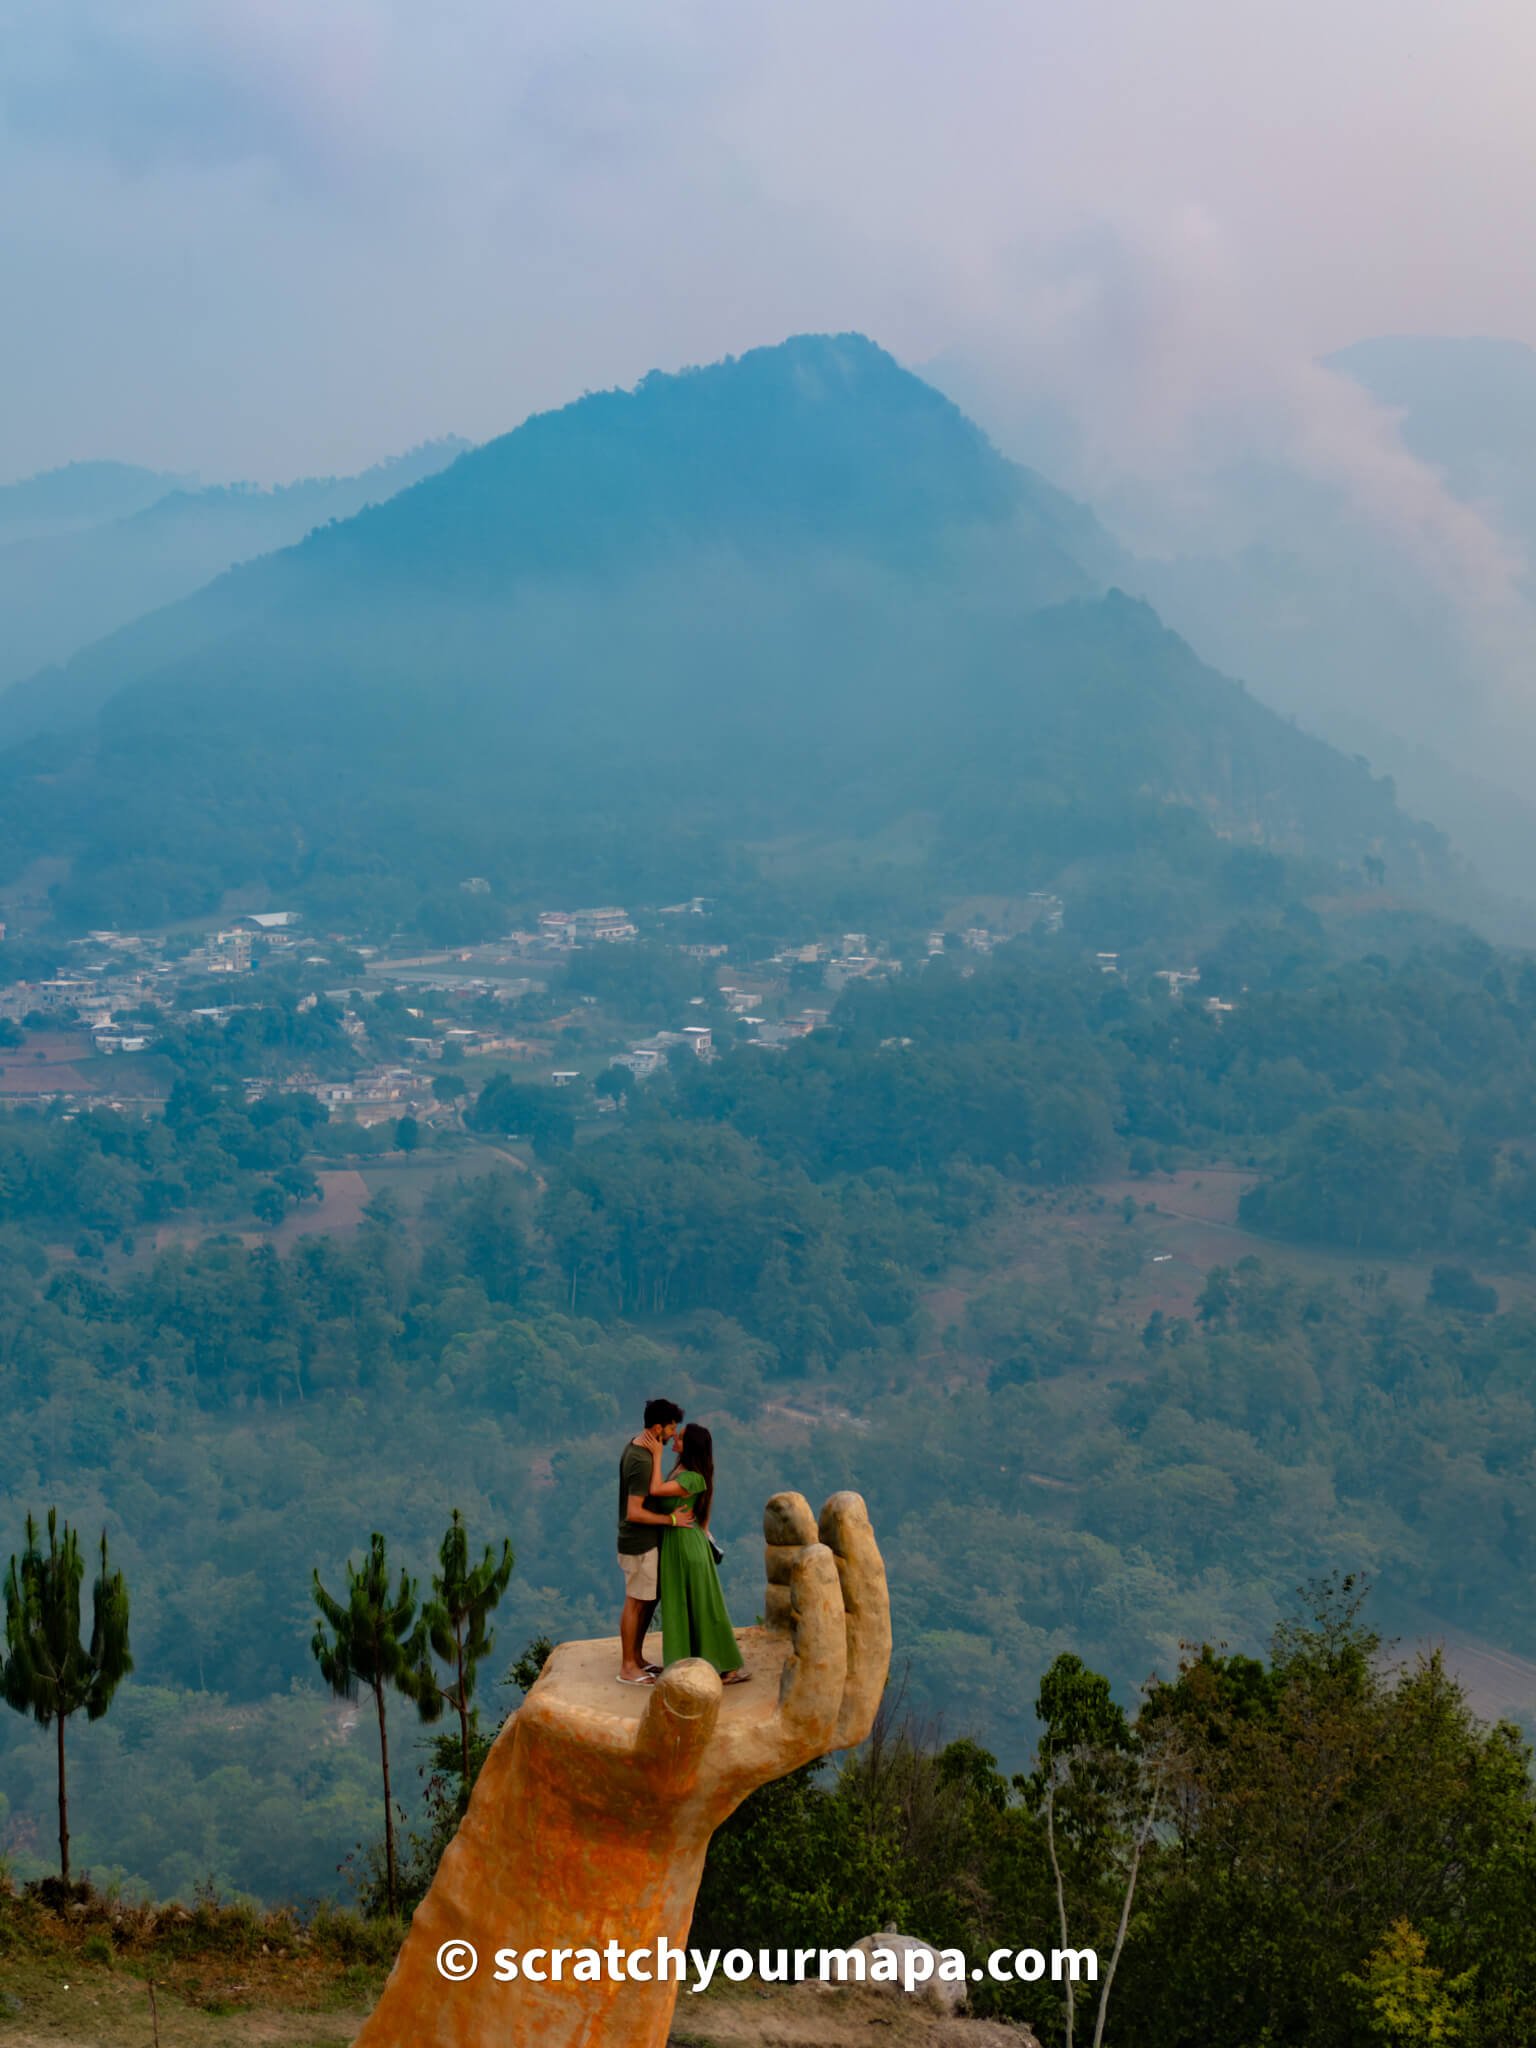
You'll notice the iconic hand statue, which is where everyone walks up to take beautiful pictures.
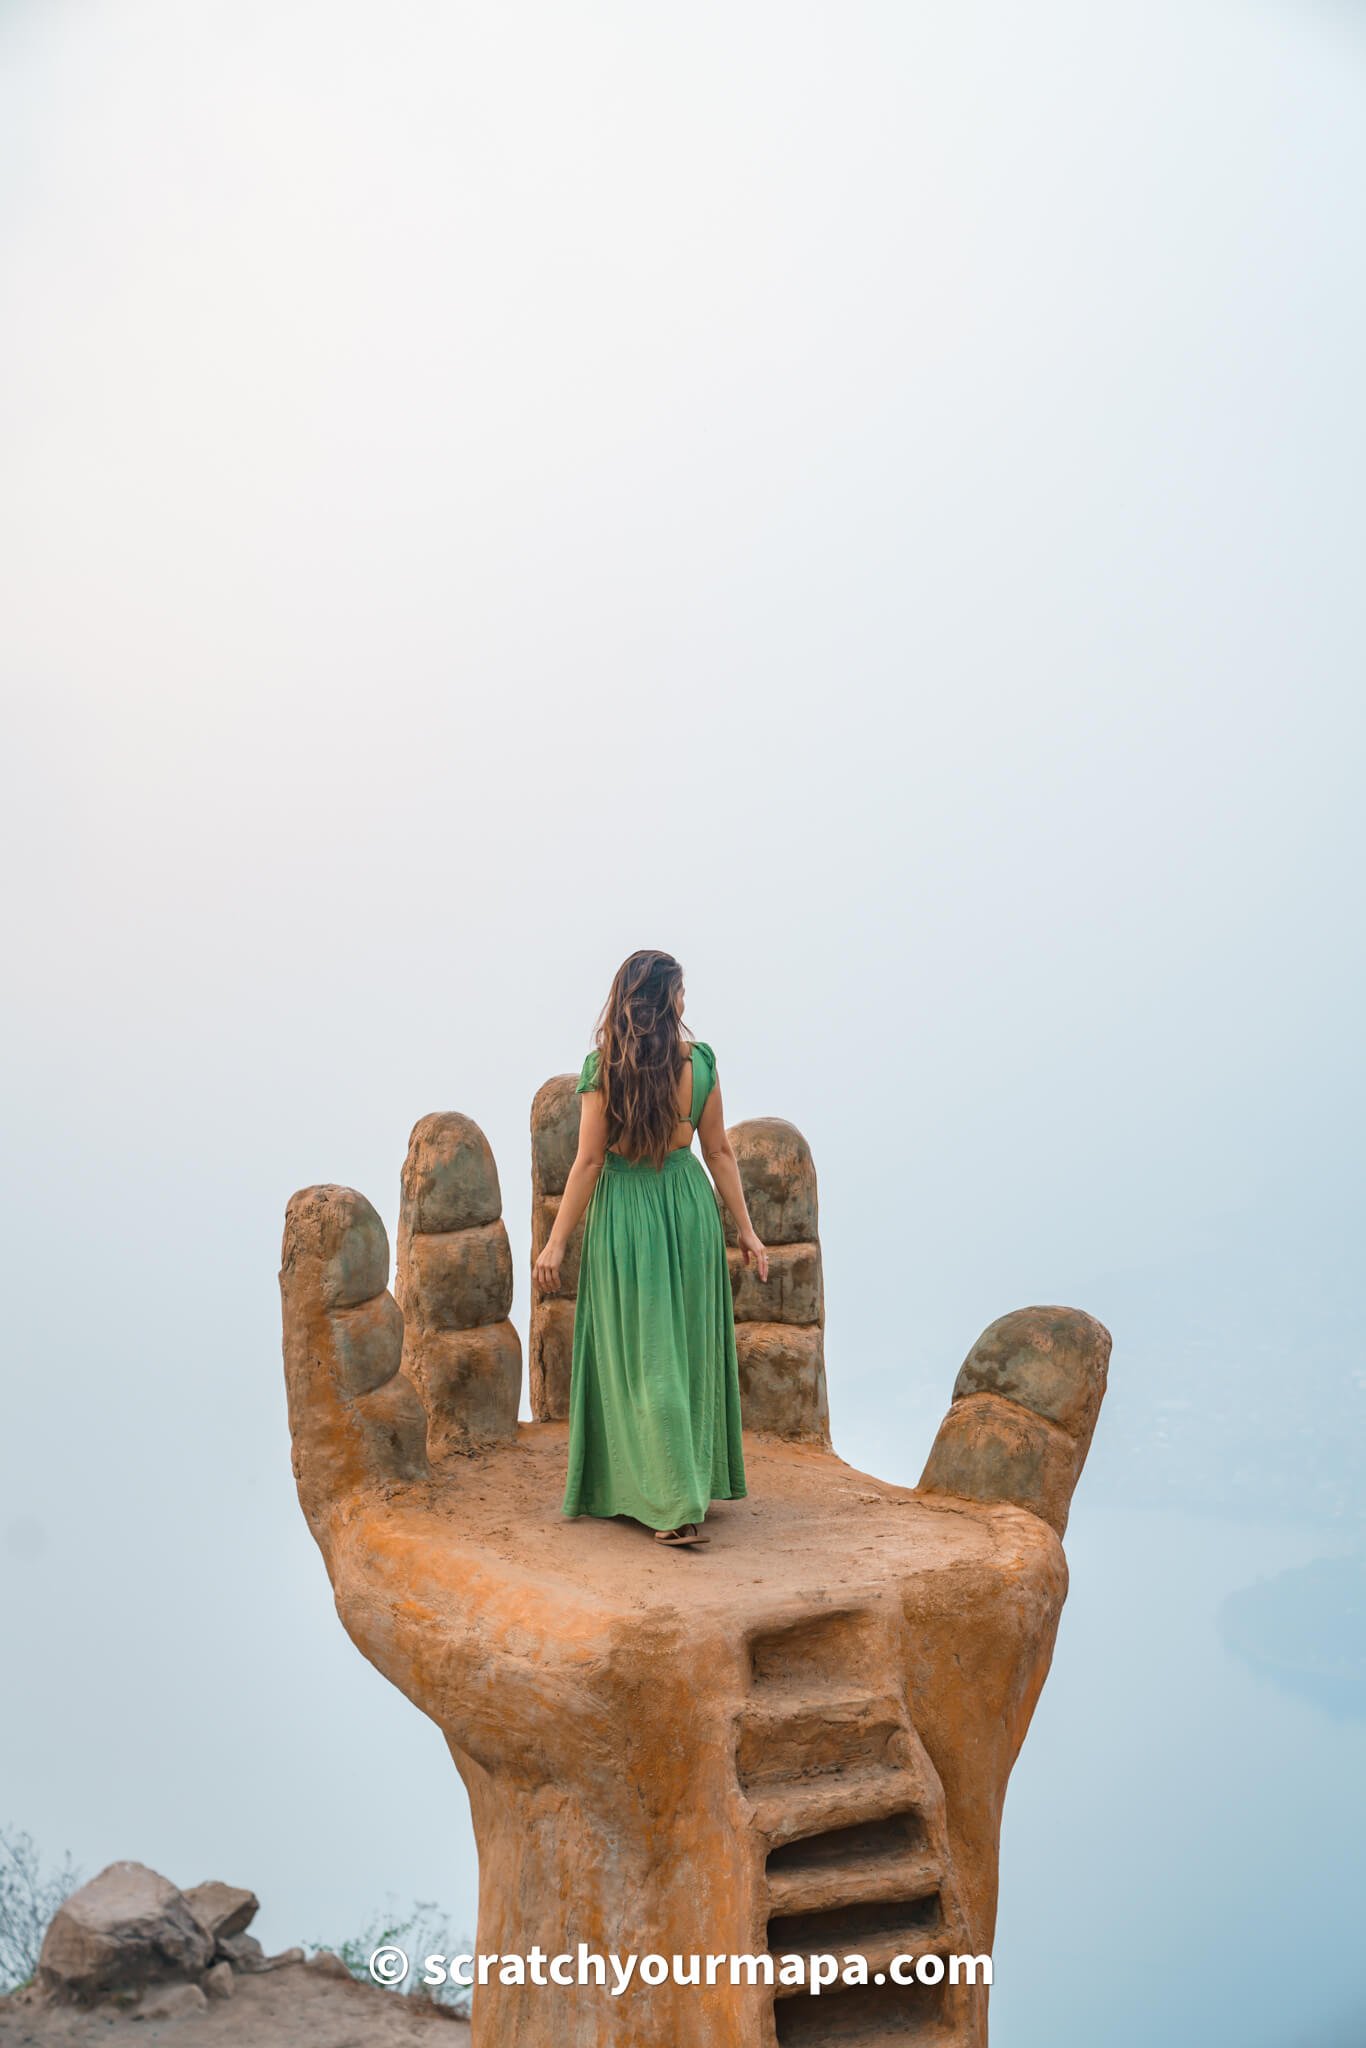
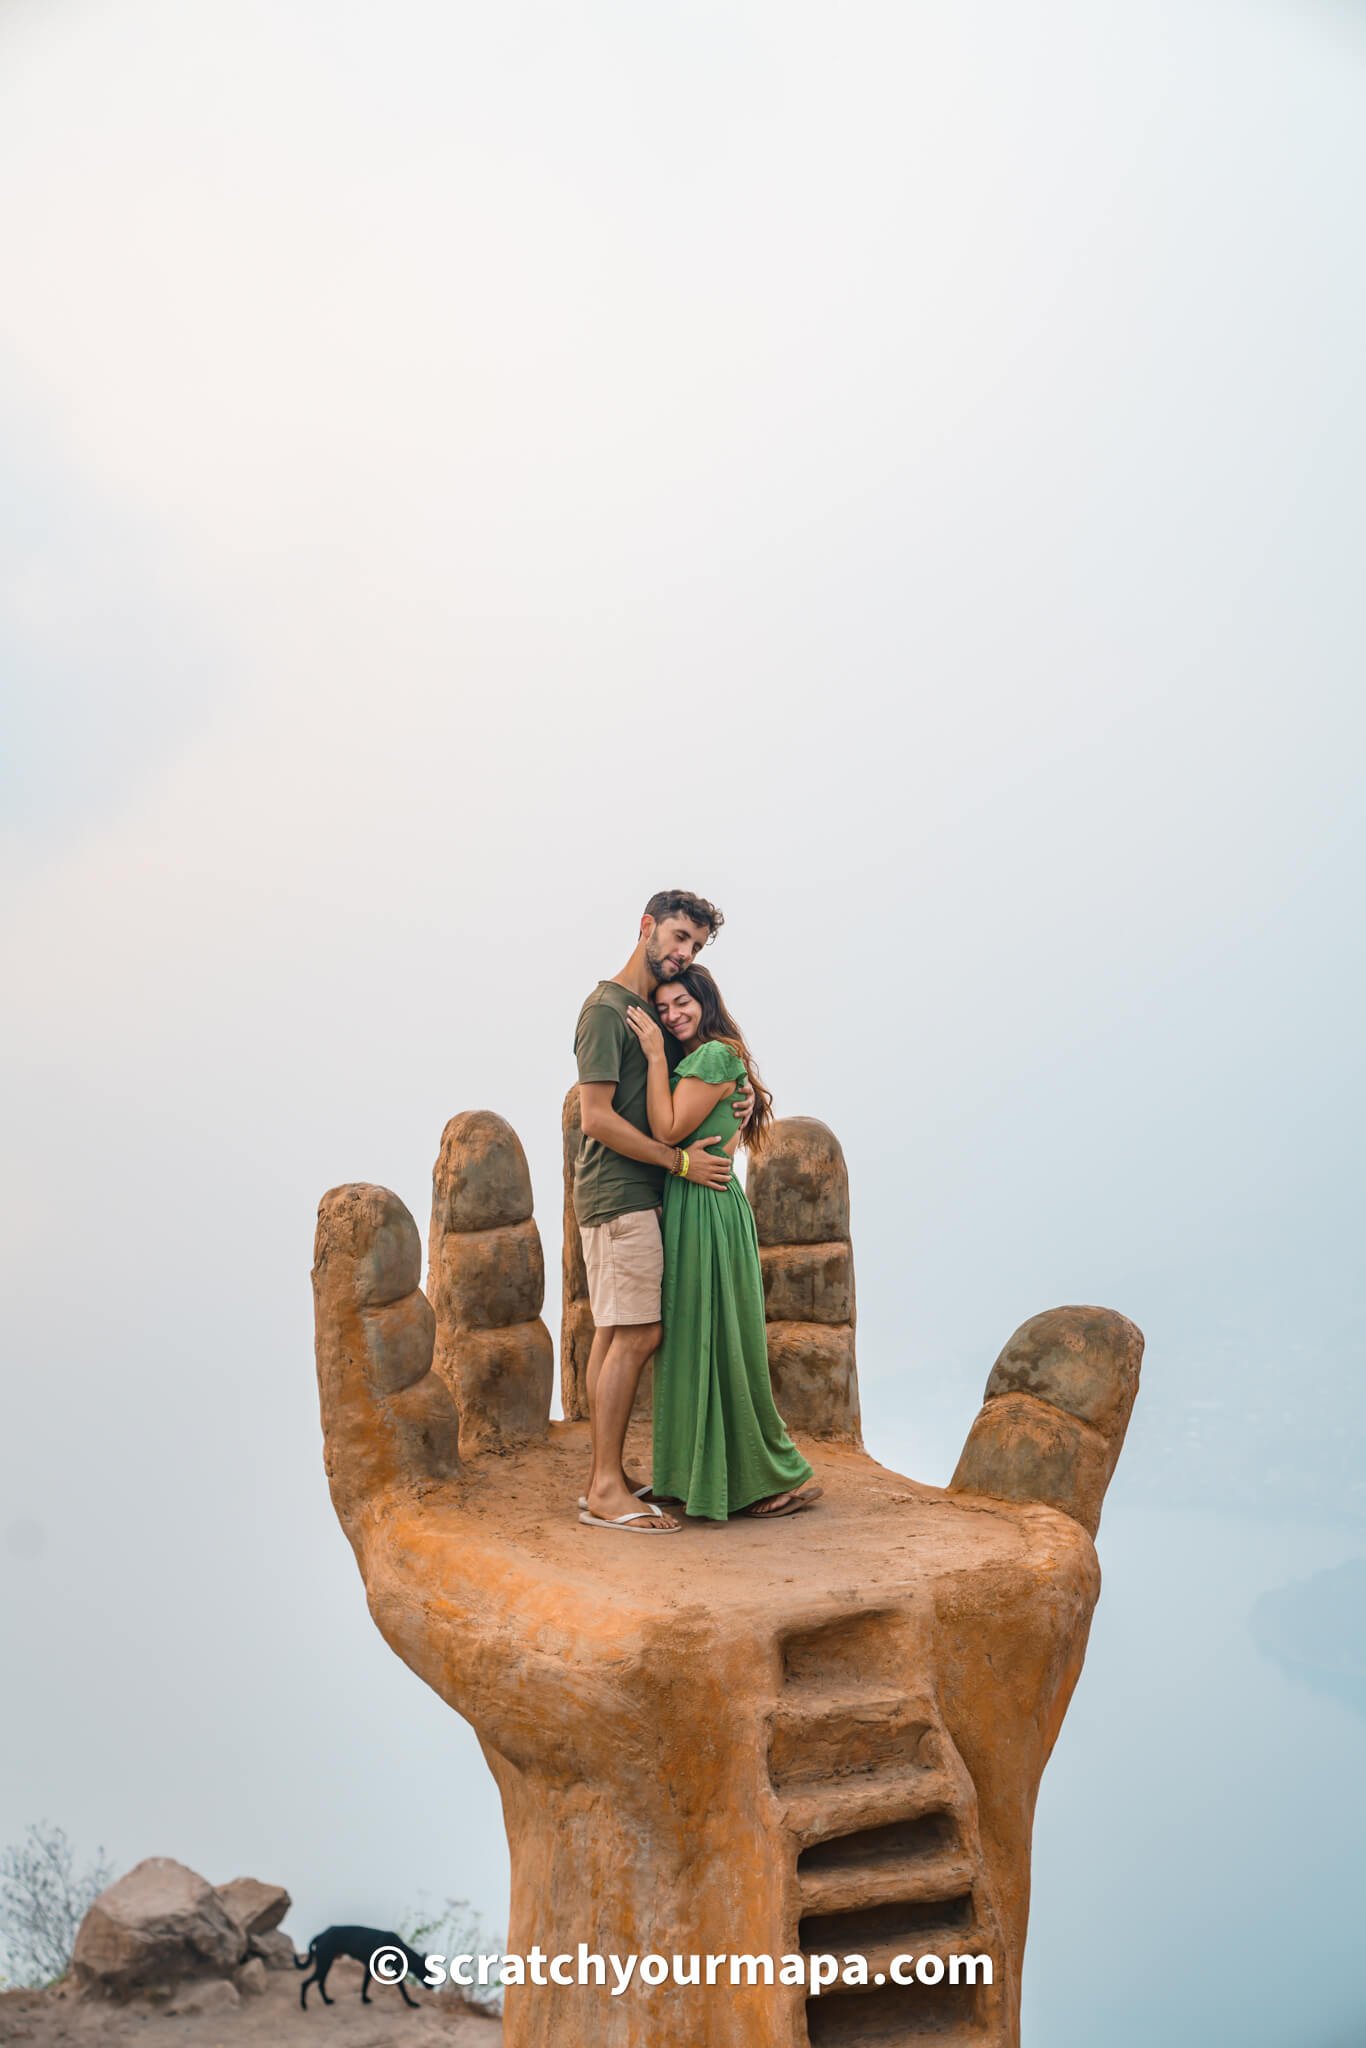
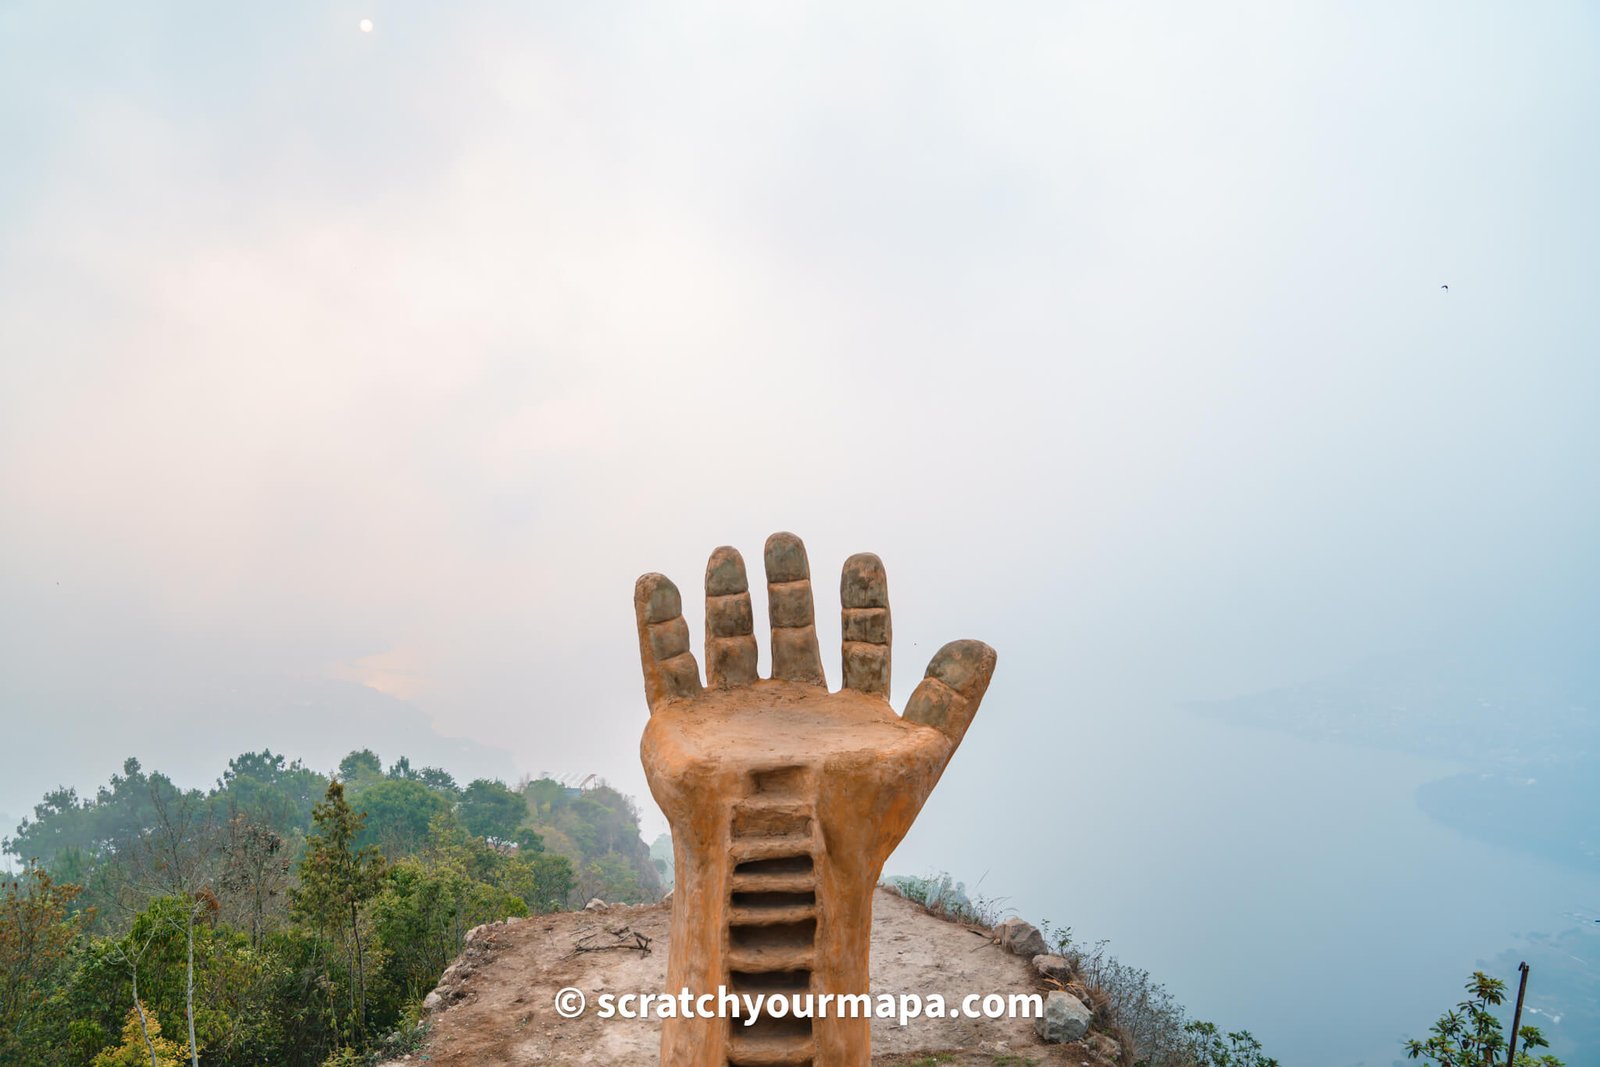
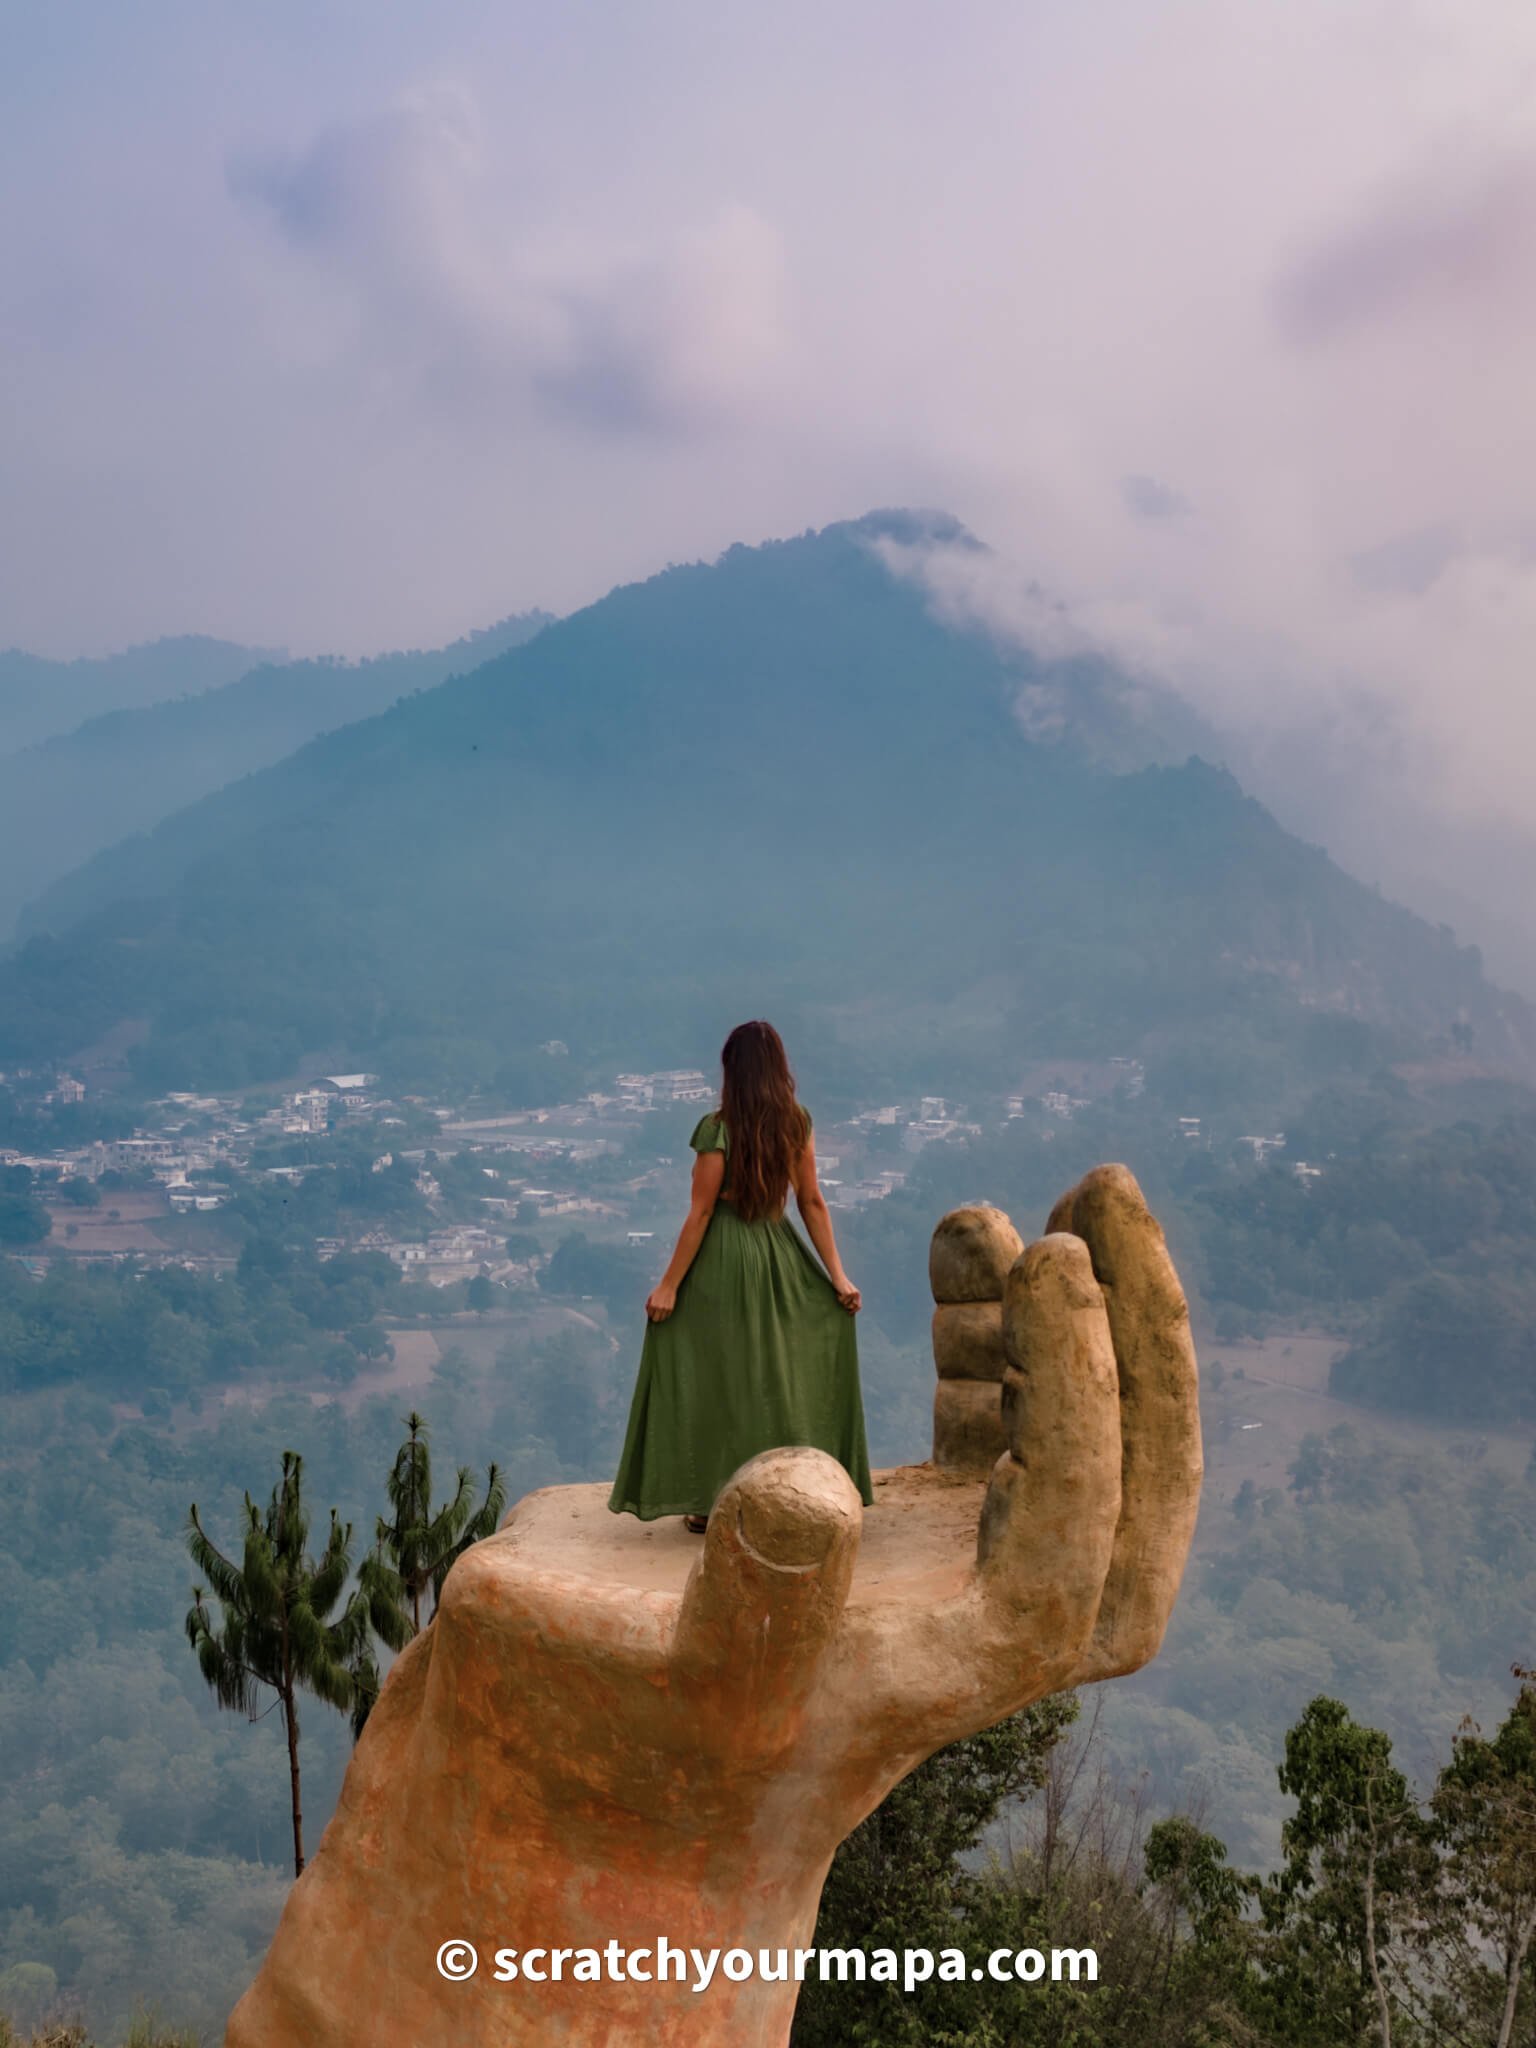
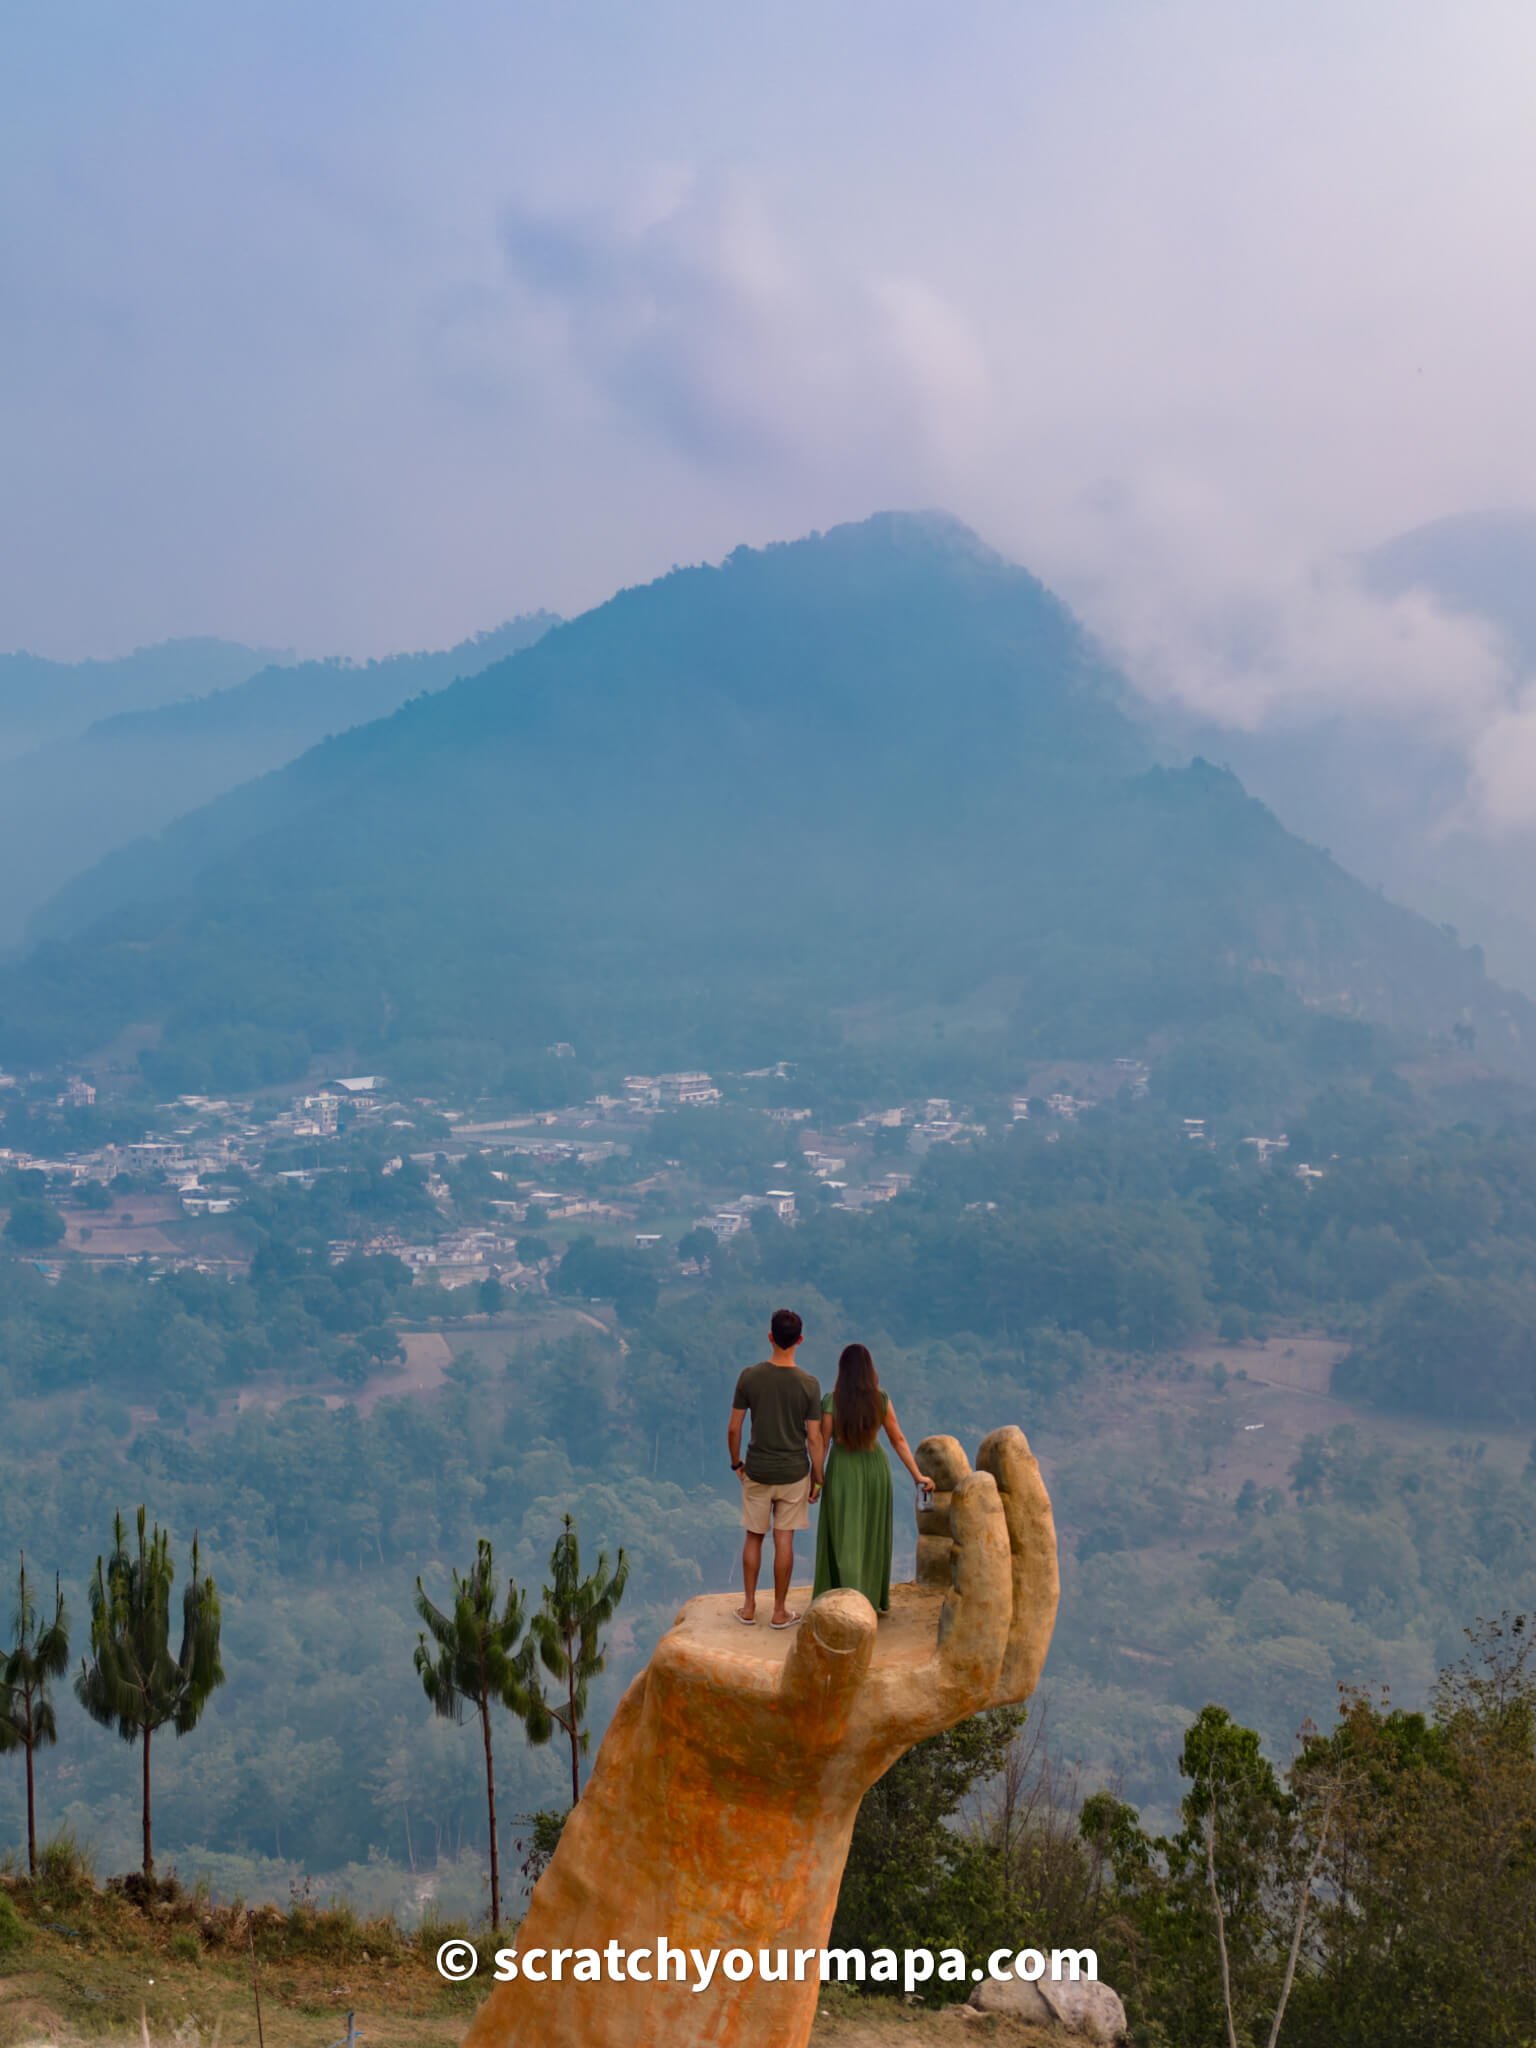
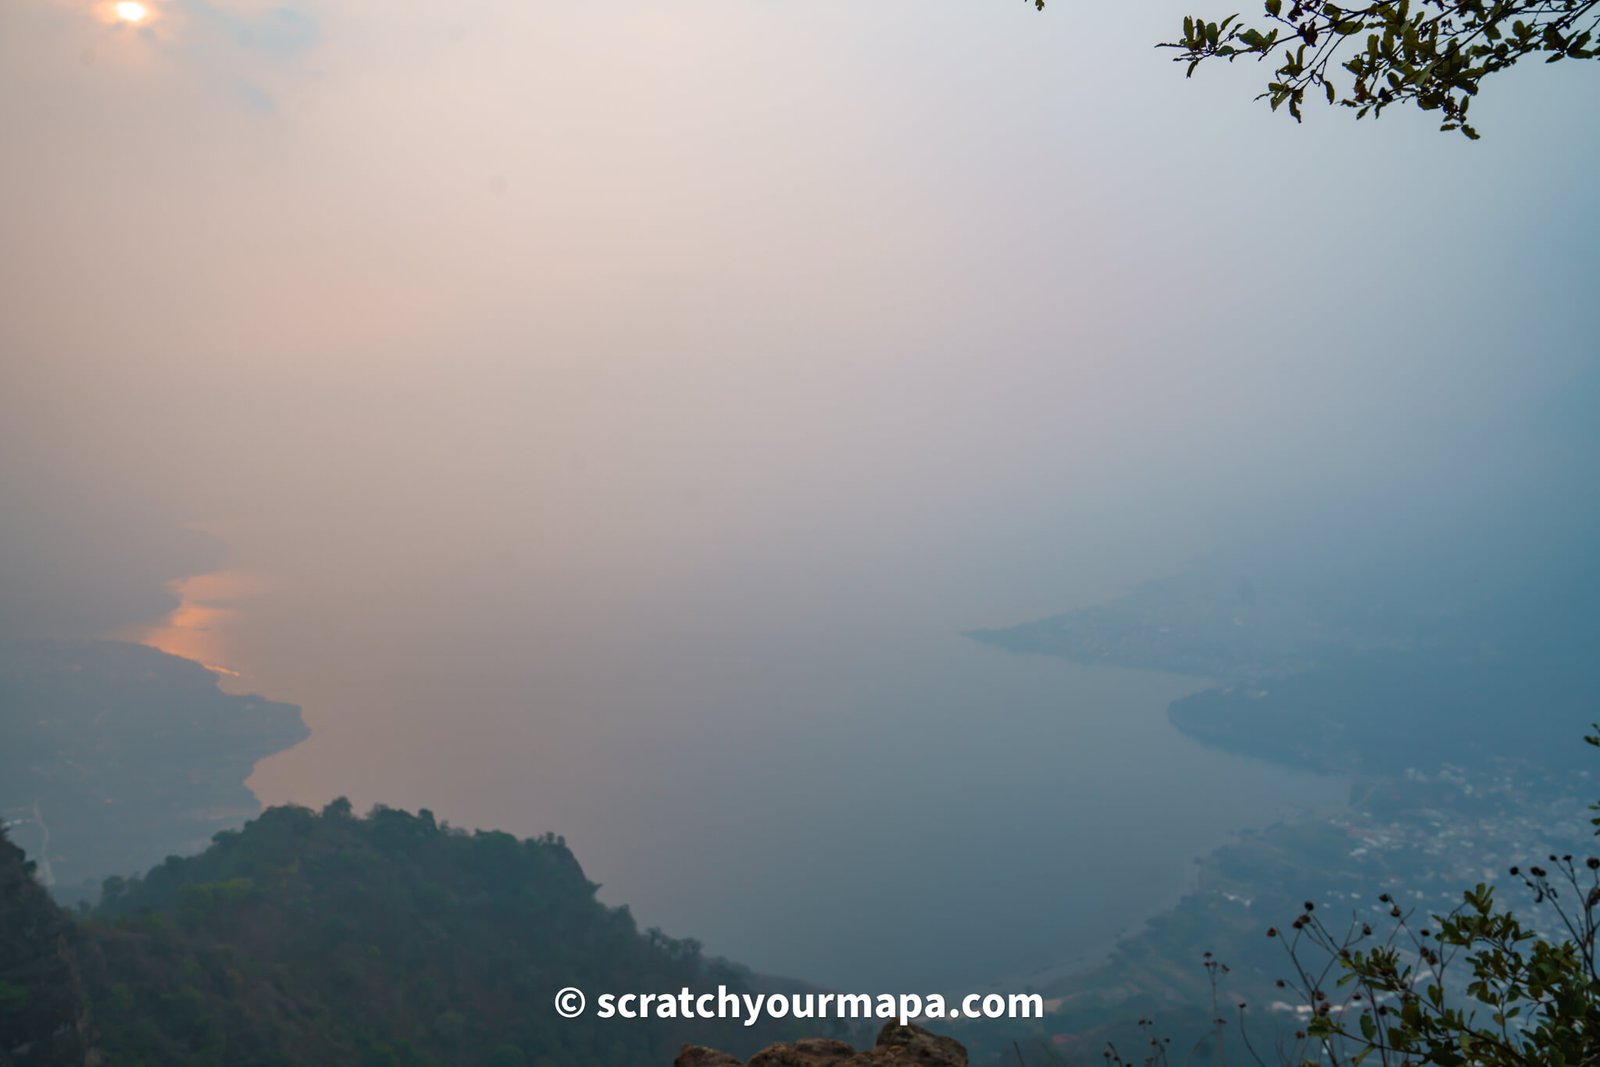
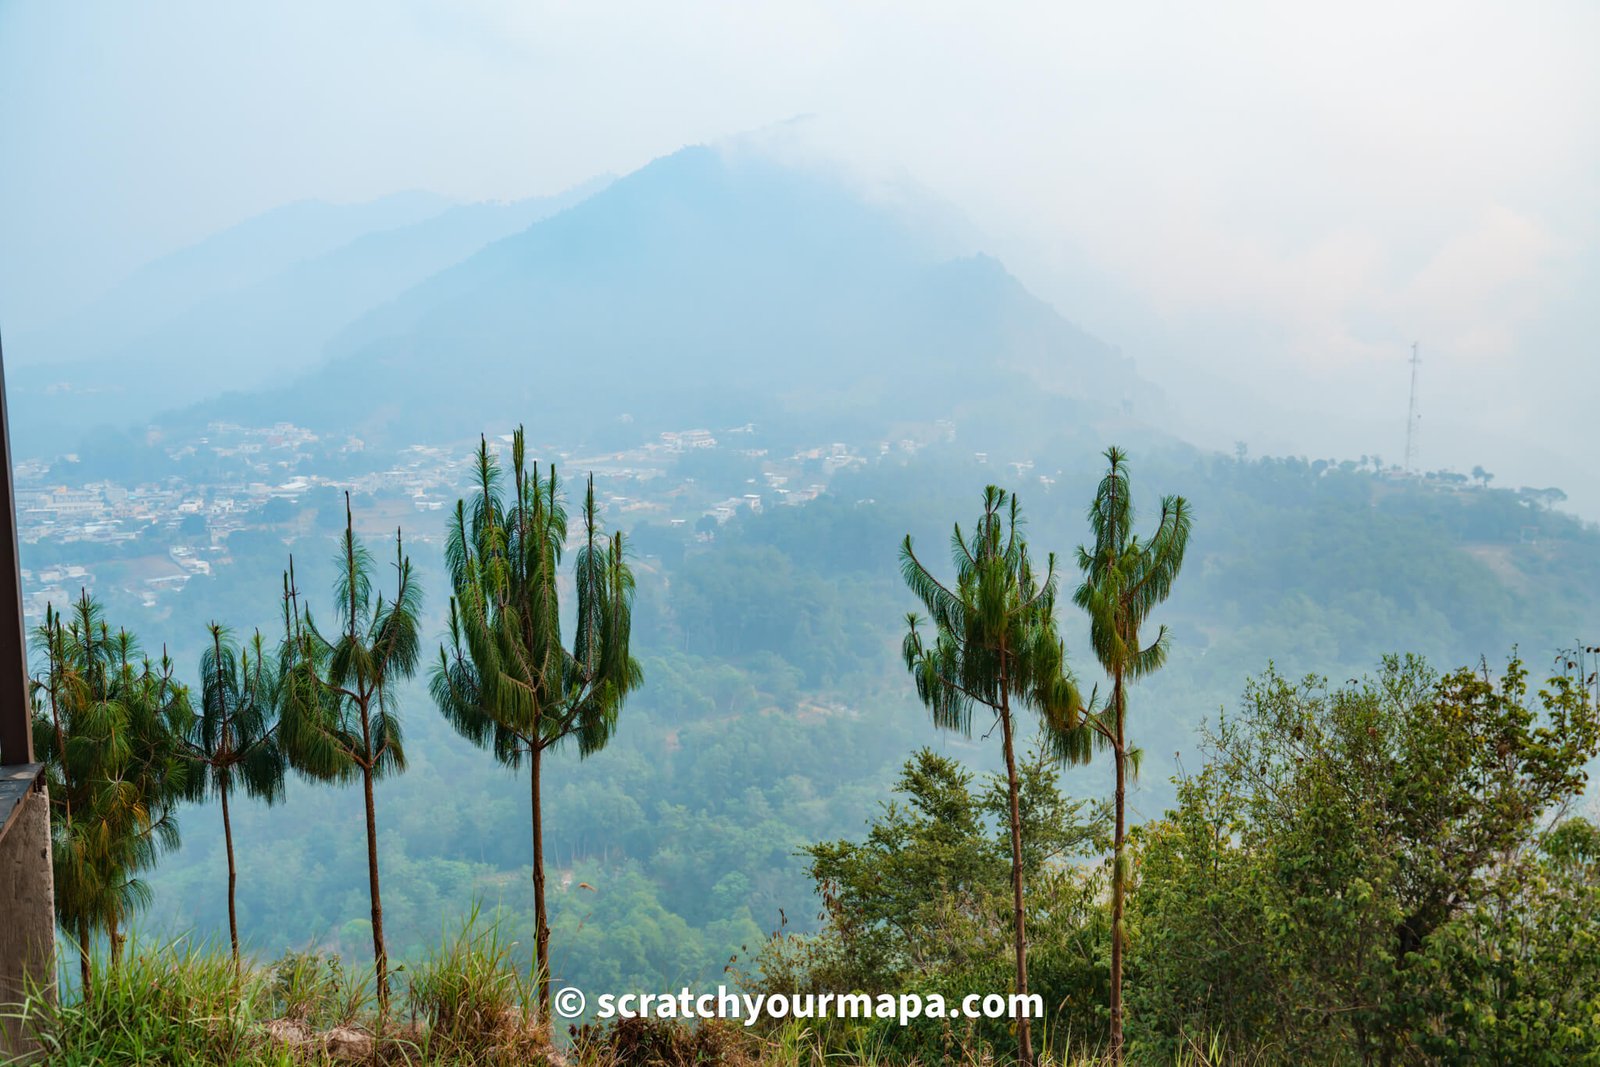
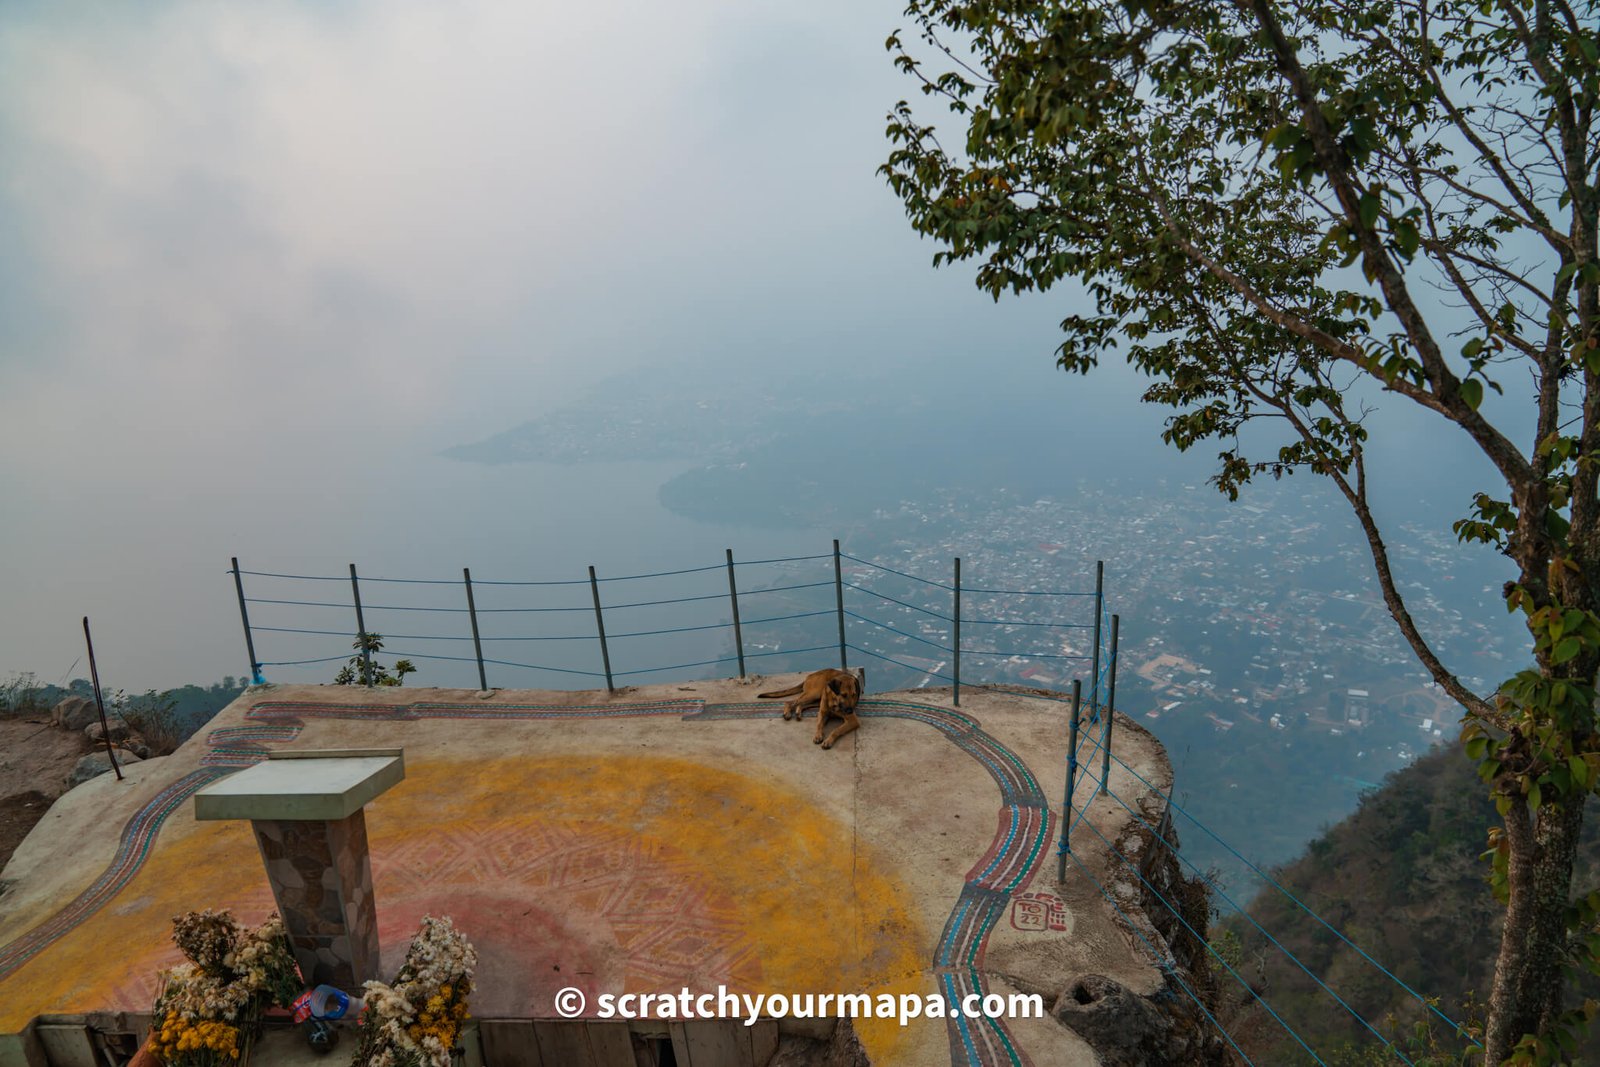
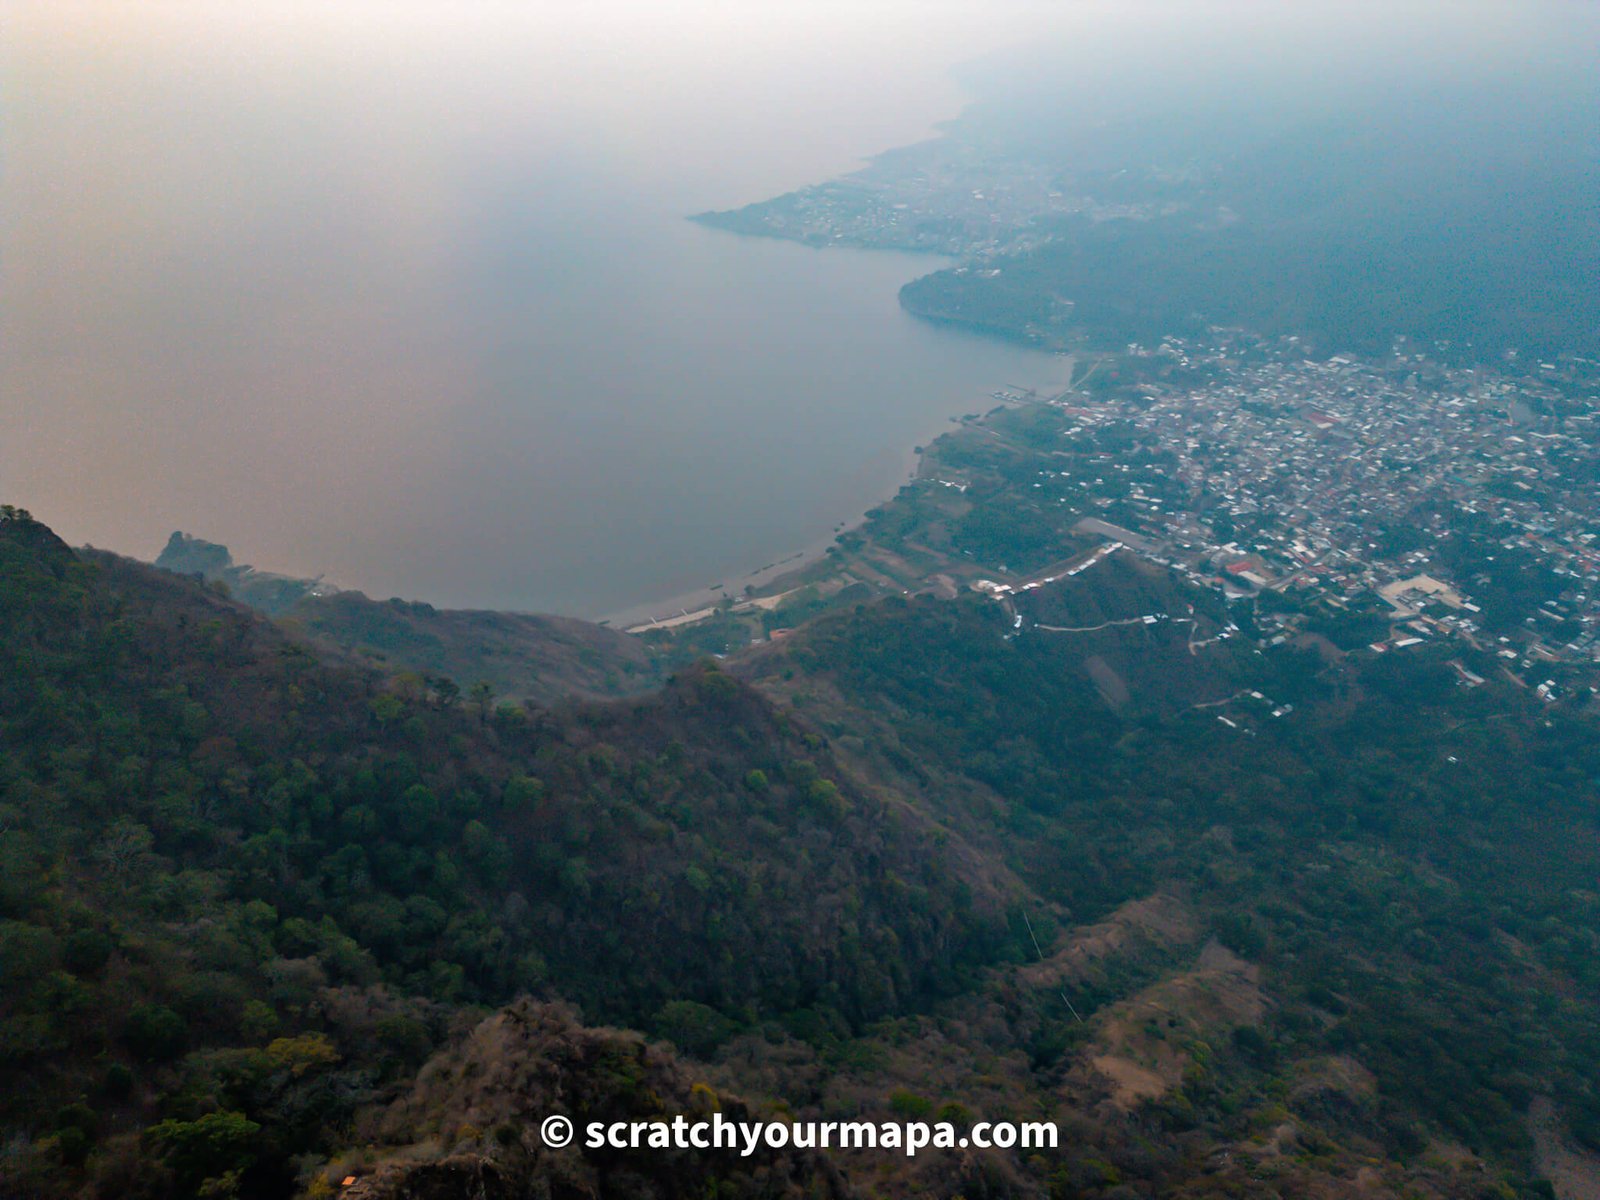
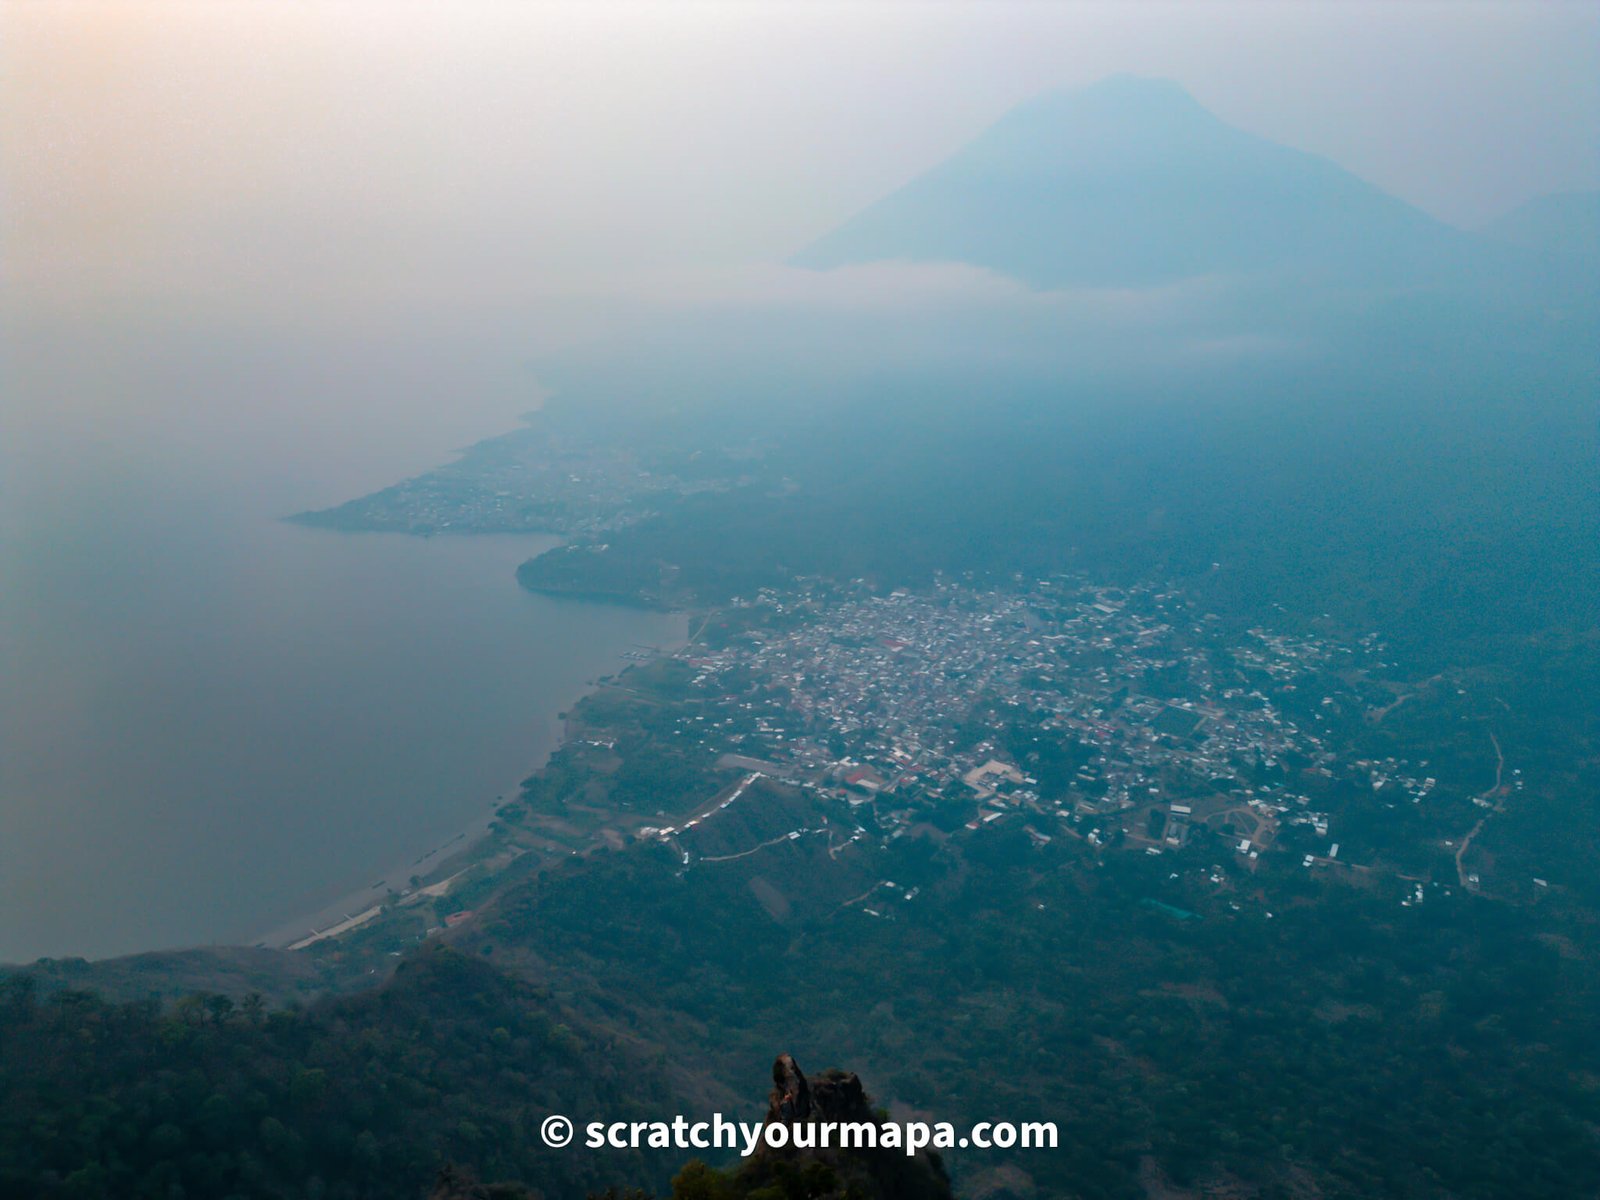
There's also a painted platform that you can walk onto. You'll be able to enjoy 360 degrees of beautiful views, as long as you have visibility. Unfortunately, there was very little visibility when we went, so you really can't appreciate the true beauty just from our pictures.
👀 Second Area of Indian Nose
Right next to Indian Nose there are two paths. There is one that goes to the second area of Indian Nose, and the other that leads to another viewpoint called Pico del Loro.
The trail to the other Indian Nose viewpoint was blocked off when we went, and ironically we took the wrong turn coming back from Pico de Diablo and ended up there so were able to see it.
Both places have great views, but the second viewpoint has a lot of seating, tables, and a more "formal" setup.
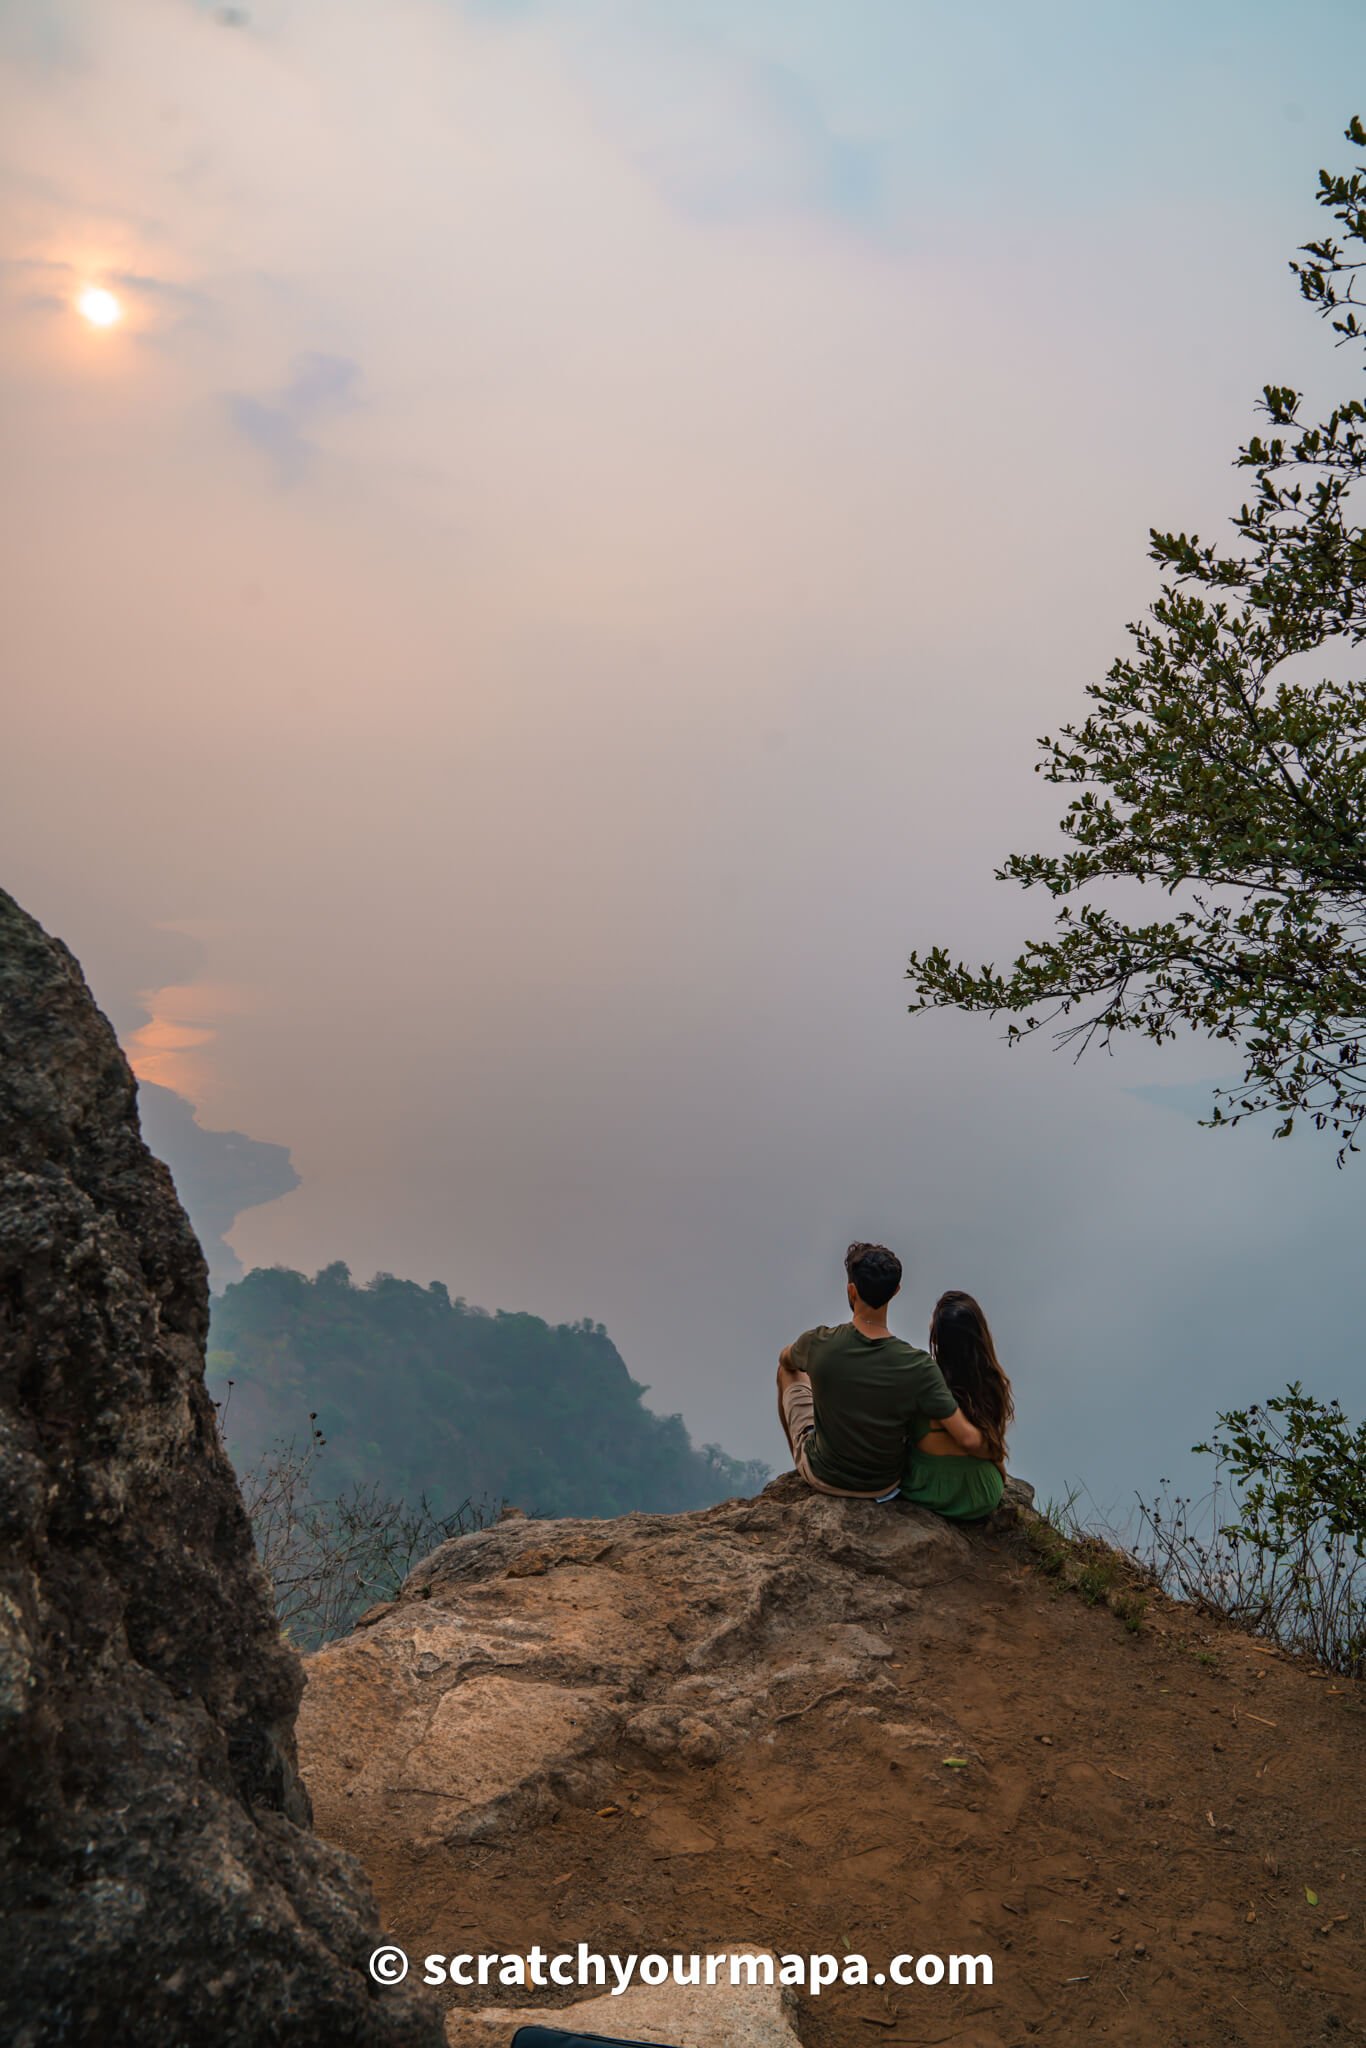
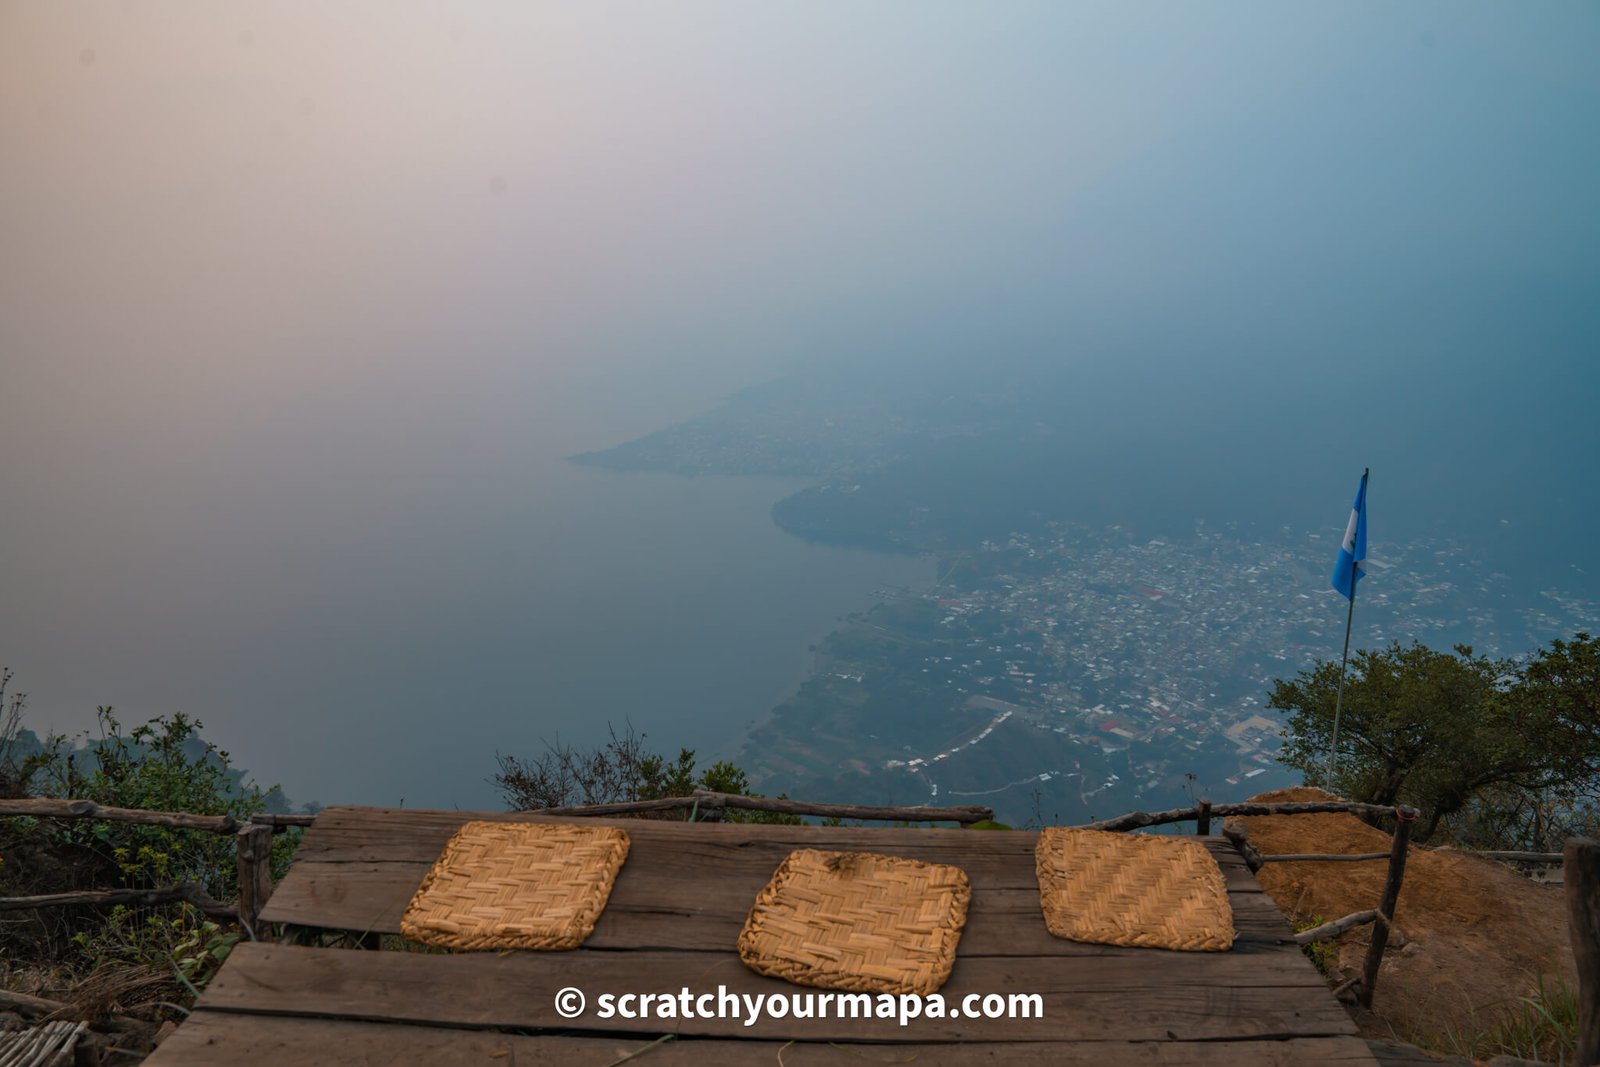
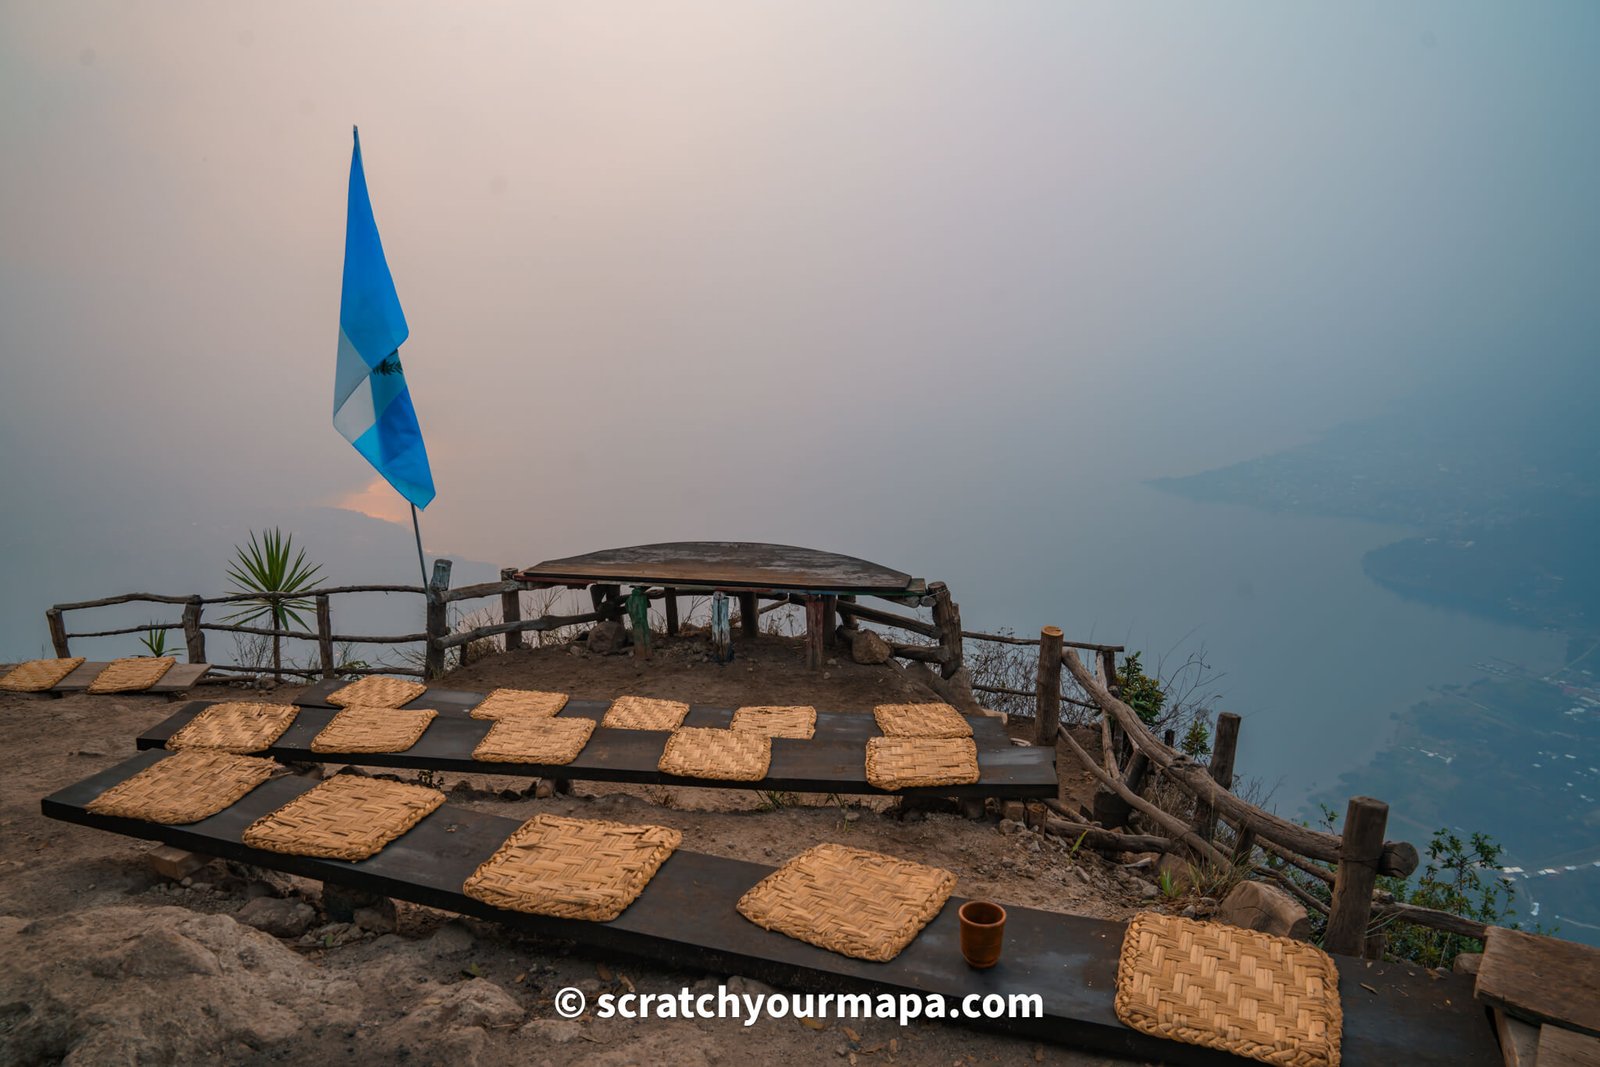
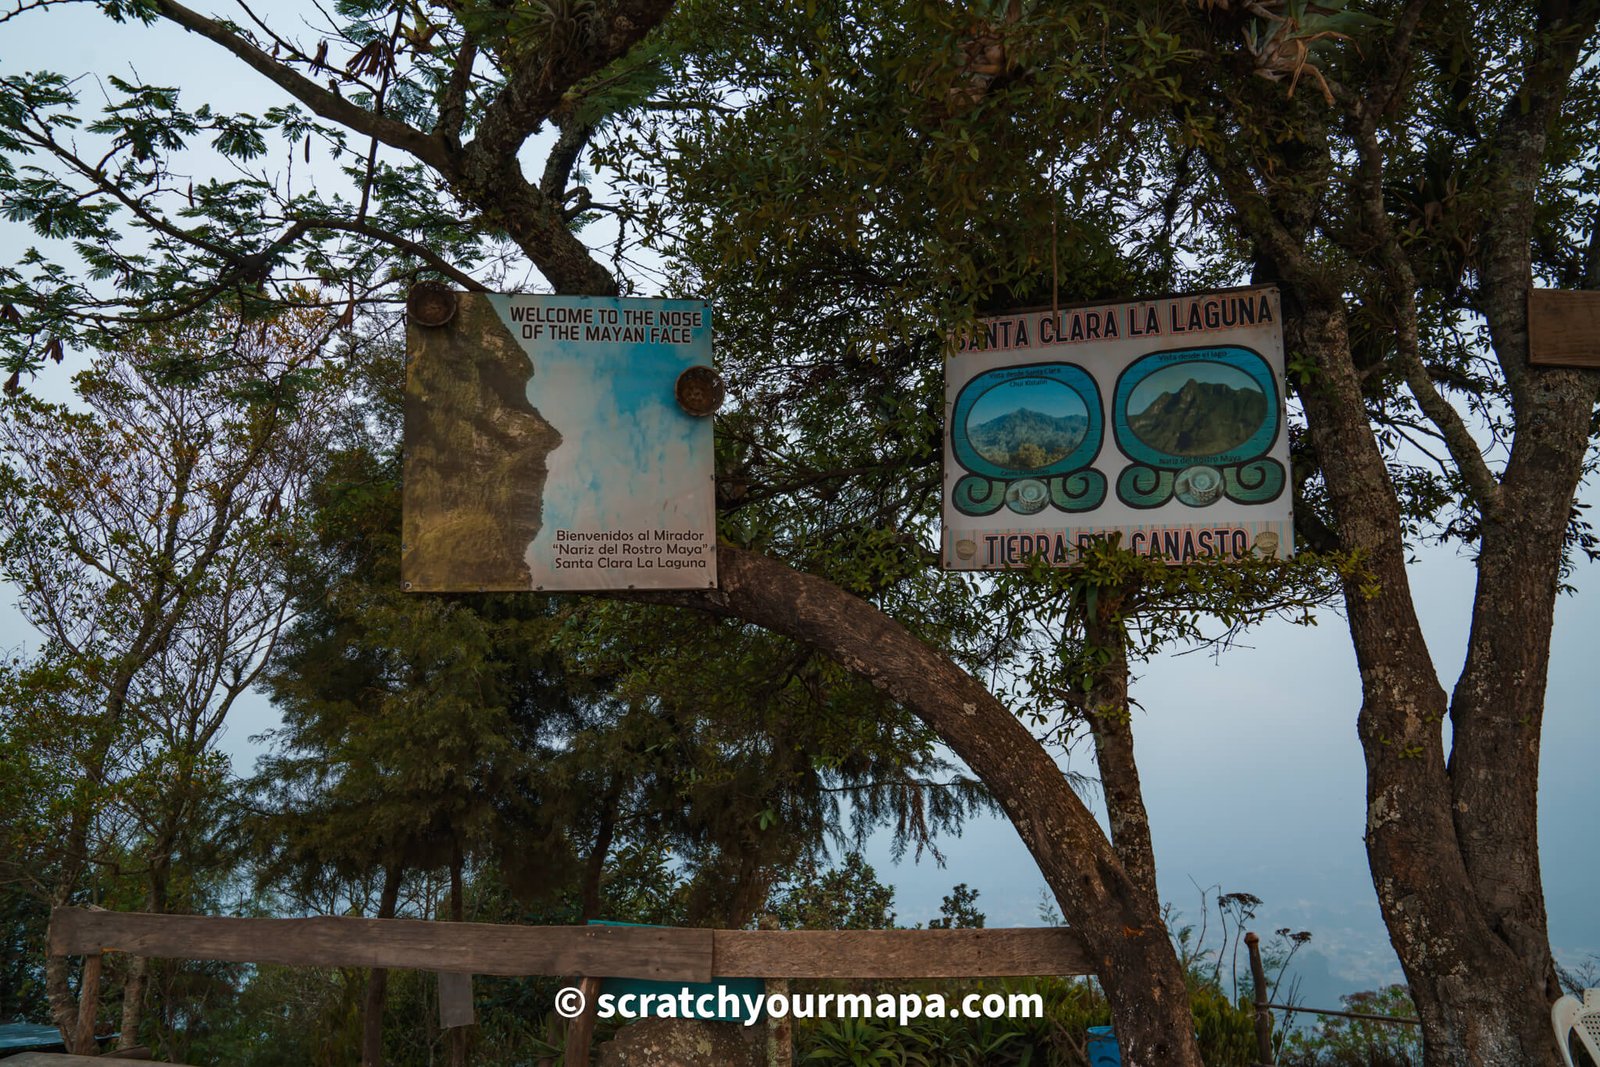
Originally, you could access both viewpoints easily. Now though, due to property arguments amongst the owners, special permission needs to be granted. You can arrange it though with a local to a few days in advance.
If you'd like to access this, email us and we can reach out to the guy working there (we don't want to share his number publicly or without permission, but have it as we plan on going back at some point).
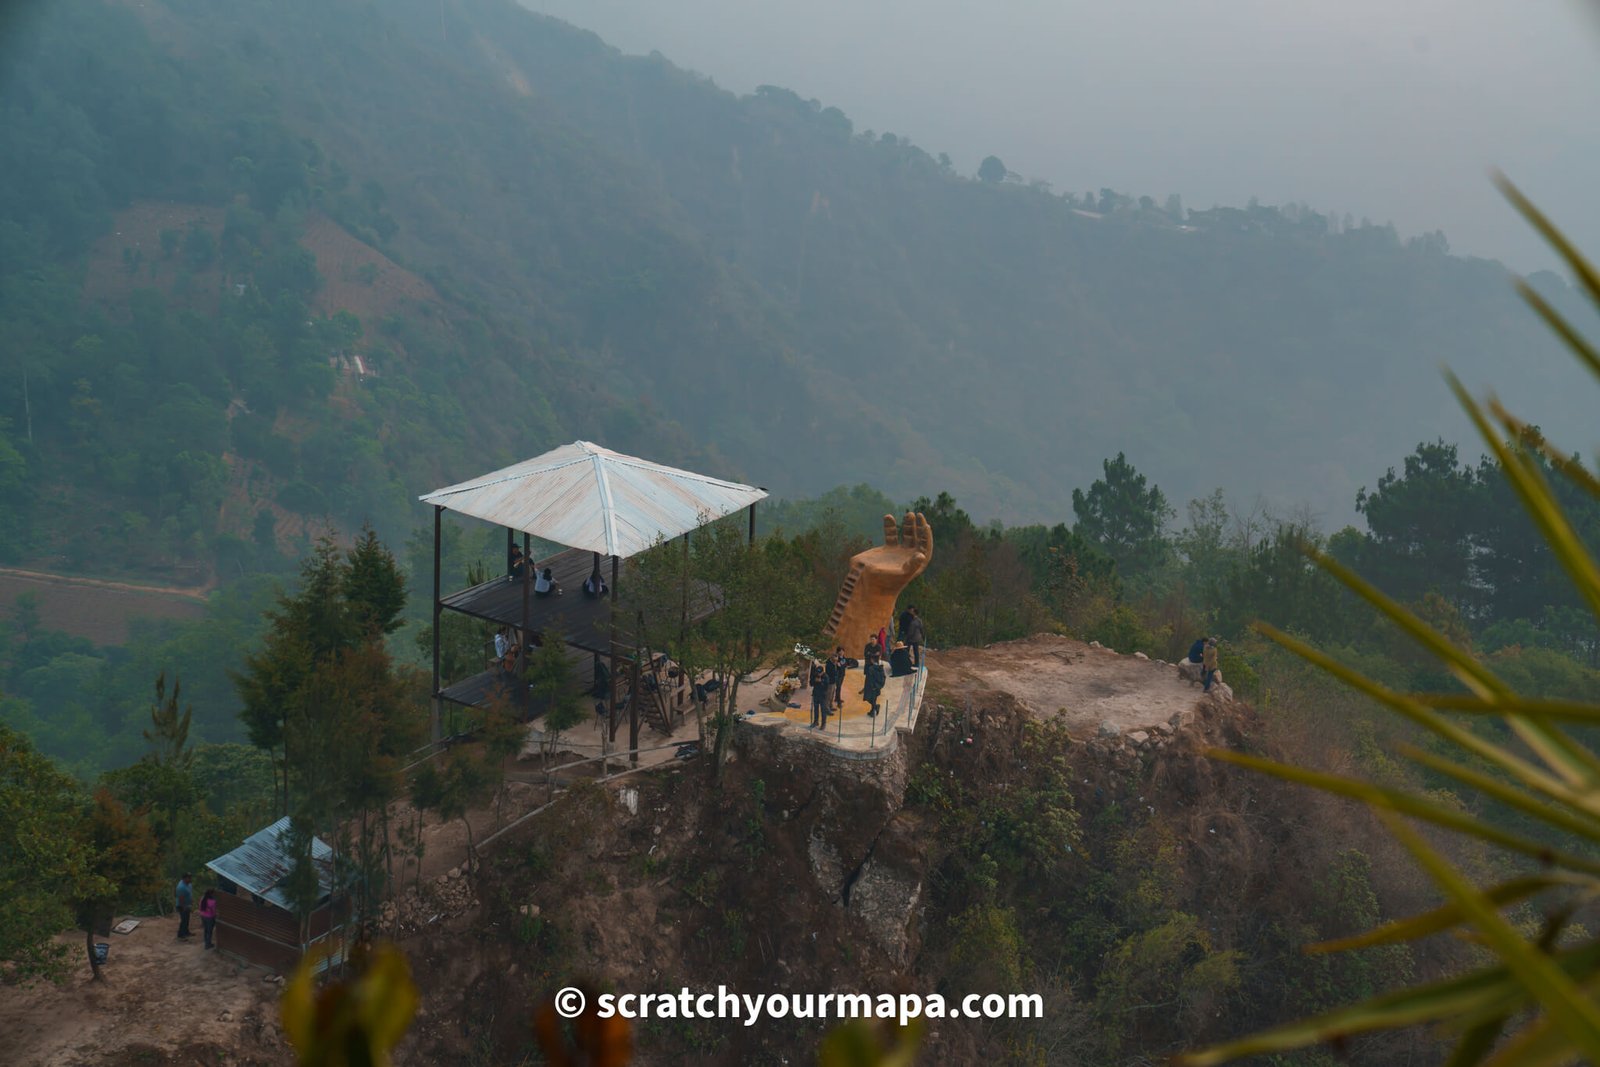
The view of the first viewpoint from the second viewpoint
🤩 Pico del Loro
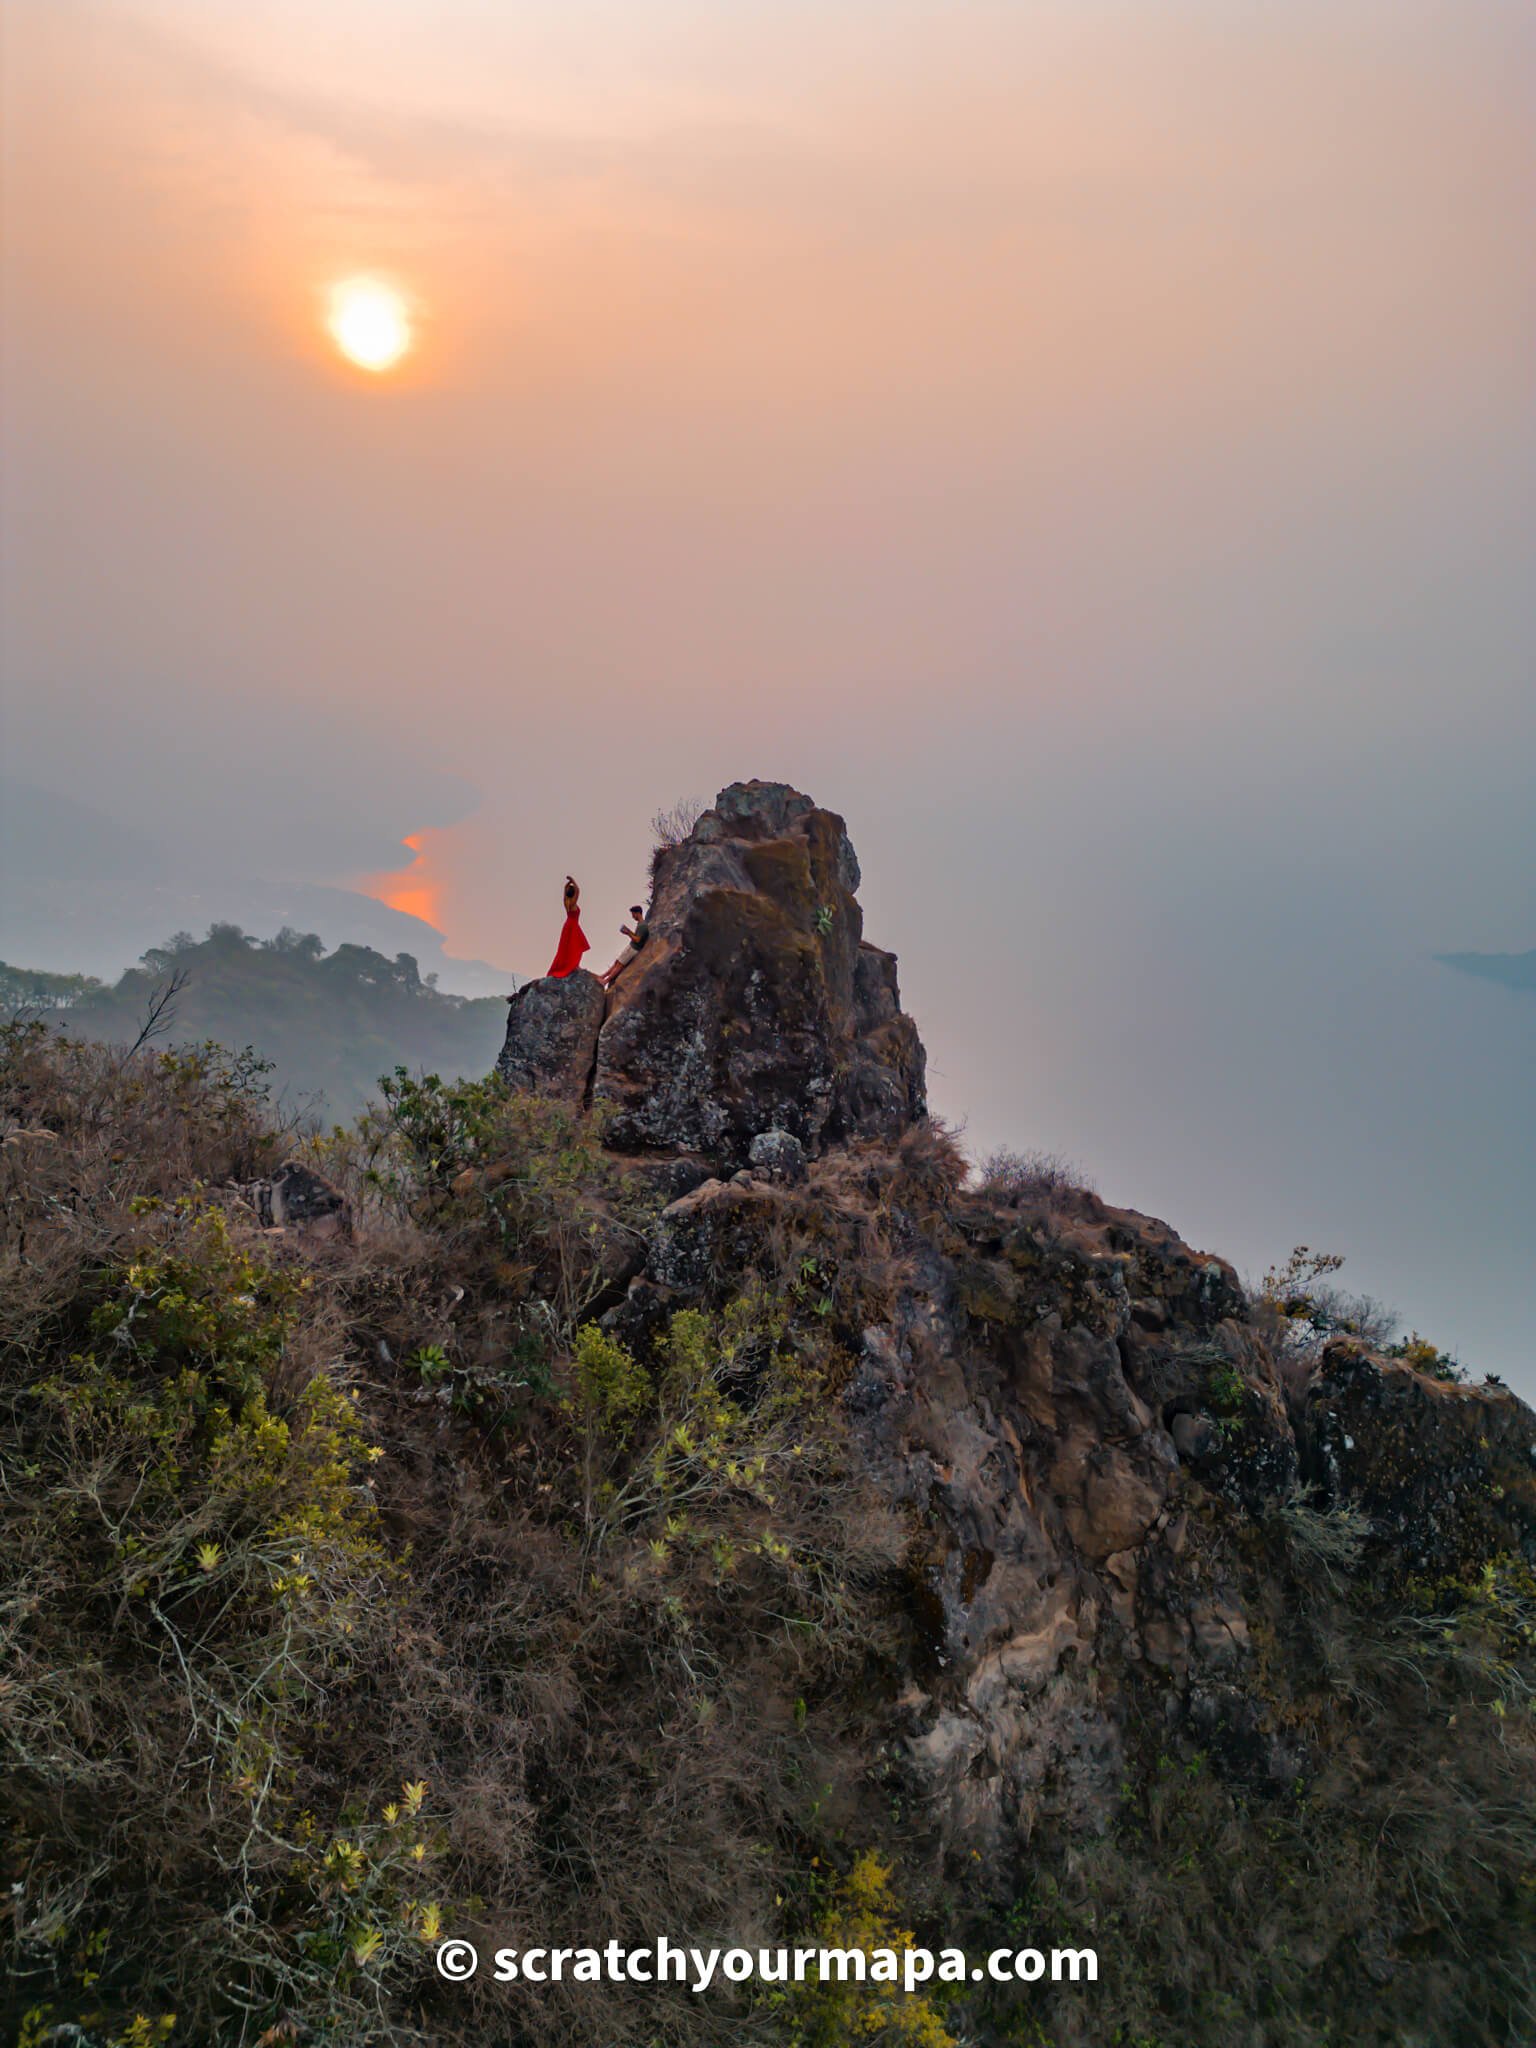
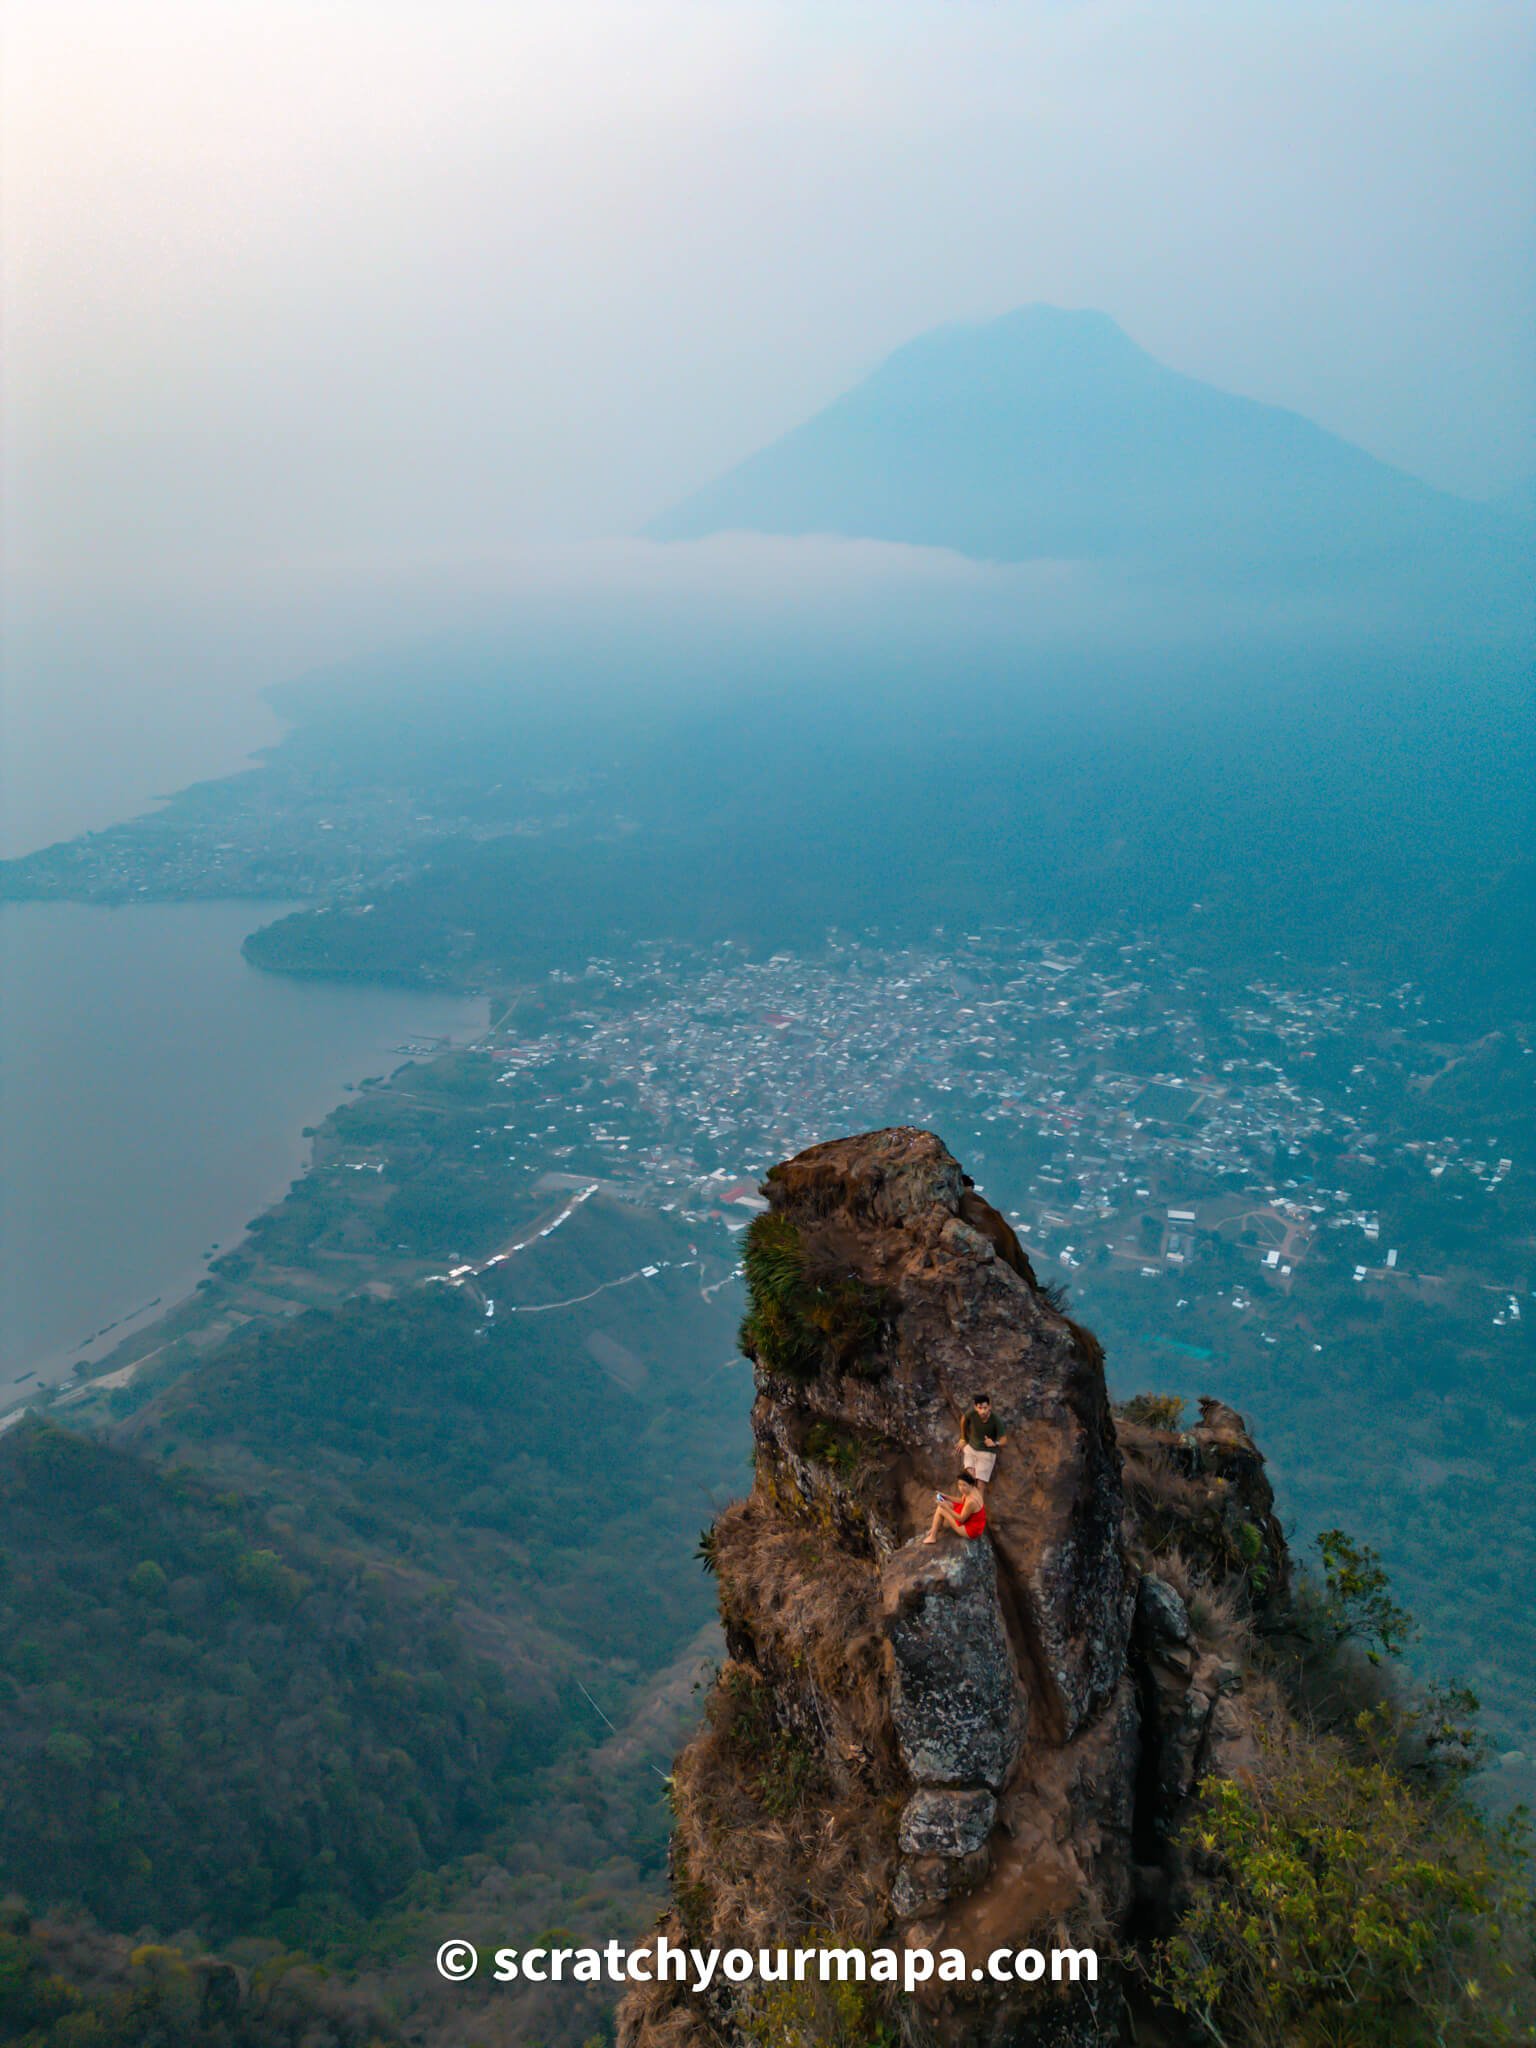
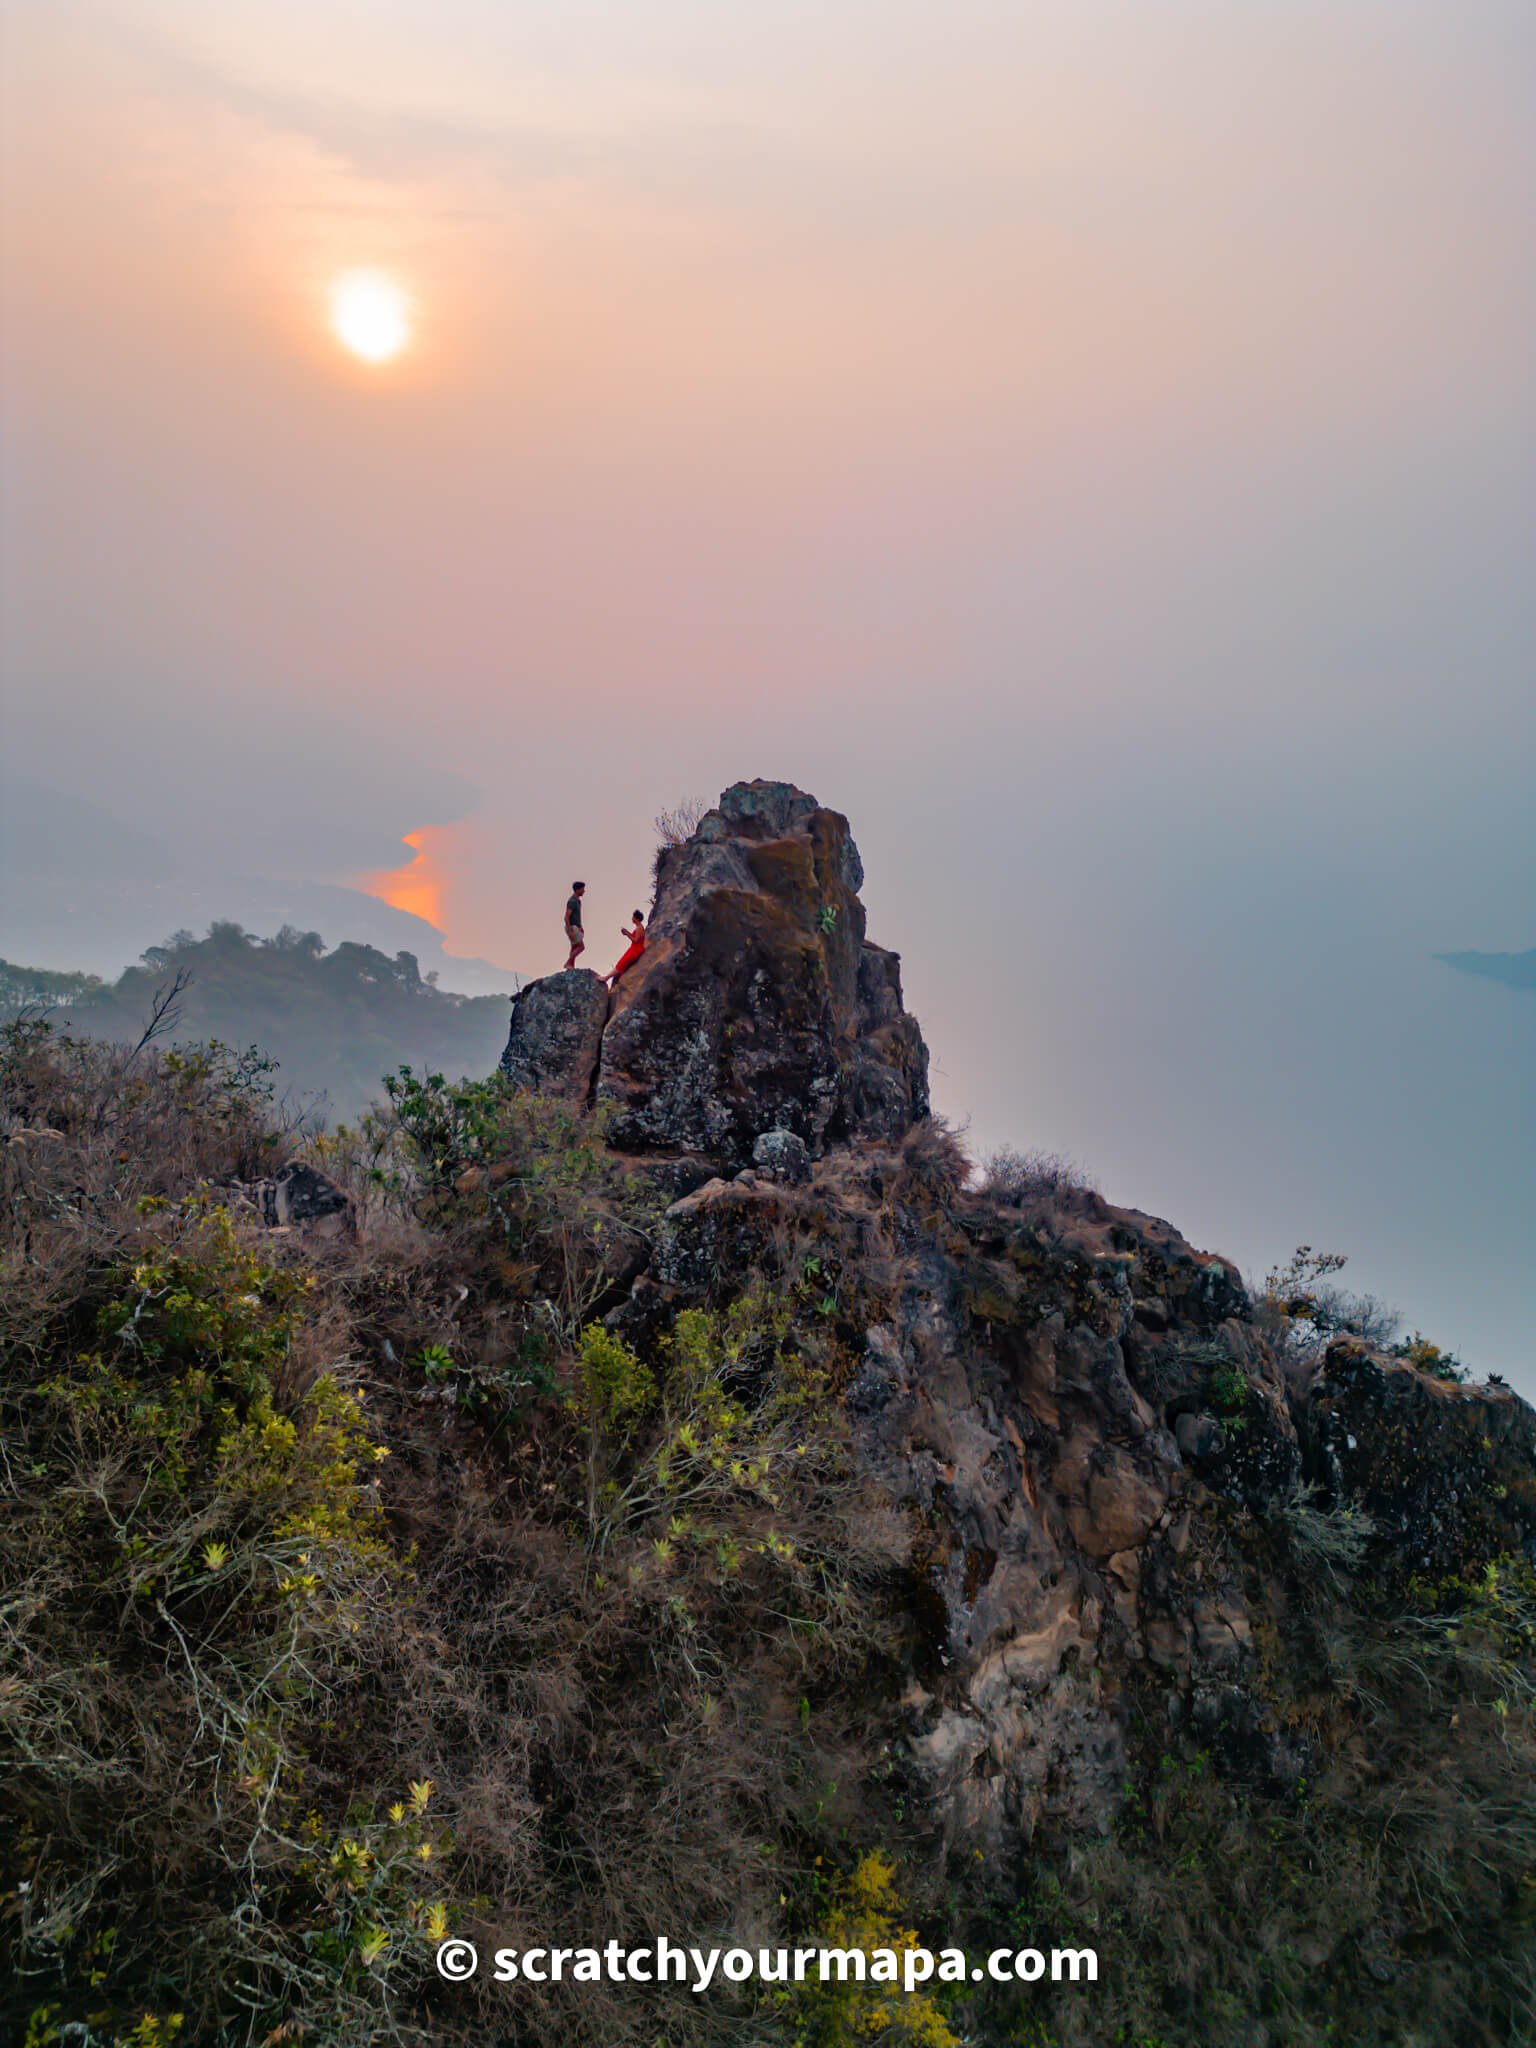
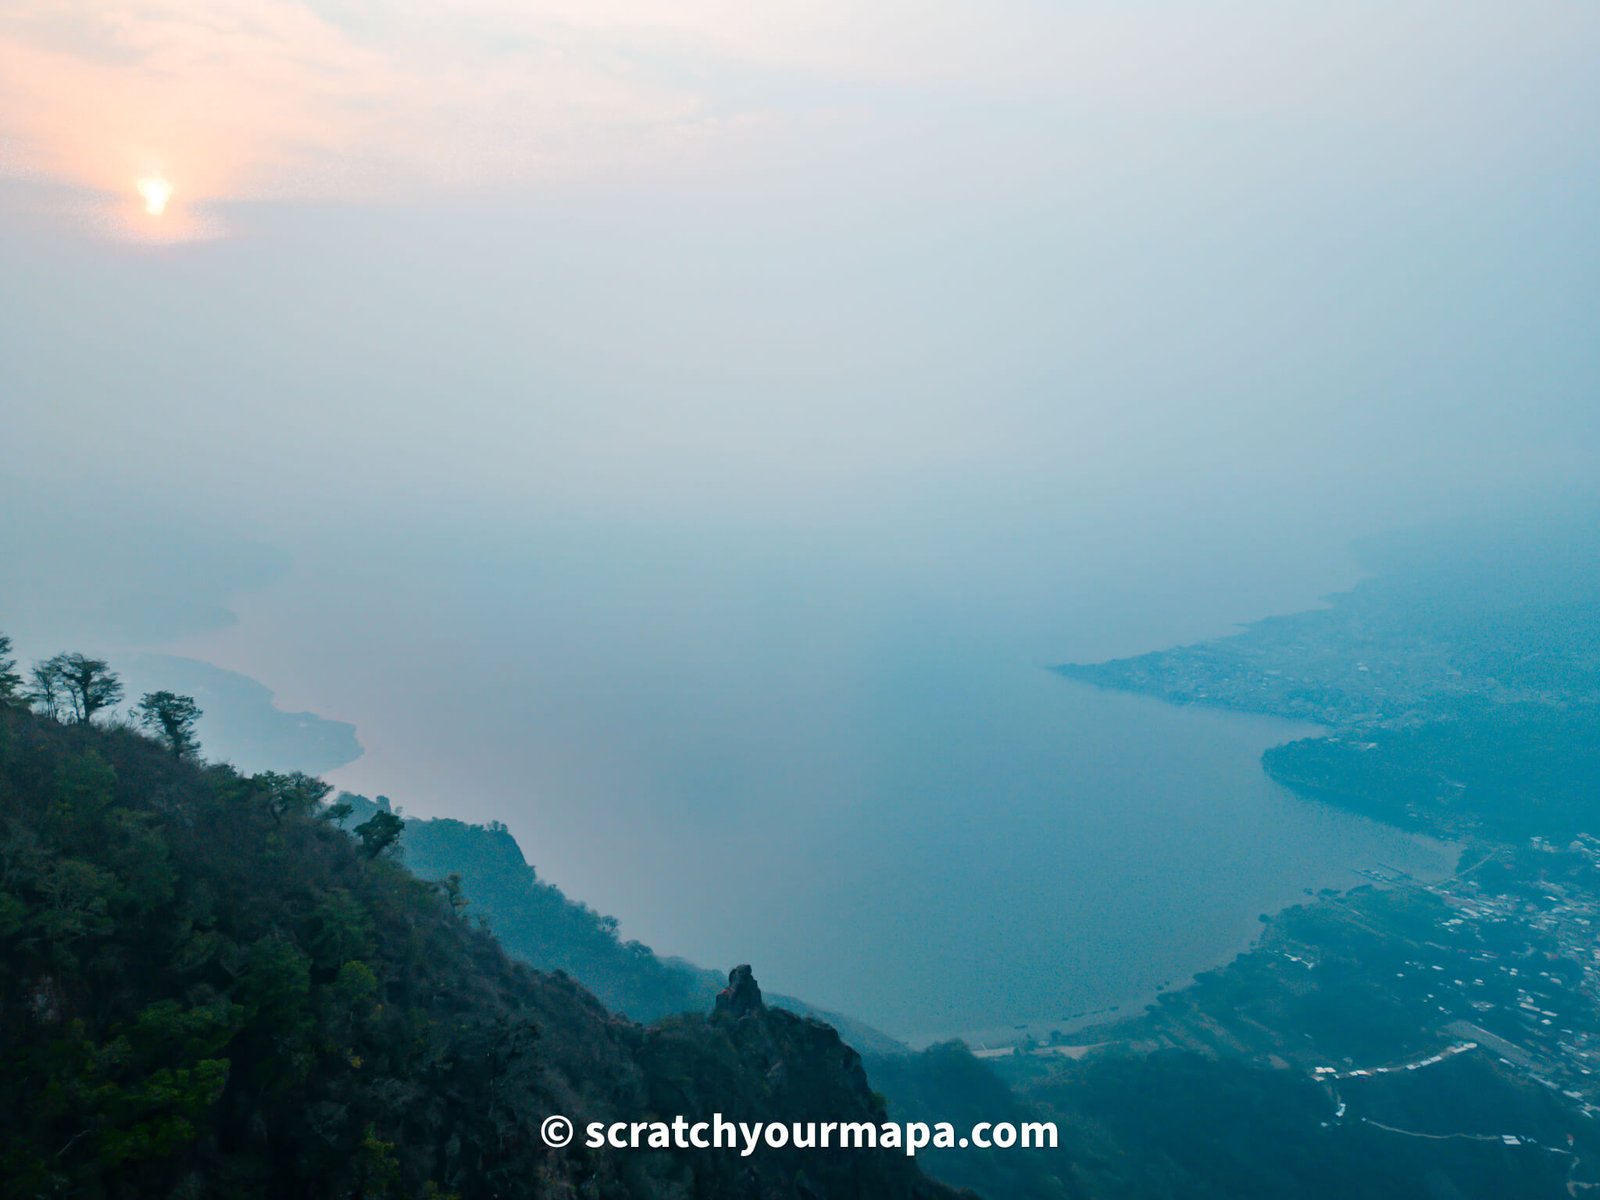
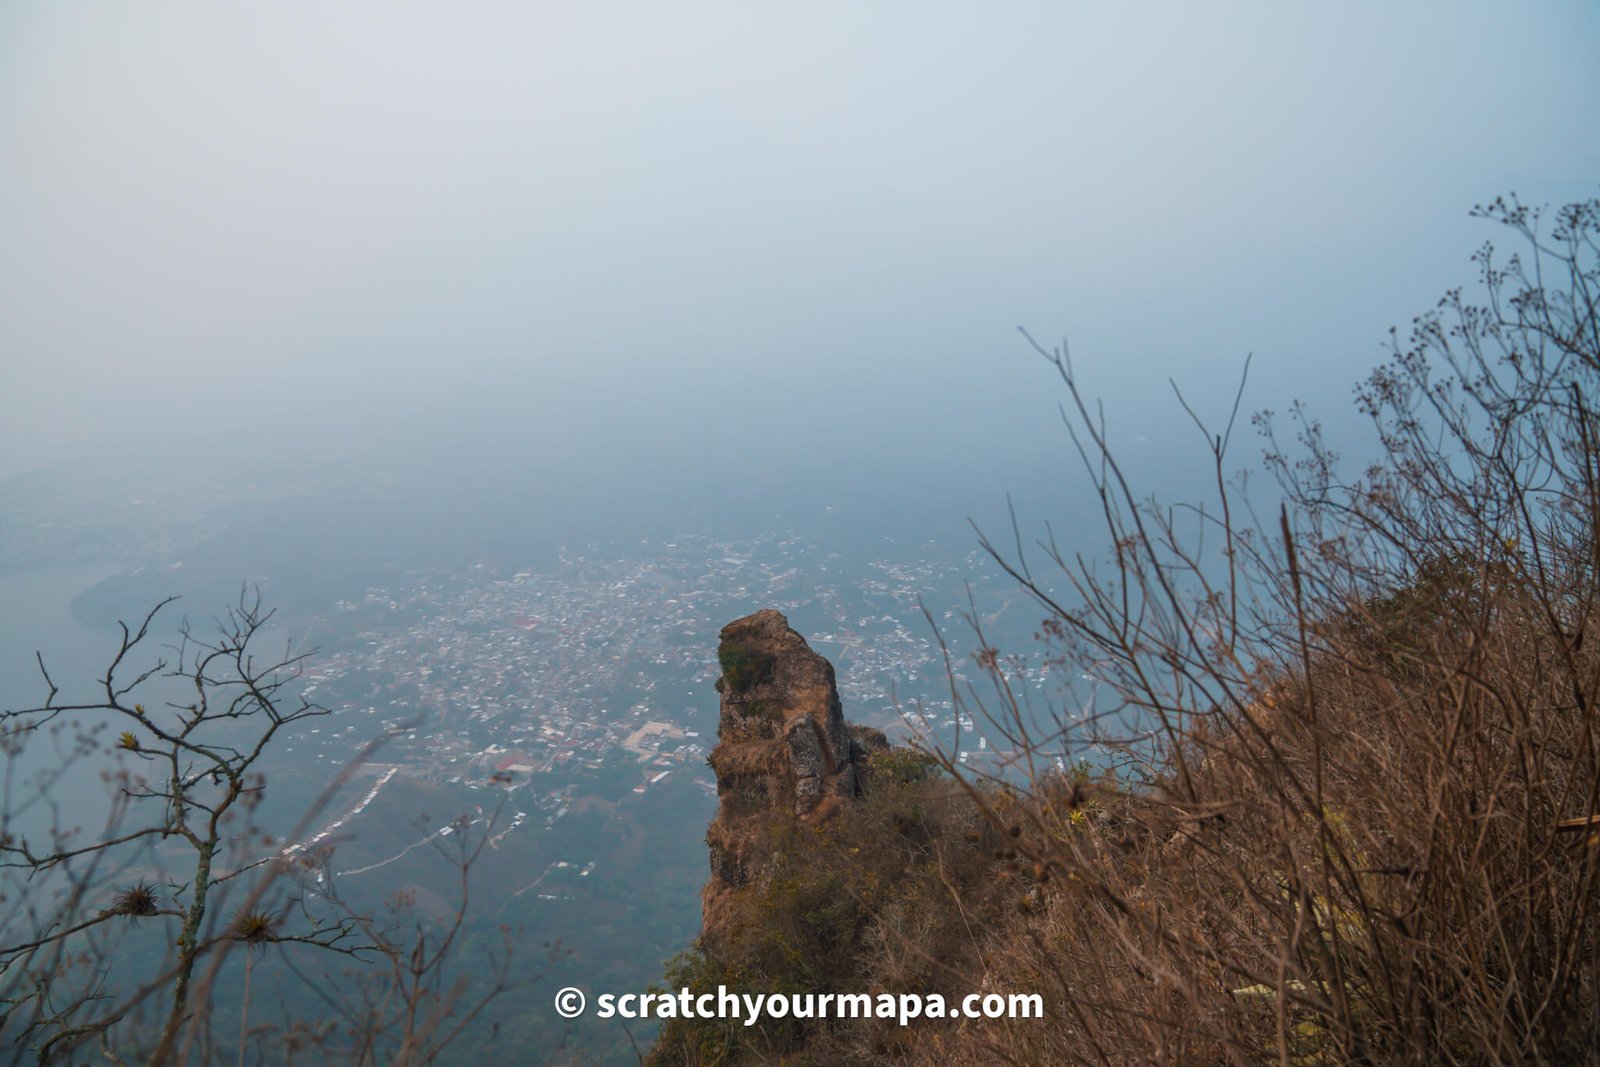
Originally, we were set on going to this viewpoint, as it is a giant rock overlooking Lake Atitlan. Unfortunately many photographers and creators tagged the spot as Indian Nose, which is a bit deceiving.
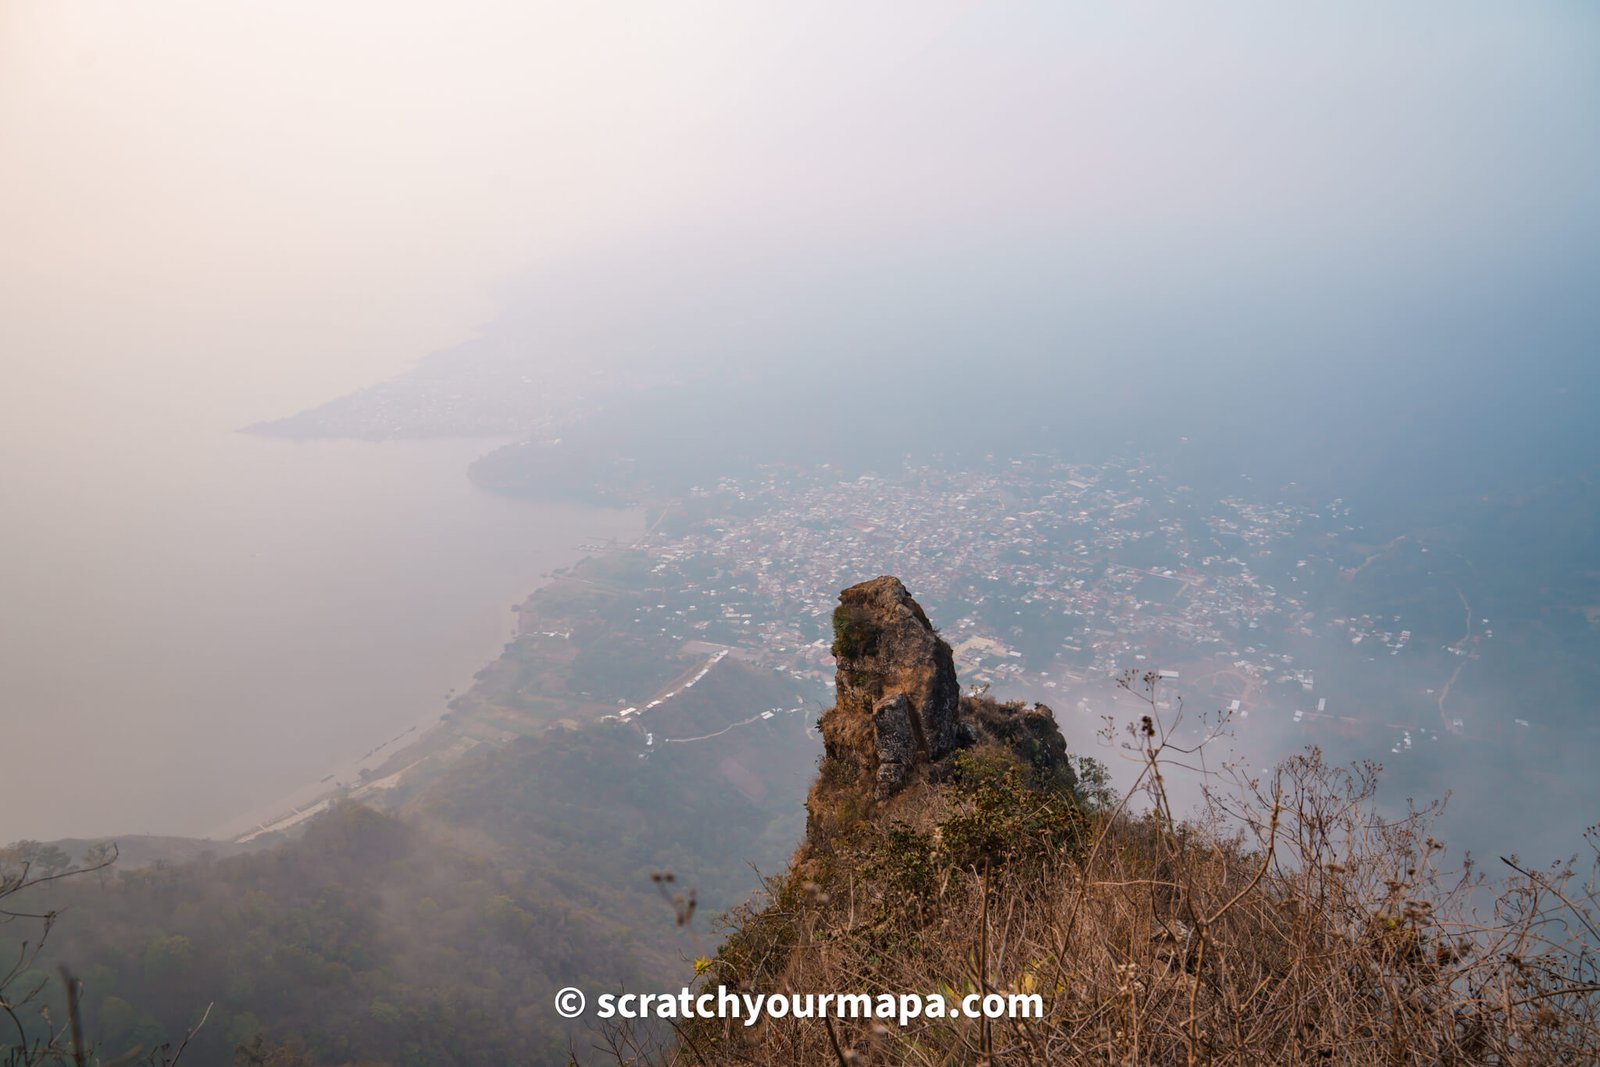
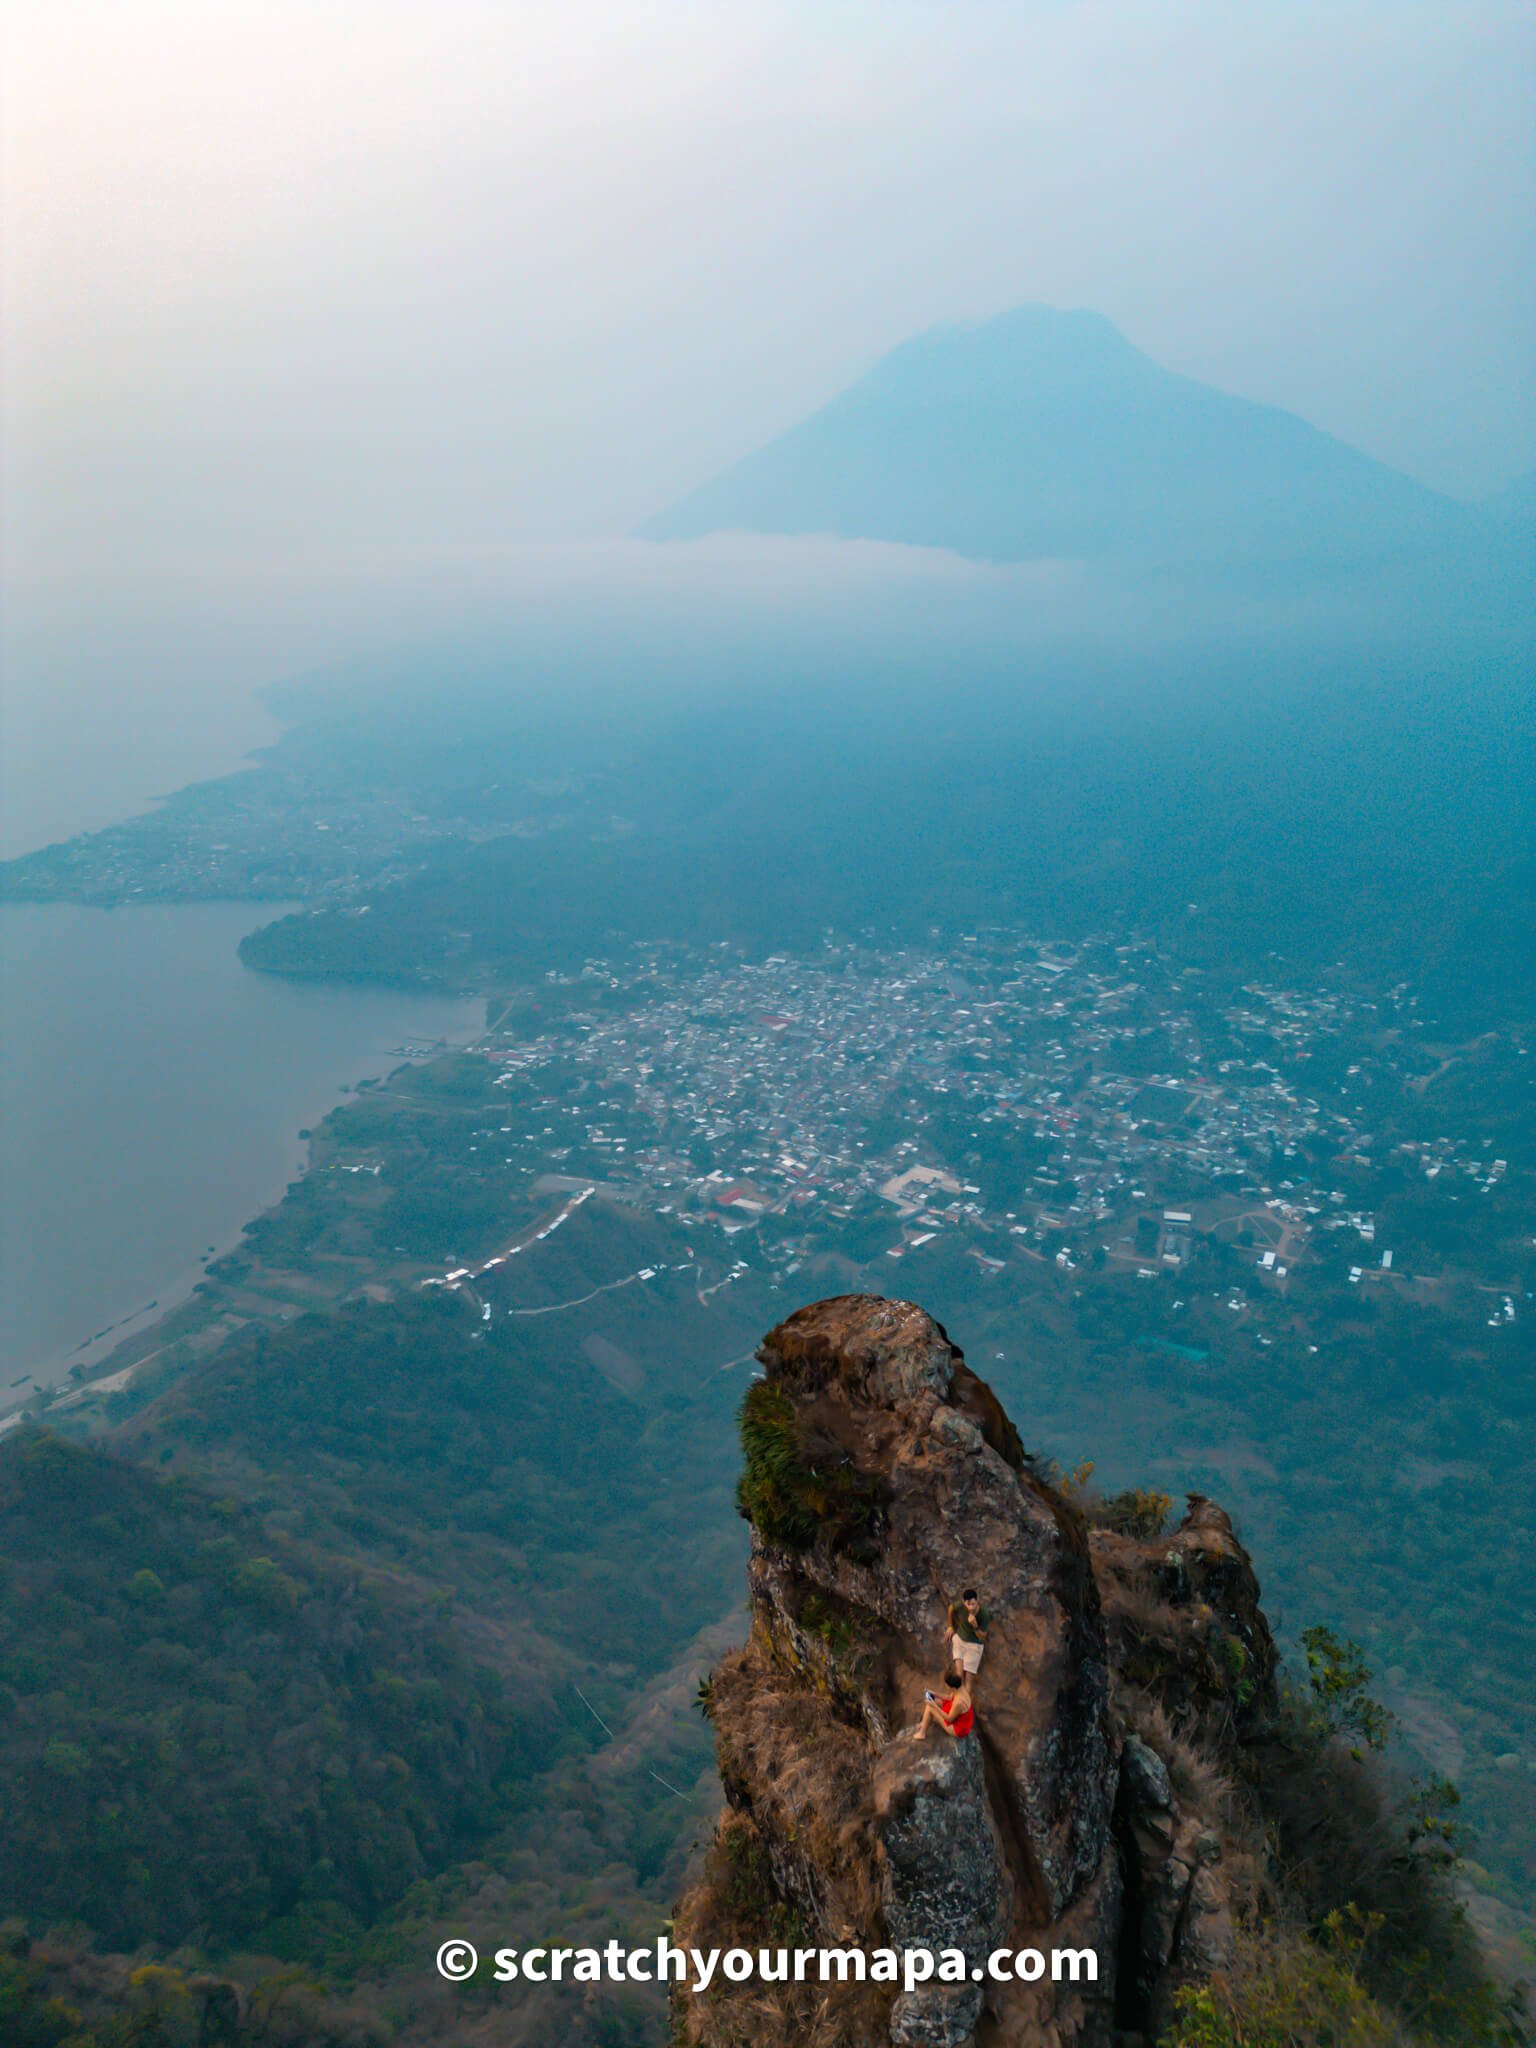
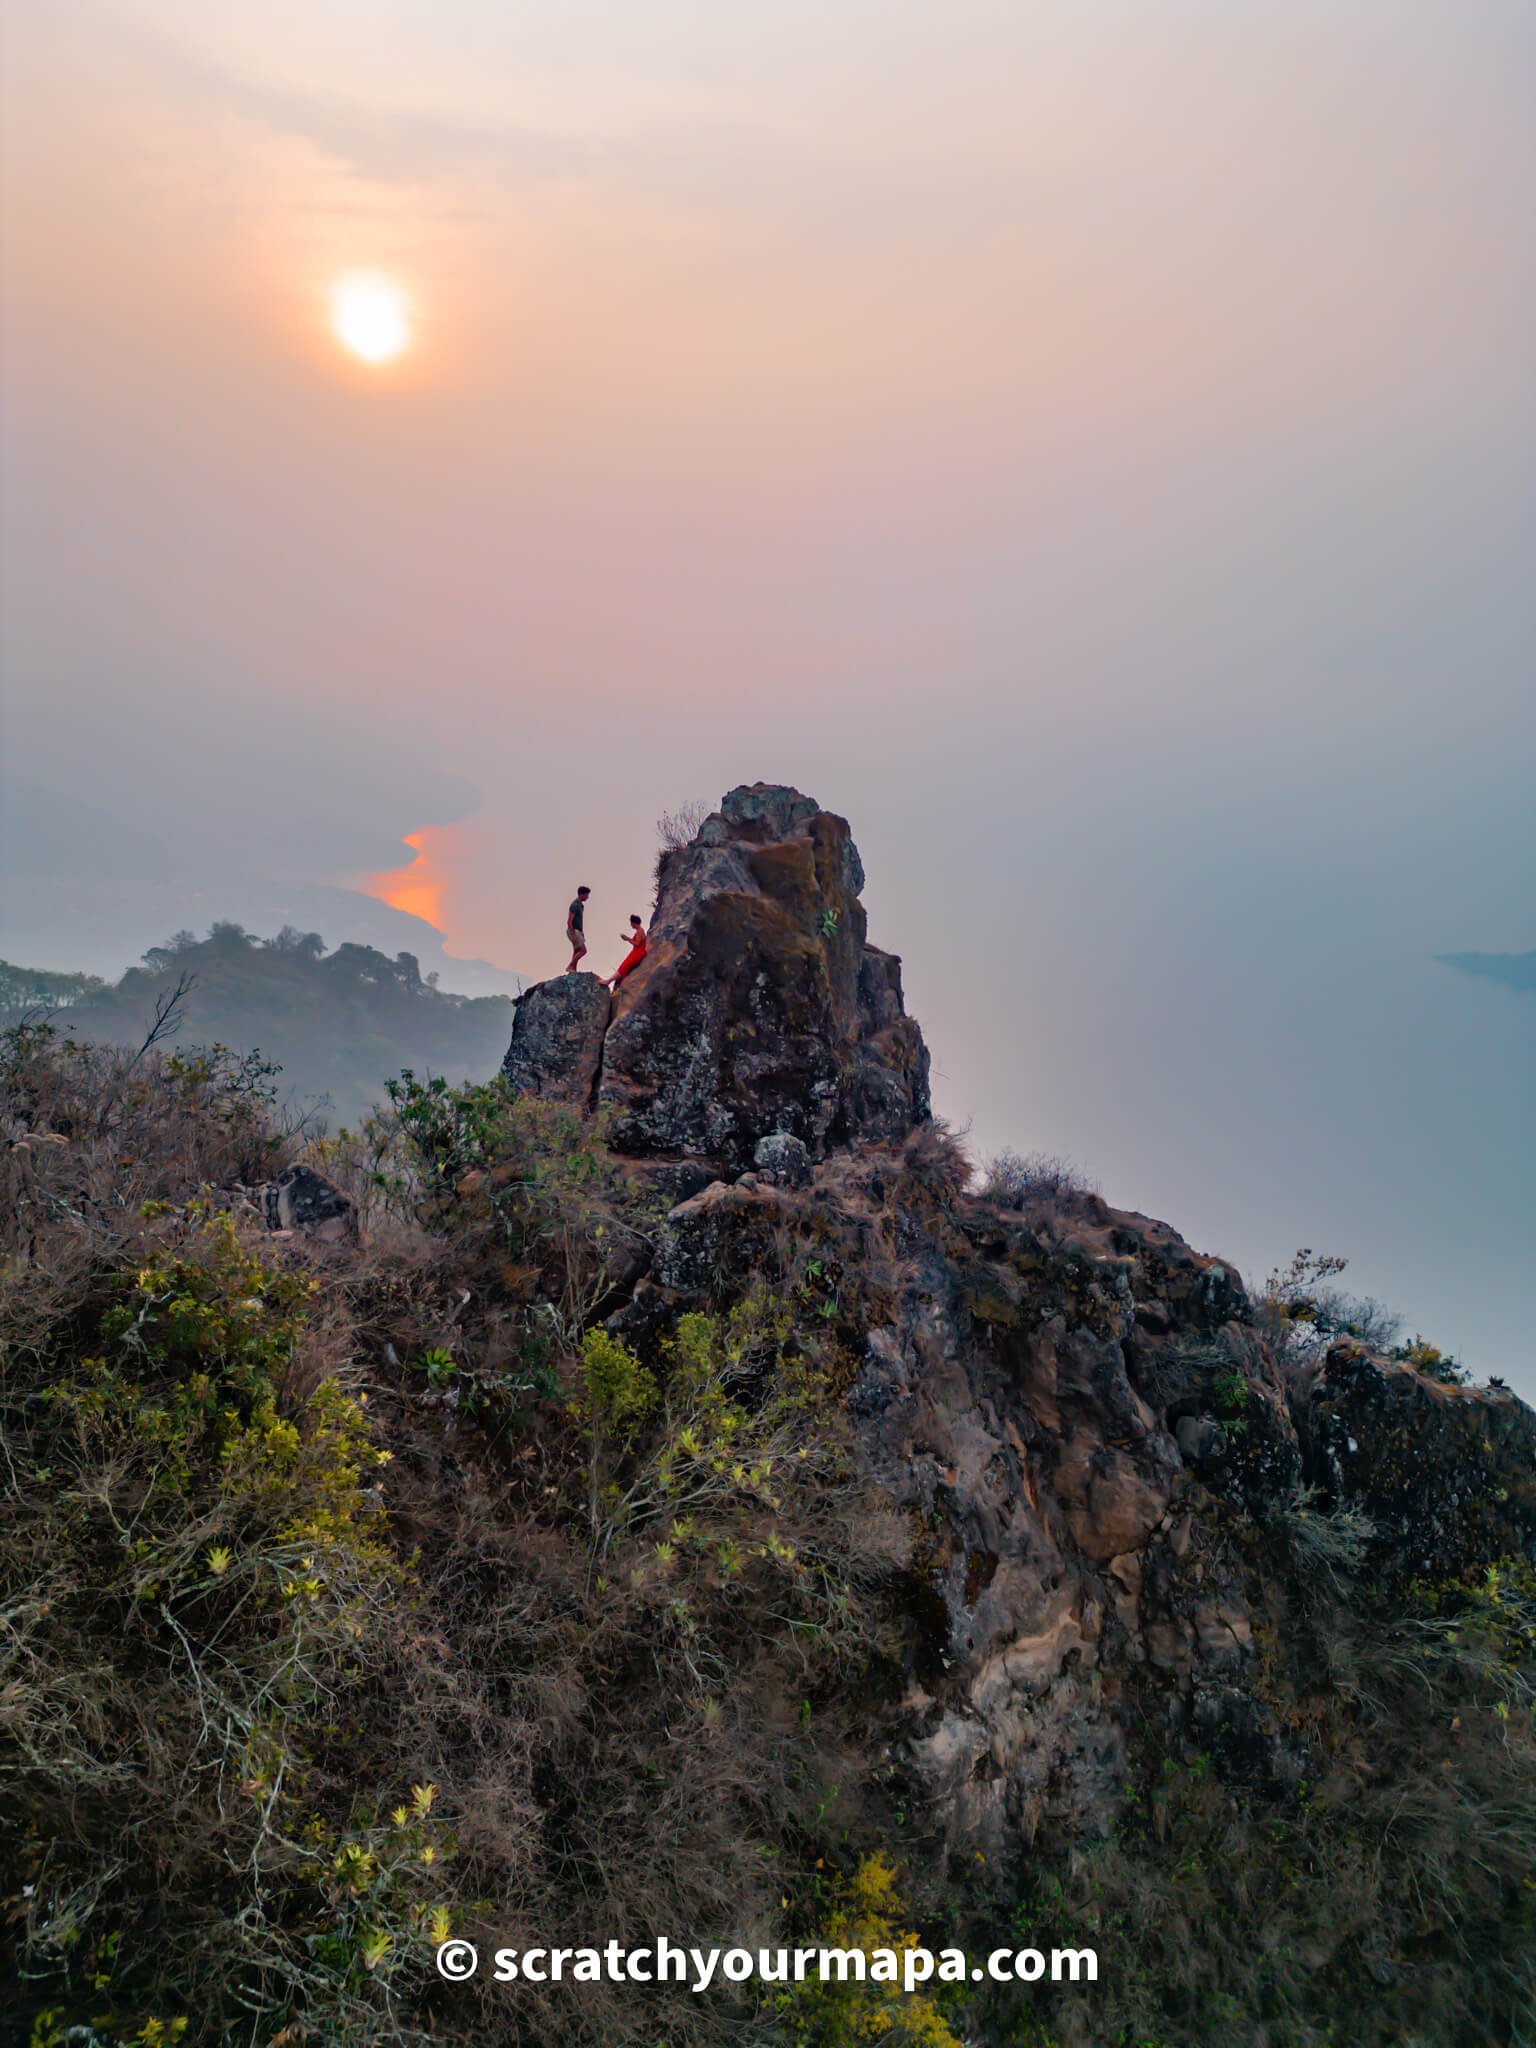
The actual viewpoint that you see in those photos is called Pico del Loro, and it is not for the faint of heart.
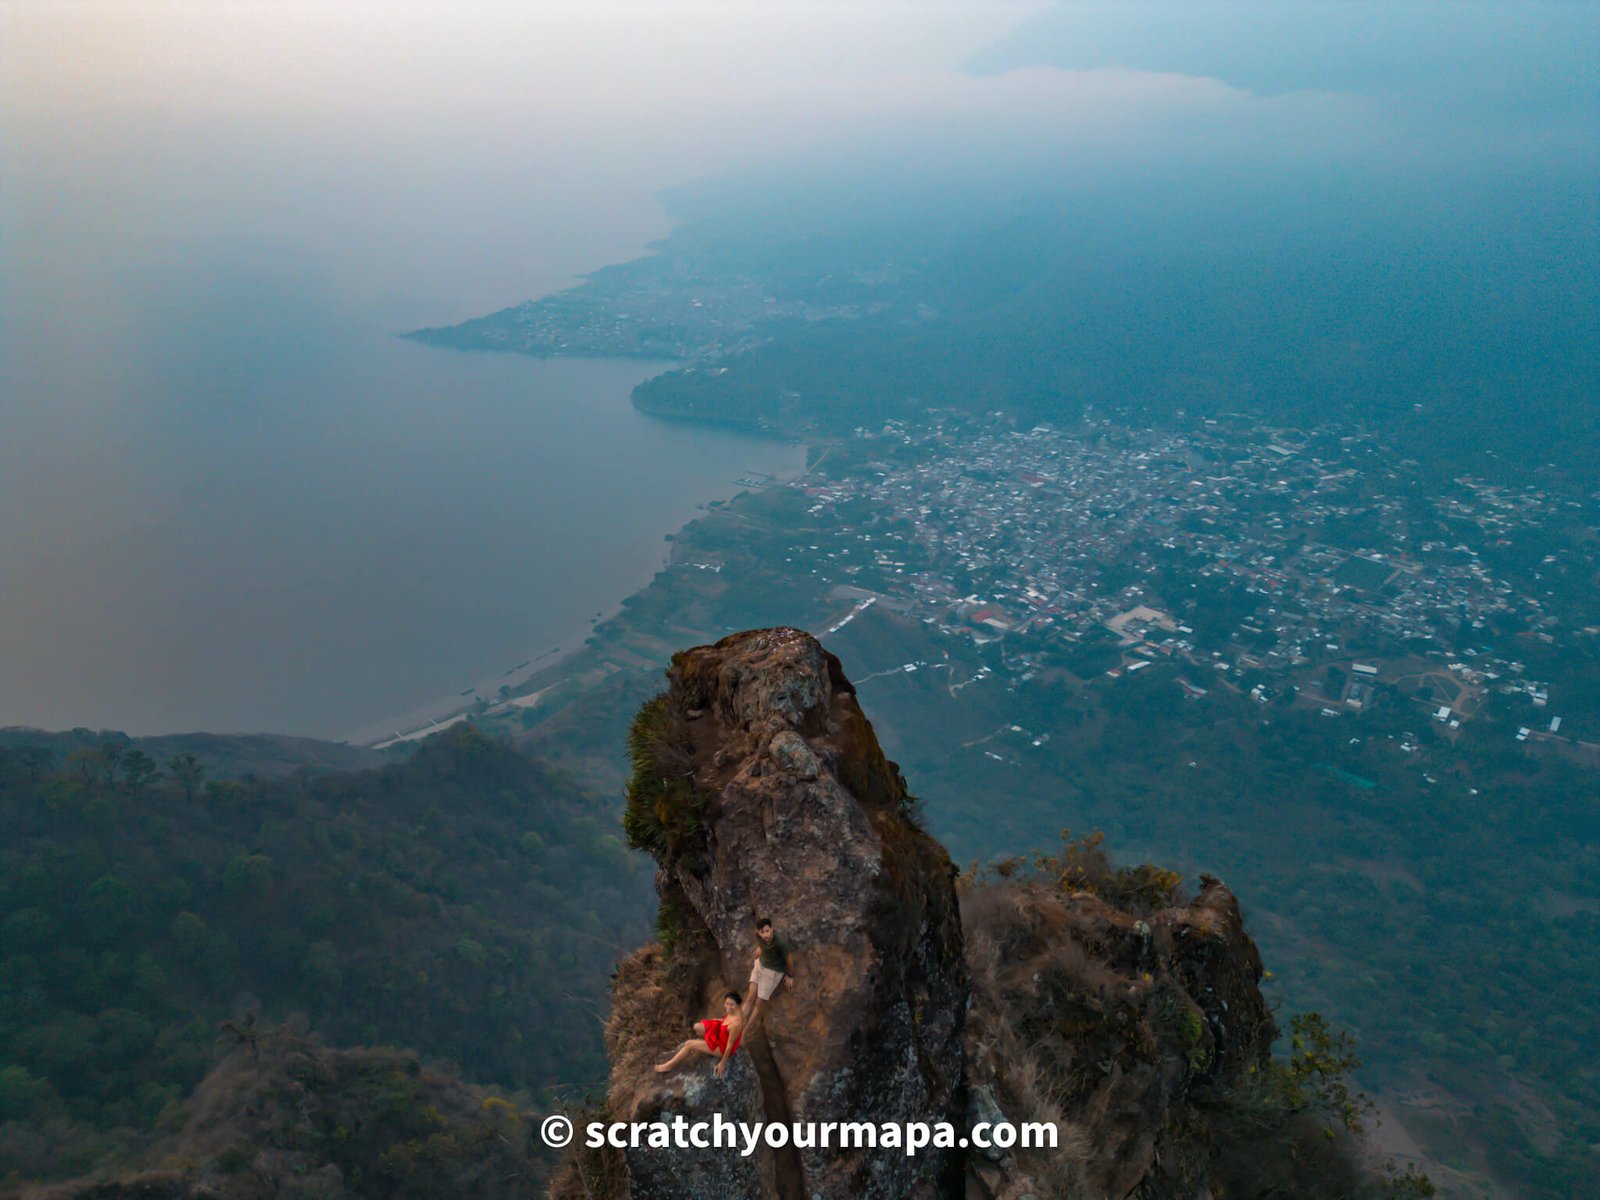
You can reach Pico del Loro from either of the Indian Nose viewpoints, and it's open to go on your own, although not highly recommended.
We're pretty adventurous, and we aren't going to lie - it was terrifying, and certainly not the safest thing we've ever attempted. As we hike a lot, we figured we'd try it on our own.
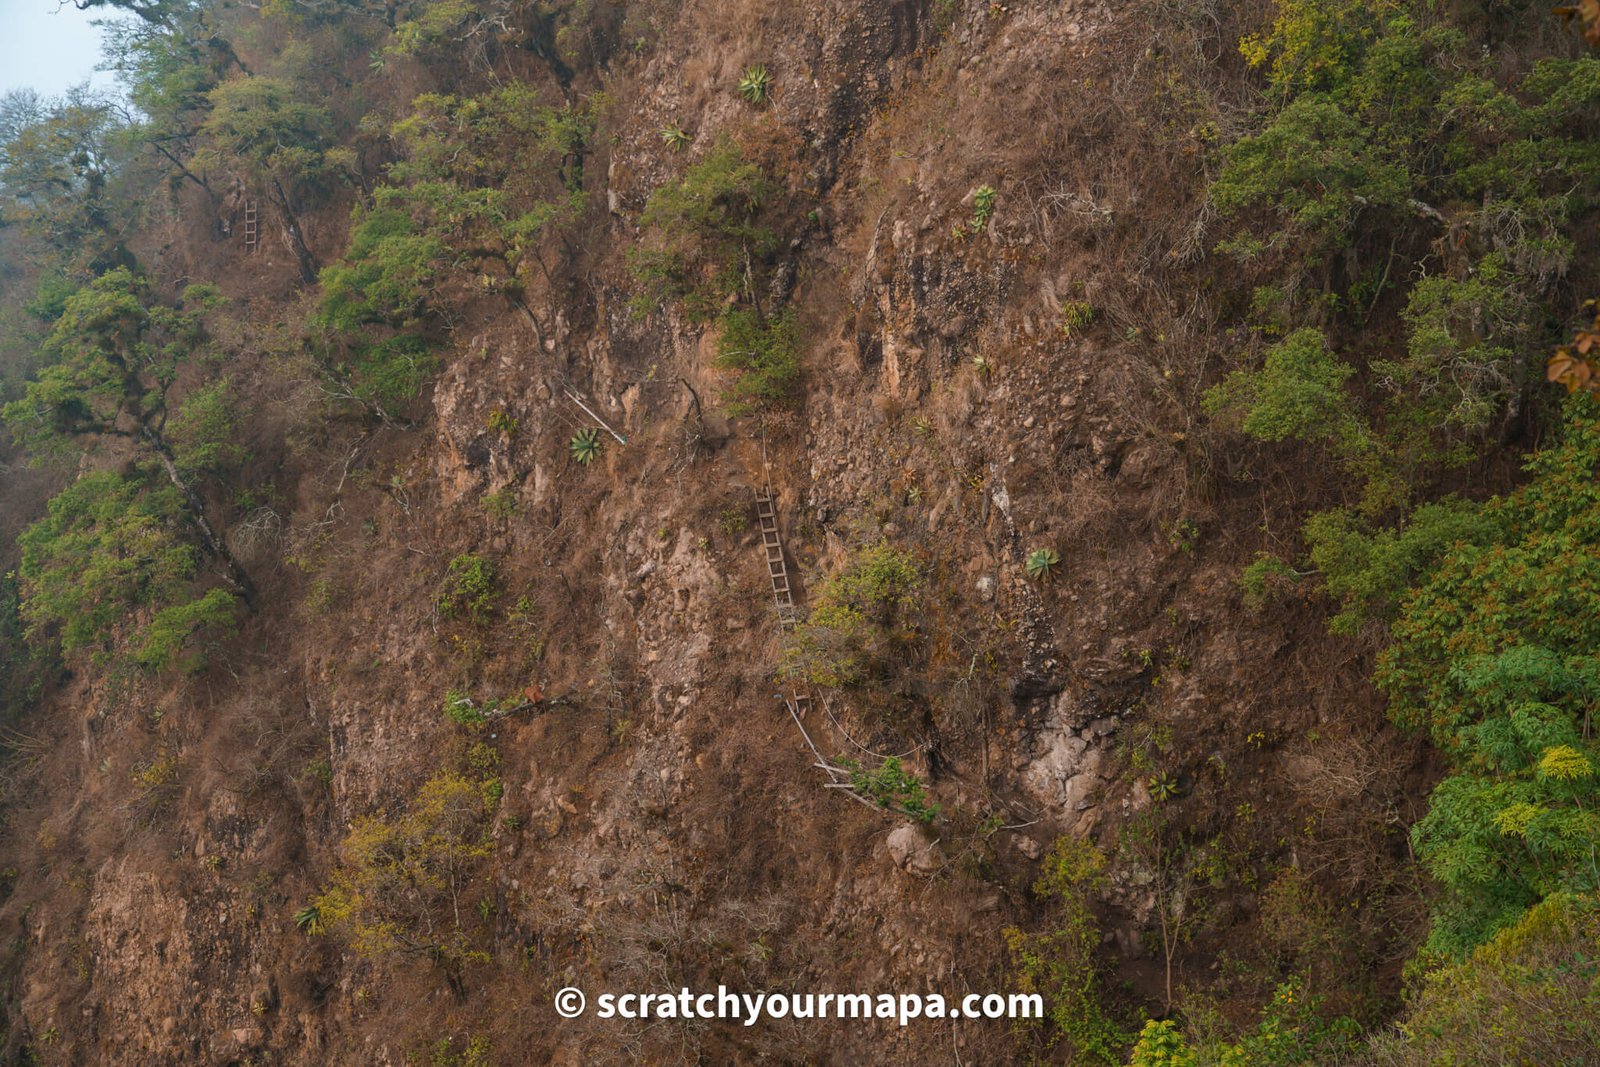
You'll need to be EXTREMELY careful if you do this, and we really recommend you to go with a guide, unless you have professional equipment.
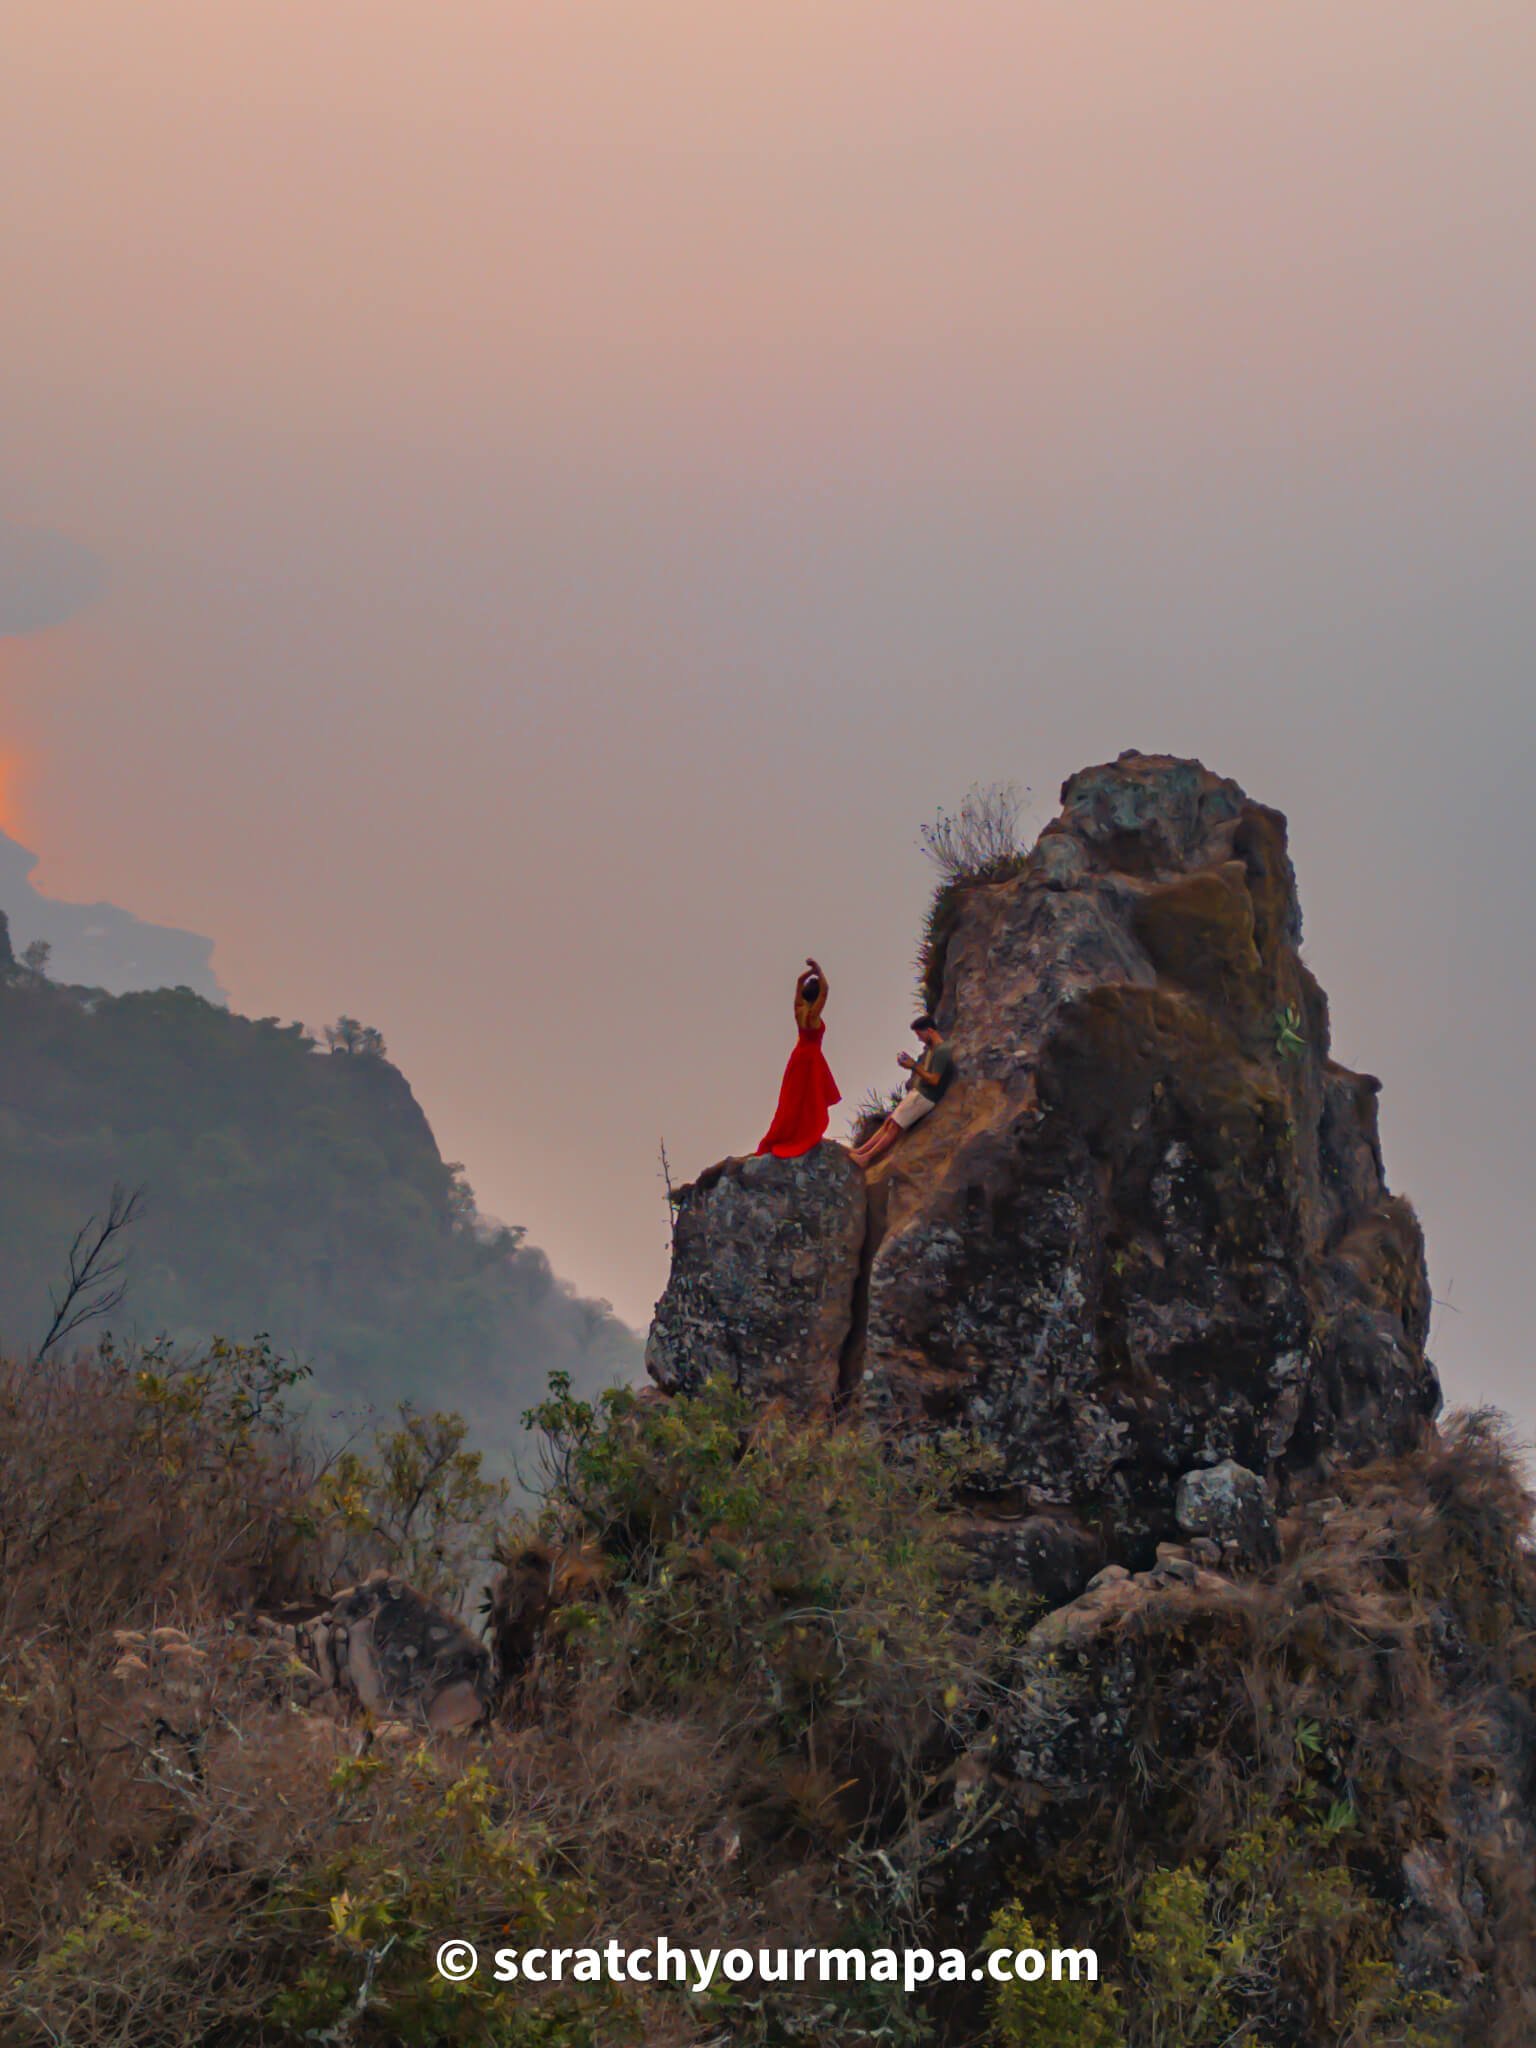

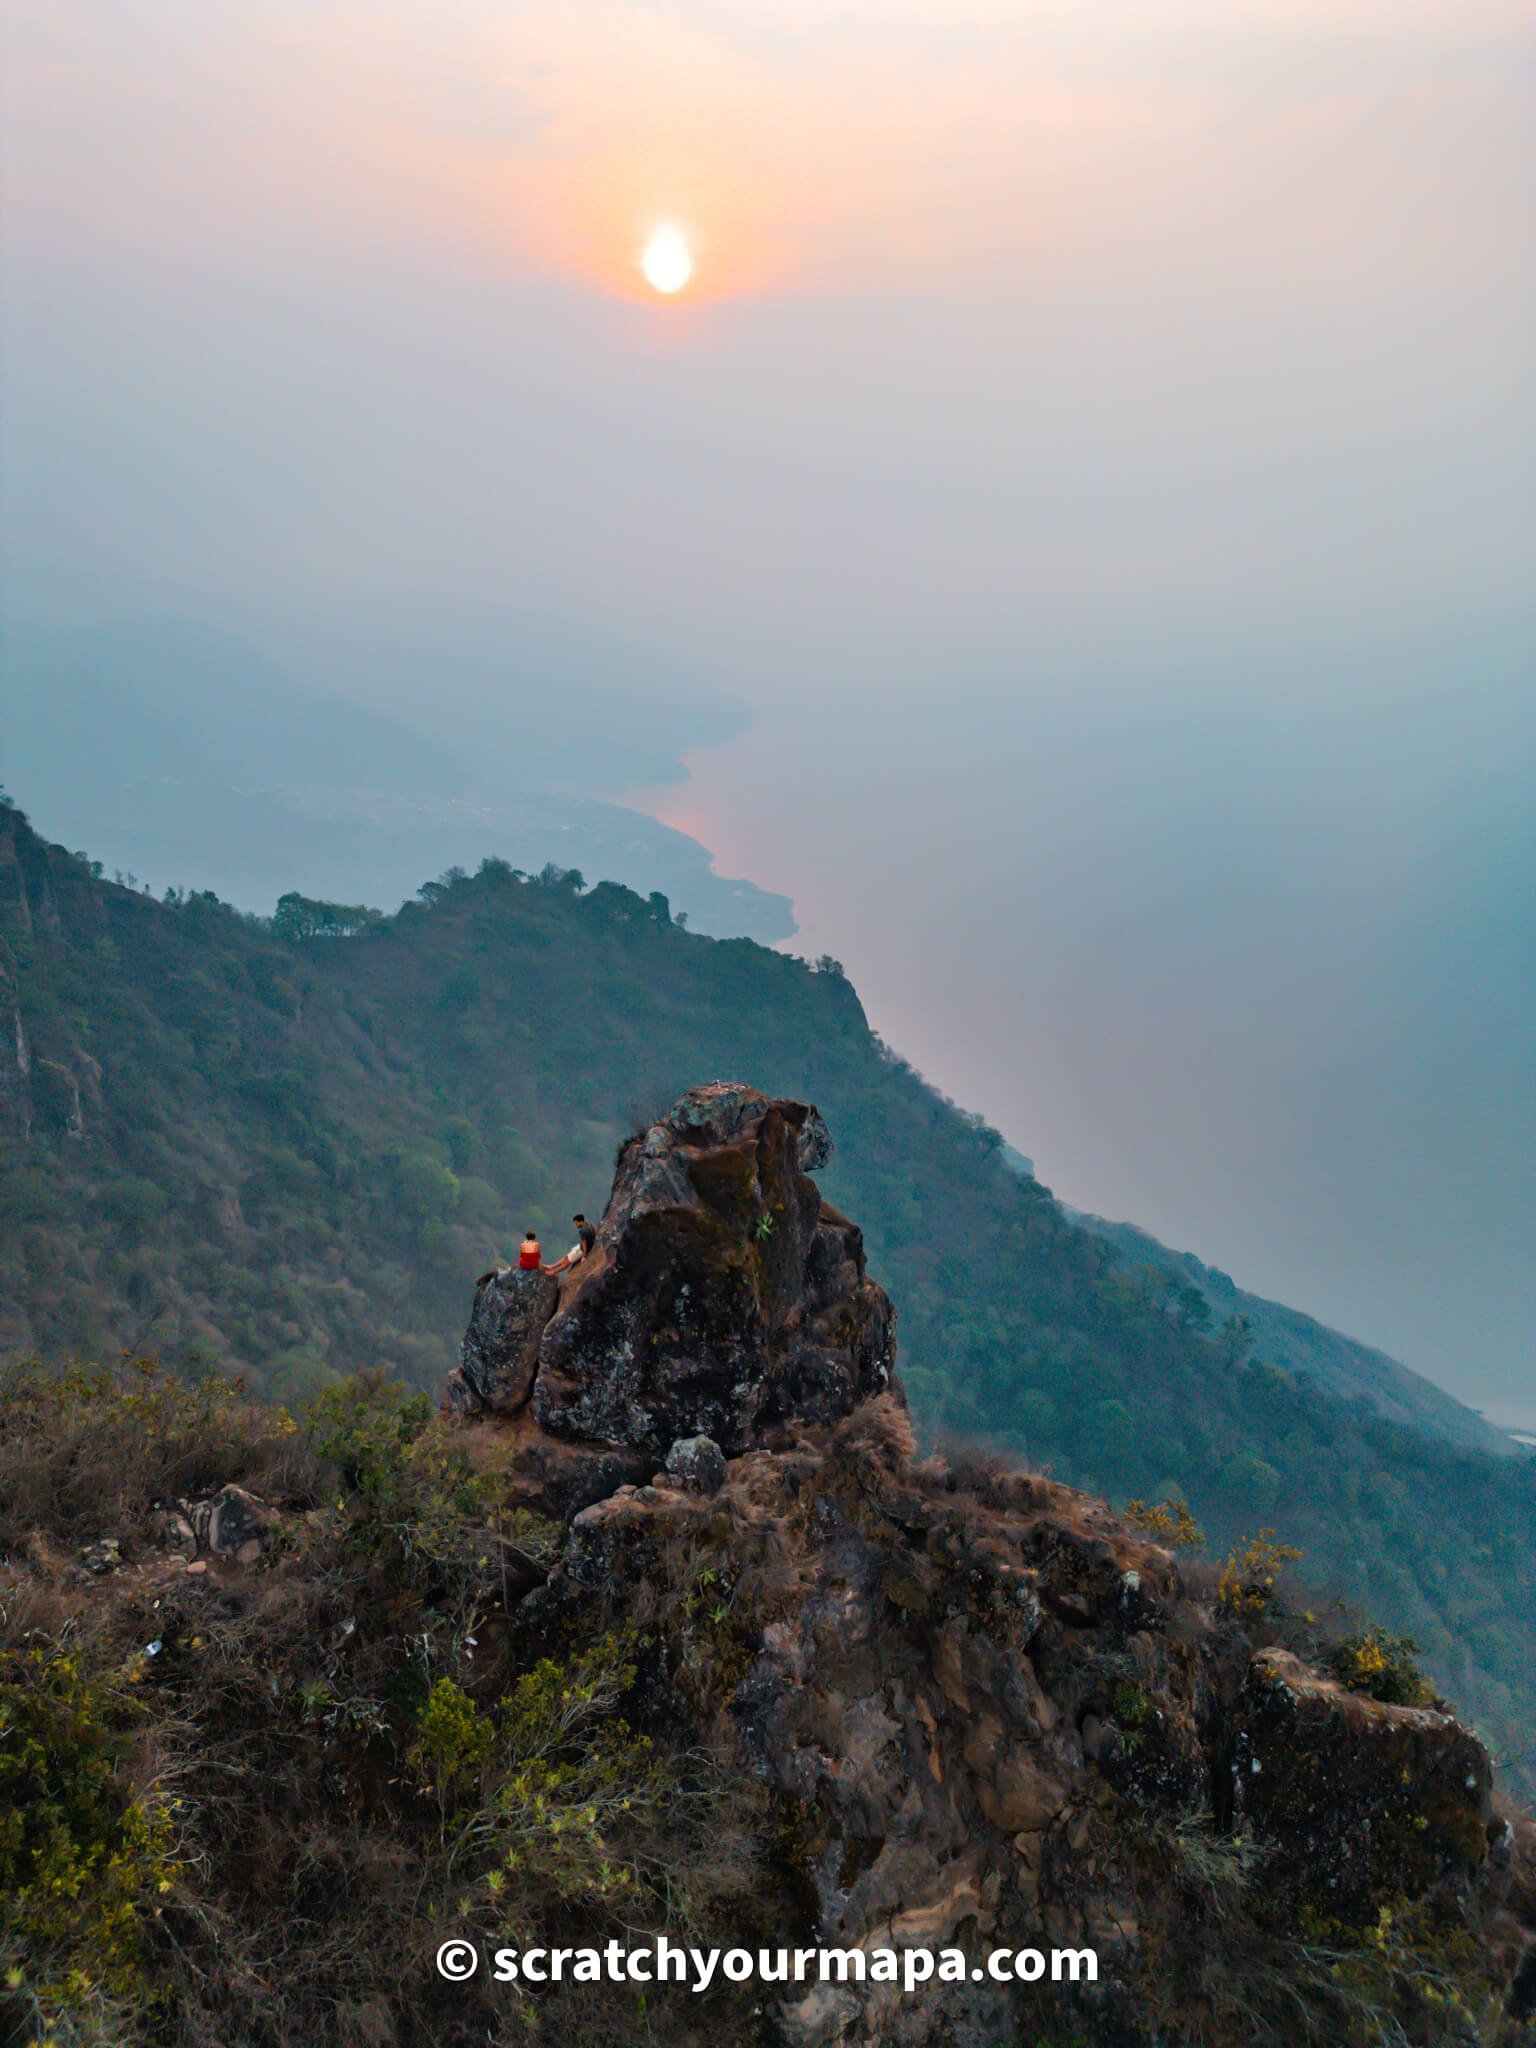
We didn't even make it to the top, because we felt it was too dangerous.
The guy working at Indian Nose, Diego, told us he would have loved to take us, but you need to bring ropes and proper equipment for the tour to be done through him or one of the other guides.
Again, if you want to do Pico del Loro with your Indian Nose hike, then make sure to email us, and we'll get you set up.
🧗🏻 The Hike to Pico del Loro
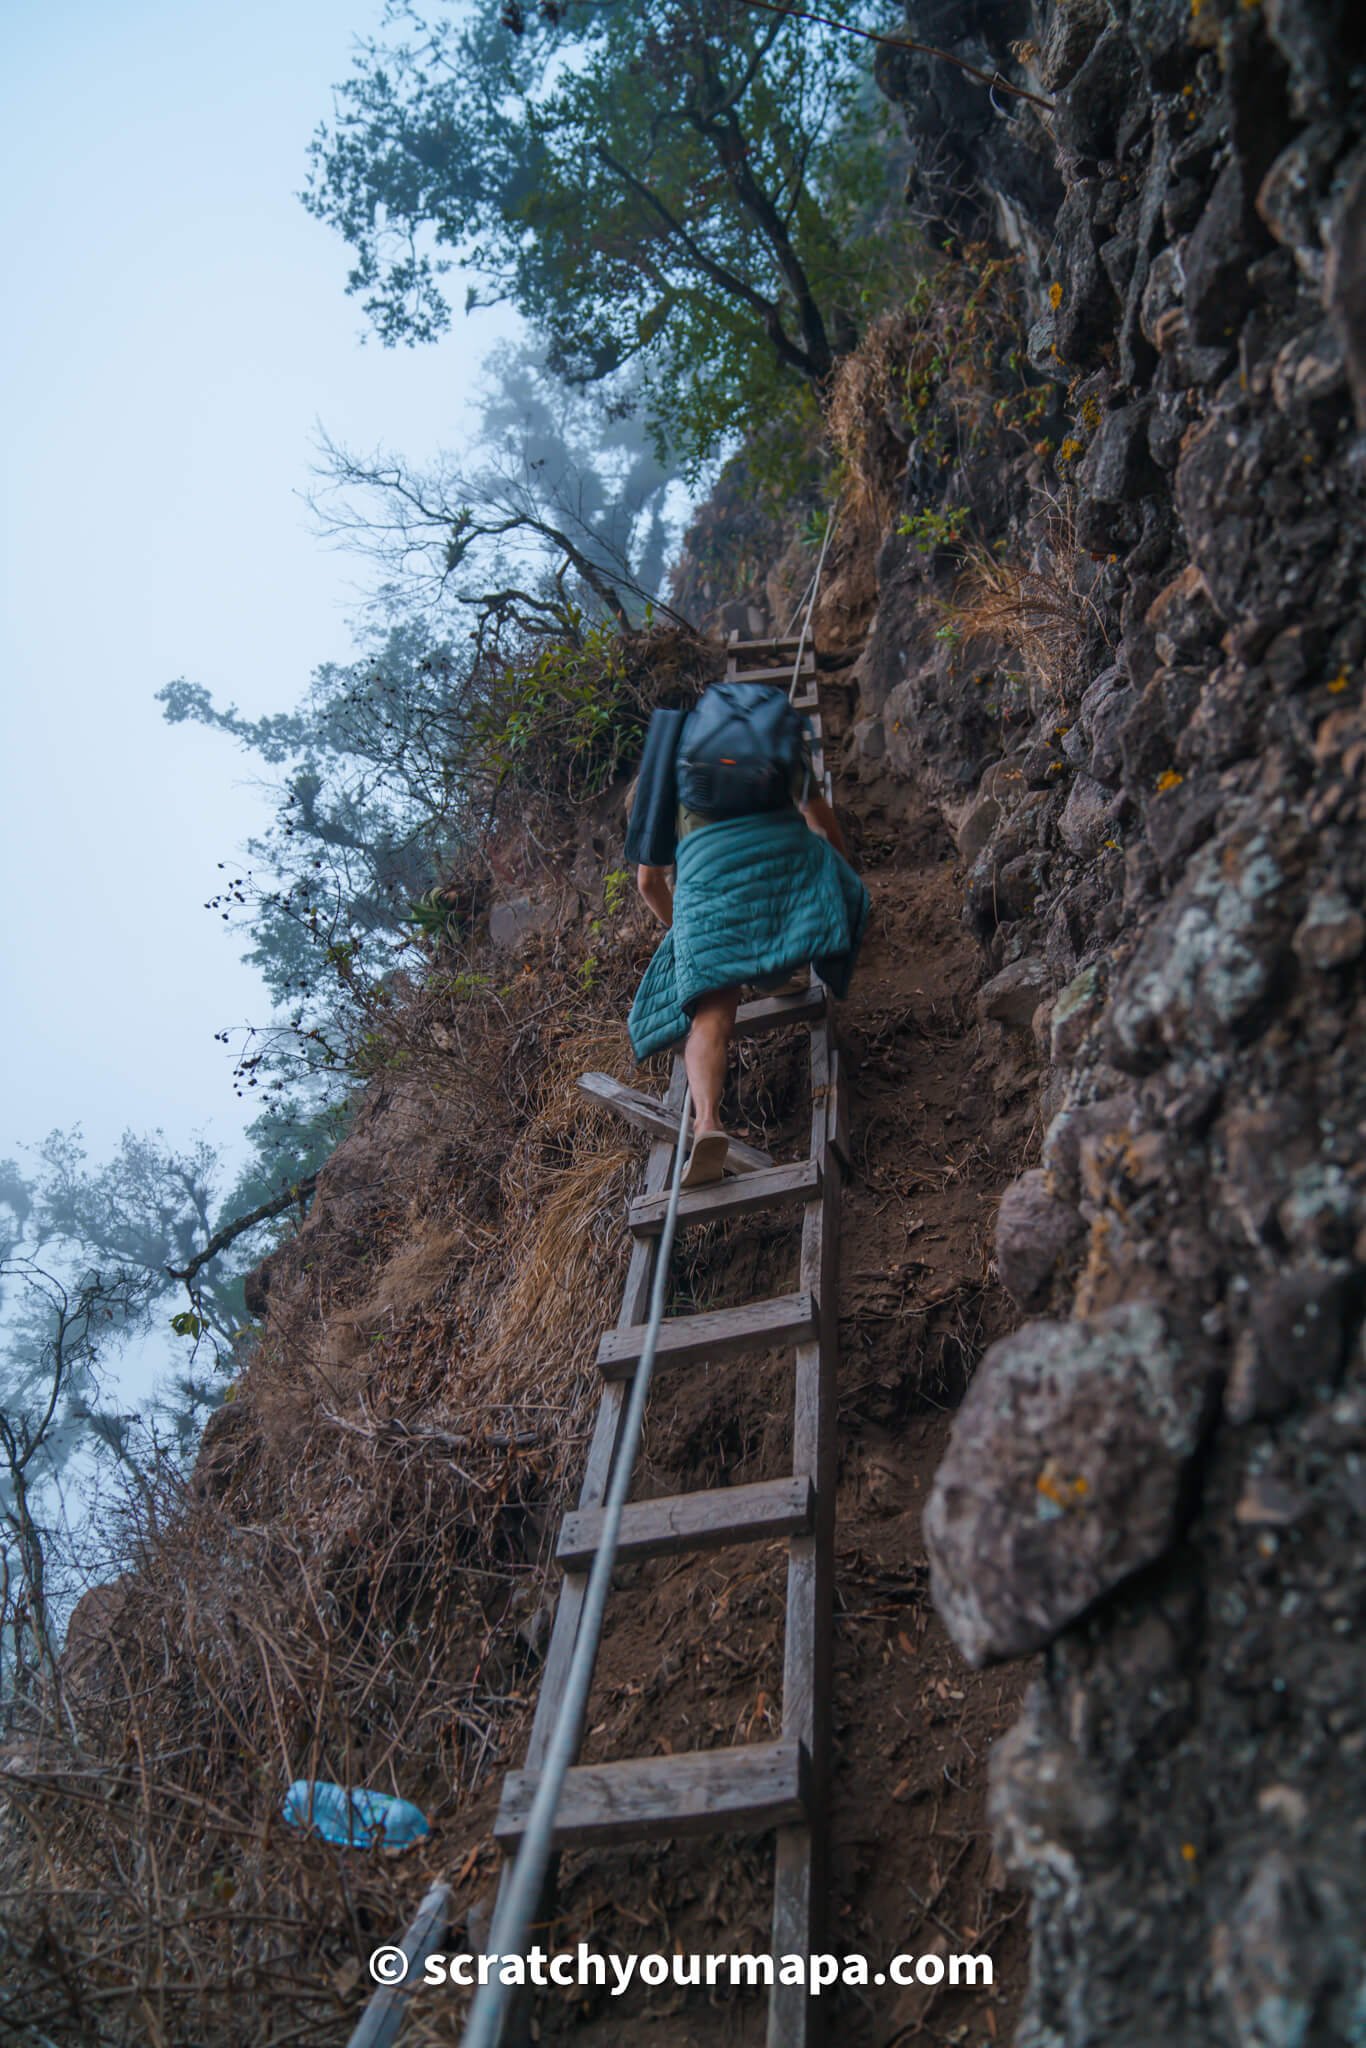
Right where the gate to the trail of the second Indian Nose viewpoint is located, is also another small trail on the left of it. This is the trail to Pico del Loro. It's steep, it has no railings, and it's very narrow.
You'll find a couple of sets of ladders that are nailed into the side of the mountain, and ropes to help you up.
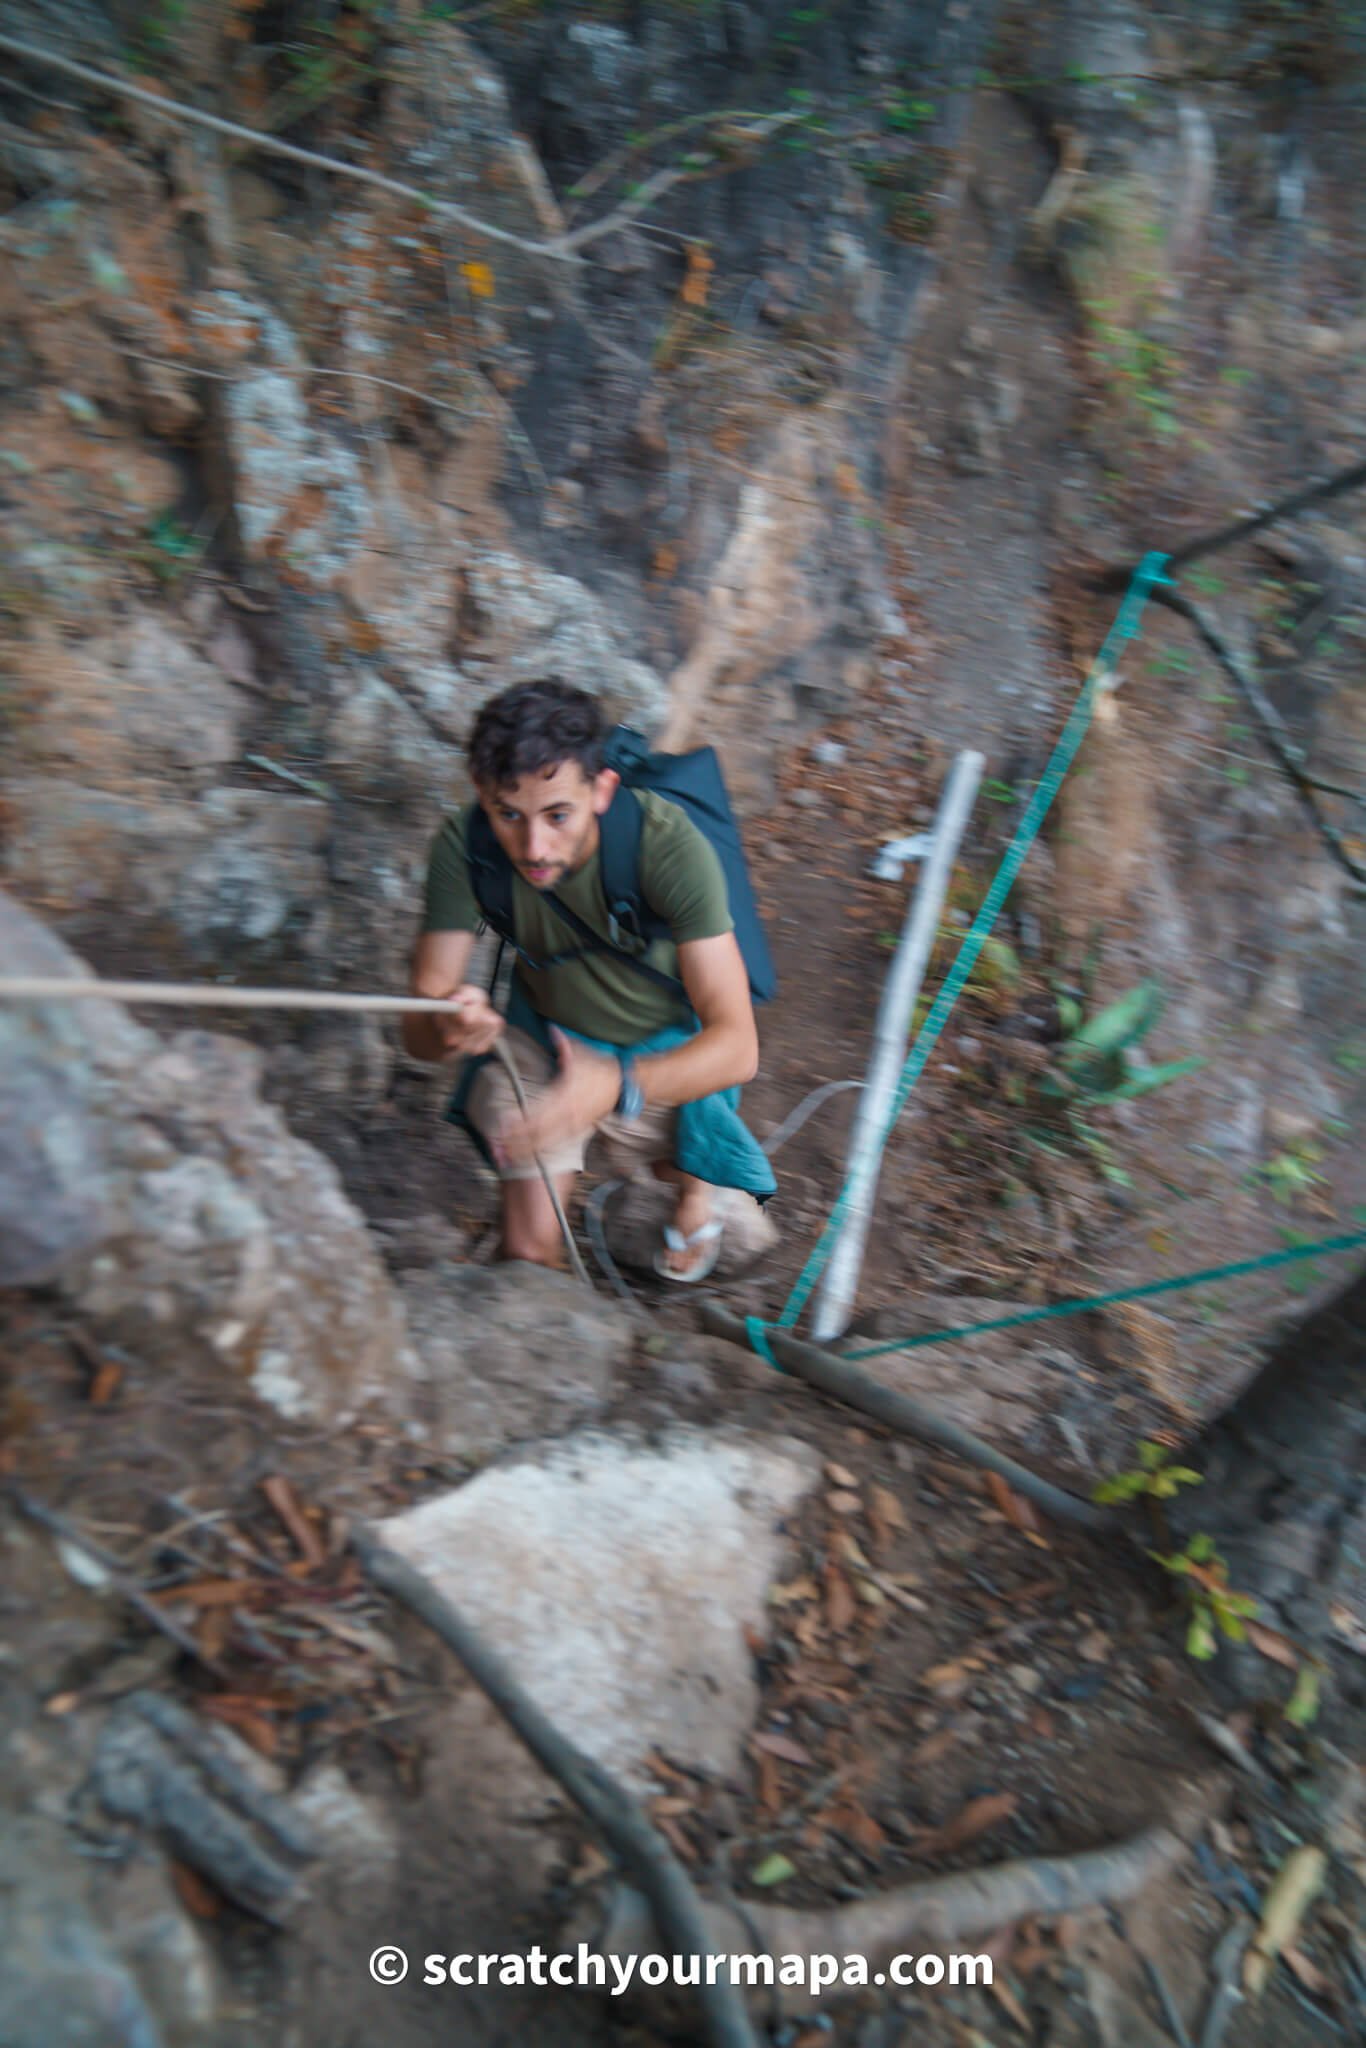
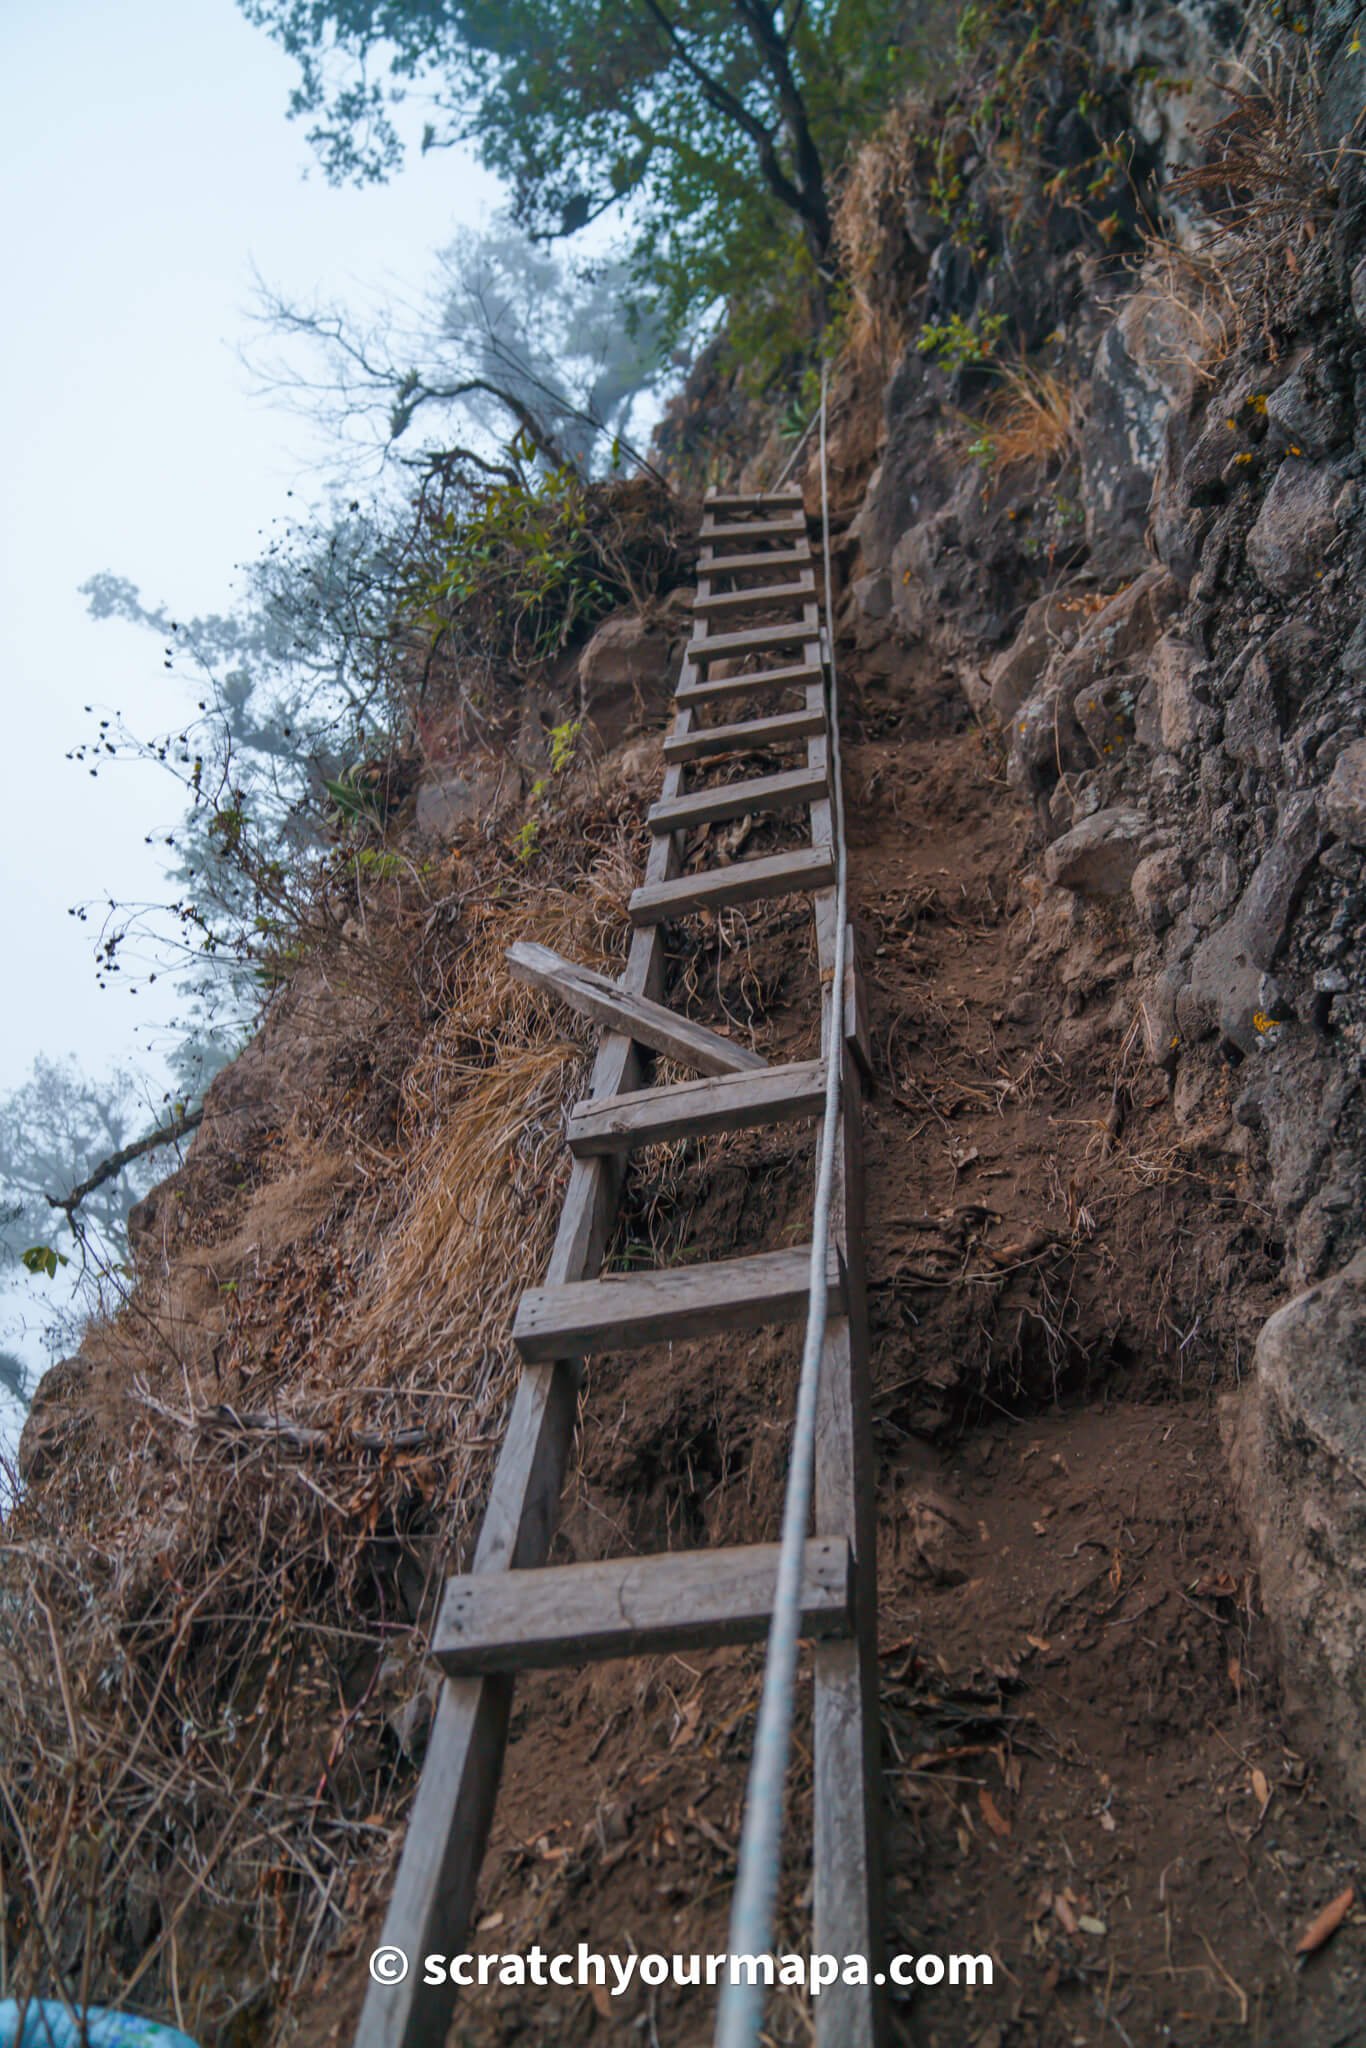
You'll continue along the path and finally see the rock! It's just a few minutes away, but it is at this point you'll start to realize just how scary it is the get up there.
We got down to the rock itself, and climbed up to a smaller rock attached to it. We stopped there and realized just how risky this was, and that getting down would be extremely difficult.
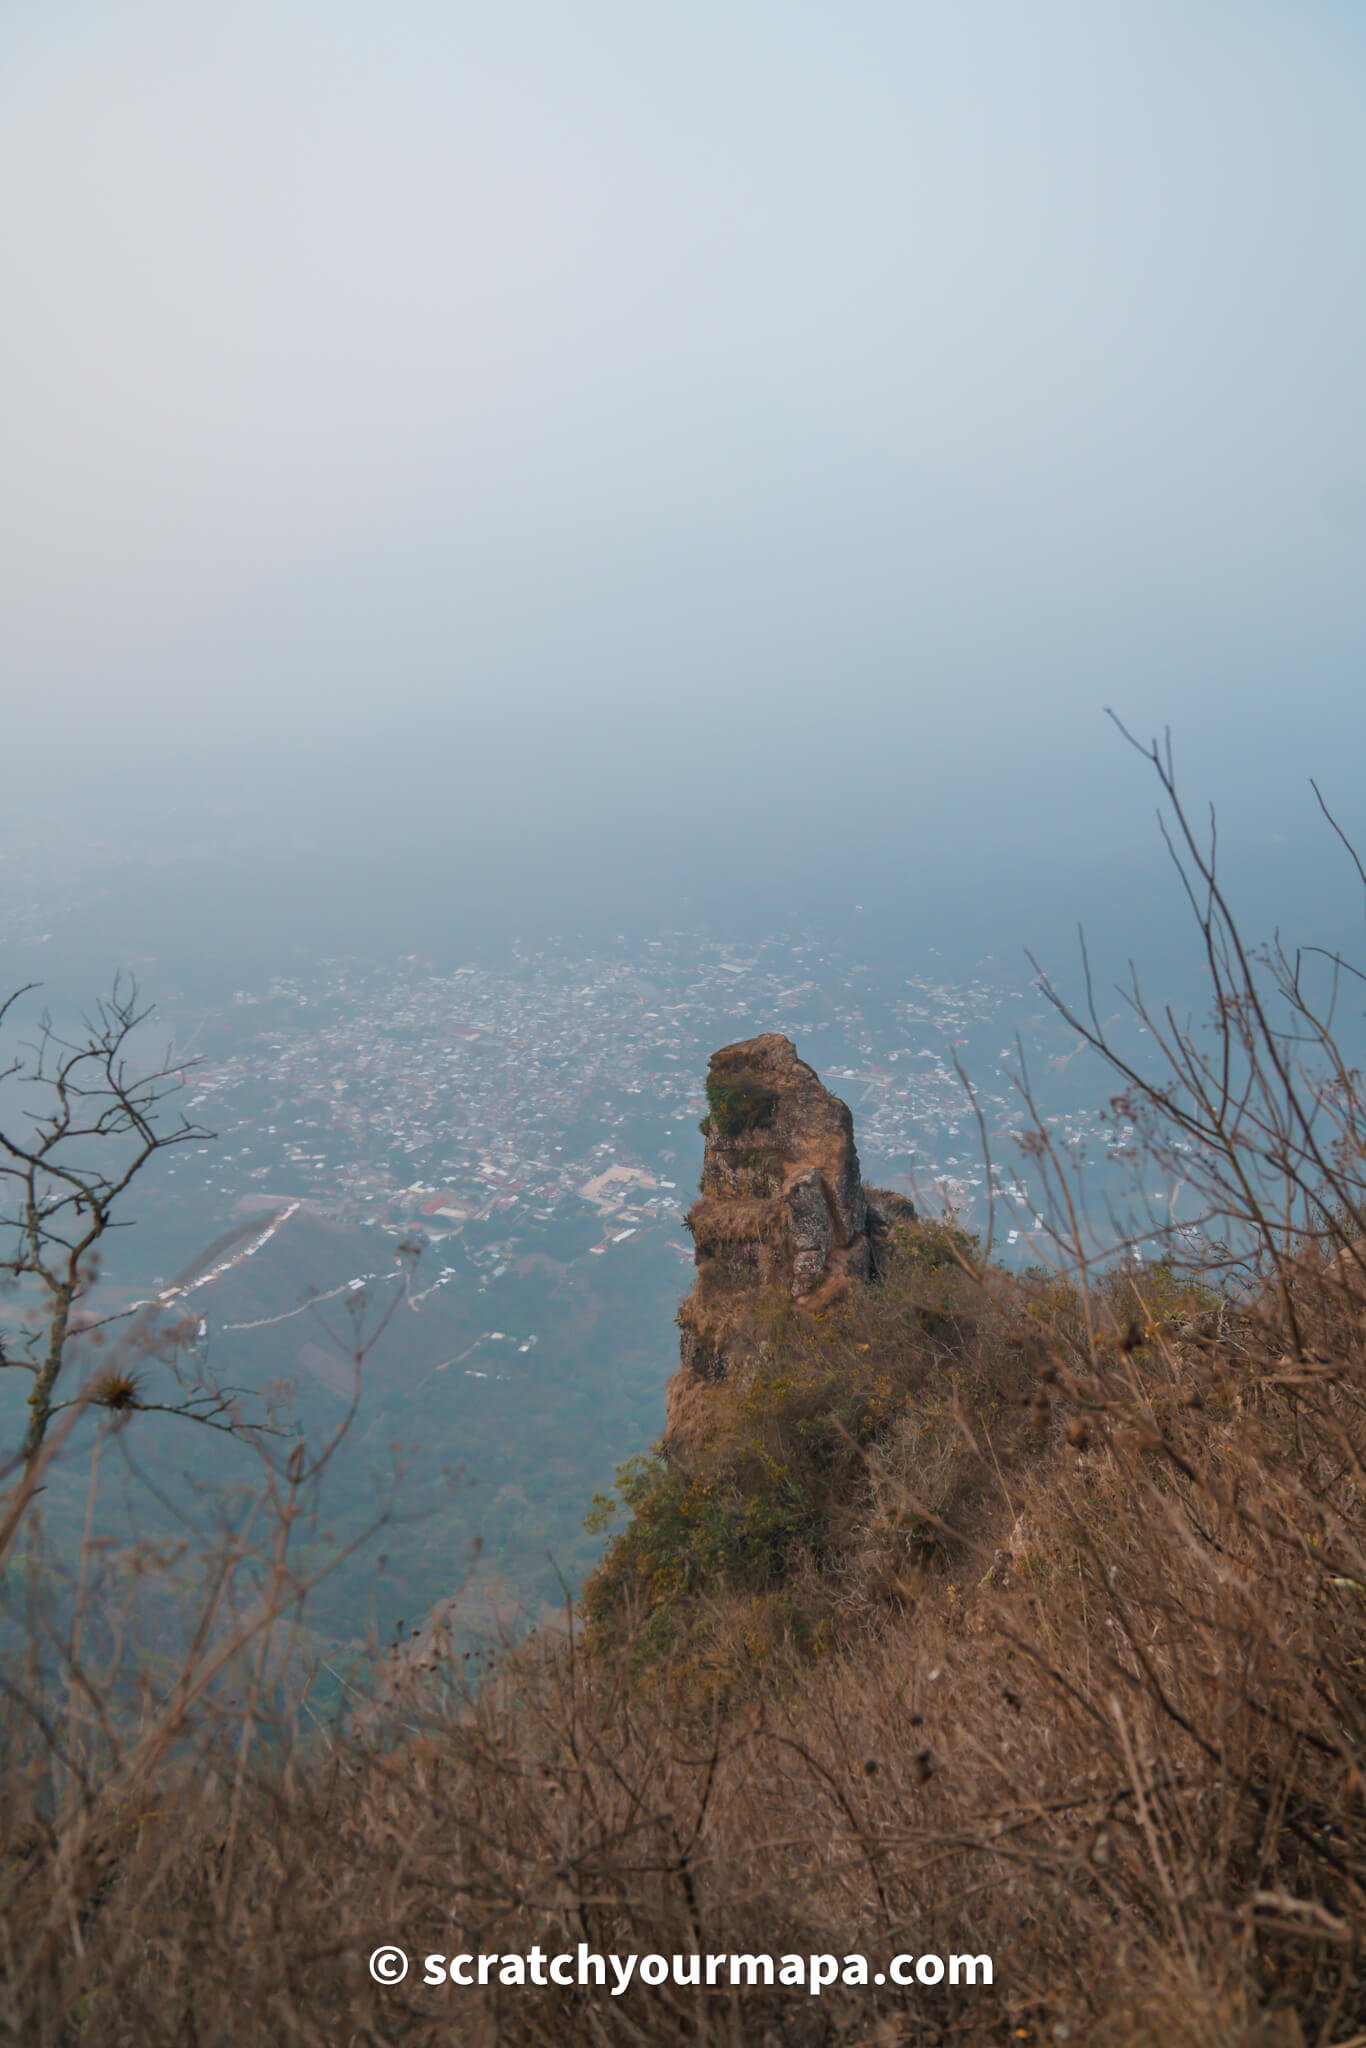
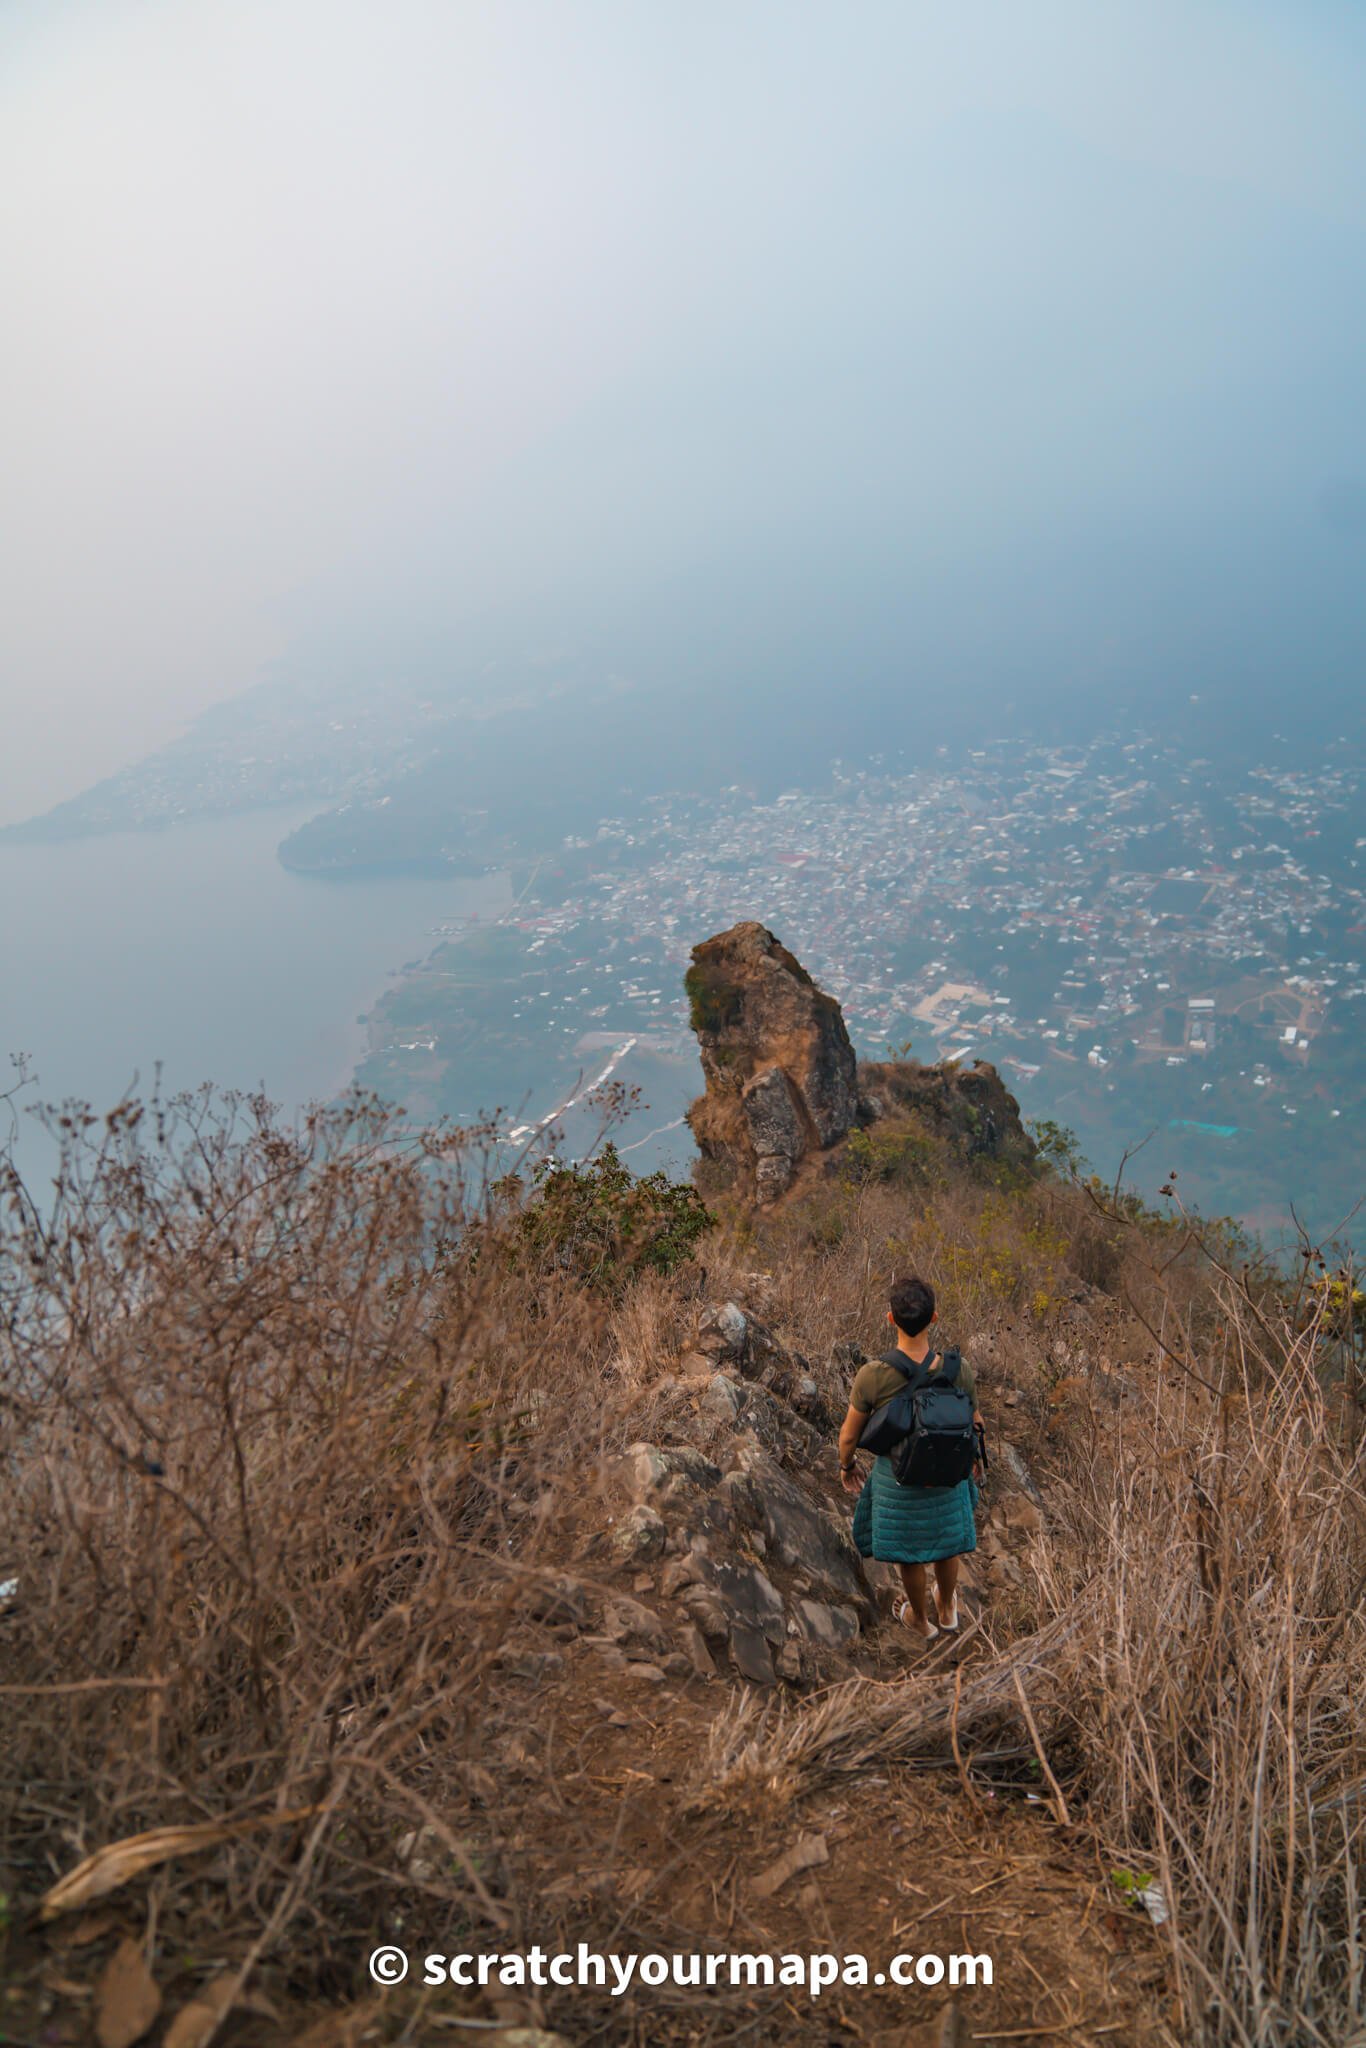
Honestly, we probably could have made it (we were just a few feet away and a short climb to the top), but if god forbid you slip in the slightest, you'd fall right off the cliff and that would be it.
We flew our drone, and you can see from the picture below just how crazy the rock looks. If we had a clear day and got up to the top, it wouldn't been one of the most epic things ever!
But now we know for next time:
1. to go on a clear day
2. to hire a guide a few days in advance.
Again, if you'd like to add this activity to your Indian Nose hike, just email us and we'll get you set up with Diego or another local guide who can safely get you there.
⏳ How Long Does the Indian Nose Hike Take?
For us, the Indian Nose hike took 25 minutes to go up, and about 15-20 minutes to go down.
We go at a relatively faster pace, but the people that work there were even faster, and got up there in under 20 minutes.
We'd say the average person should take 30-35 minutes to hike up, and 20-25 minutes to hike down.
How Long Does the Indian Nose Hike Take to the Second Viewpoint?
The second viewpoint (which needs to be added on) took just a few minutes to walk up to from the first viewpoint.
How Long Does the Pico del Loro Hike Take From Indian Nose?
You can reach the trail to Pico del Loro from either of the Indian Nose viewpoints. This can take anywhere from 10-30 minutes, depending on how much expertise you have in this kind of adventurous hike.
It is quite dangerous and scary, so we'd recommend taking your time, and staying as far from the edge as possible. If you go with a guide, it should take about 15-20 minutes to get there.

Want To Learn How To Get Paid To Travel?
We'll teach you everything you need.
Amenities at Indian Nose, Lake Atitlan
At the Indian Nose viewpoint it is a pretty basic setup (for the first viewpoint). There is a seating area, toilet, and platform for going up and taking pictures.
If you take a tour, you'll recieve a cup of hot chocolate, but there is no food or drink for sale apart from that, so you may want to bring a snack if you're going on your own and would like to stay a while.

The second viewpoint (that was not open when we went) has a lot more seating, and it seems like they also have some drinks and food offered, but you'll have to inquire about that if it's in fact open.
Price & Timetable for Indian Nose
Now that you know all of the details for what the Indian Nose hike looks like, we're going to break down the prices and times for visiting.
💵 How Much Does it Cost to Hike the Indian Nose at Sunrise?
The Indian Nose hike can be done on your own, or with a tour.
We decided to go on our own, but honestly it didn't save us much money really in the long run.
As this tour is most popular during sunrise, it is actually the only time you'll find anyone charging for the hike. We arrived at 4:30 am, which was the exact time that the people that work there arrived.
We had to pay 60 Quetzales, which was in cash once we arrived at the top. It seems really unofficial, but this is because it is private property and they don't want the government being involved in the operation.
🕘 Opening Times for Indian Nose
You can do the Indian Nose hike 24 hours a day, 7 days a week. The only time we have heard of people being there to monitor the place and charge though, is at sunrise.
🗣 Indian Nose Hike Tours
Indian Nose hike tours are a bit pricier than going on your own, but they include transportation, as well as a cup of hot cocoa, coffee, or tea at the top as a group.
How To Travel Cheaper and Better in 15 minutes!
How much more would you travel, if it costed you less resources?
With our Free eBook, you will learn how to save money and time on your future trips. Plus, you'll see the exact system we use.
Grab your copy for free when you sign up for our newsletter 👇

Safety for the Indian Nose Hike in Guatemala
The Indian Nose hike is very easy and safe for people of all ages. It will be dark though if you go for sunrise, so make sure to use a flashlight and watch your step.
Pico del Loro is very dangerous if you go on your own, so we really insist on booking a tour for this one. That way, you can have the proper equipment and guidance to hike there safely.
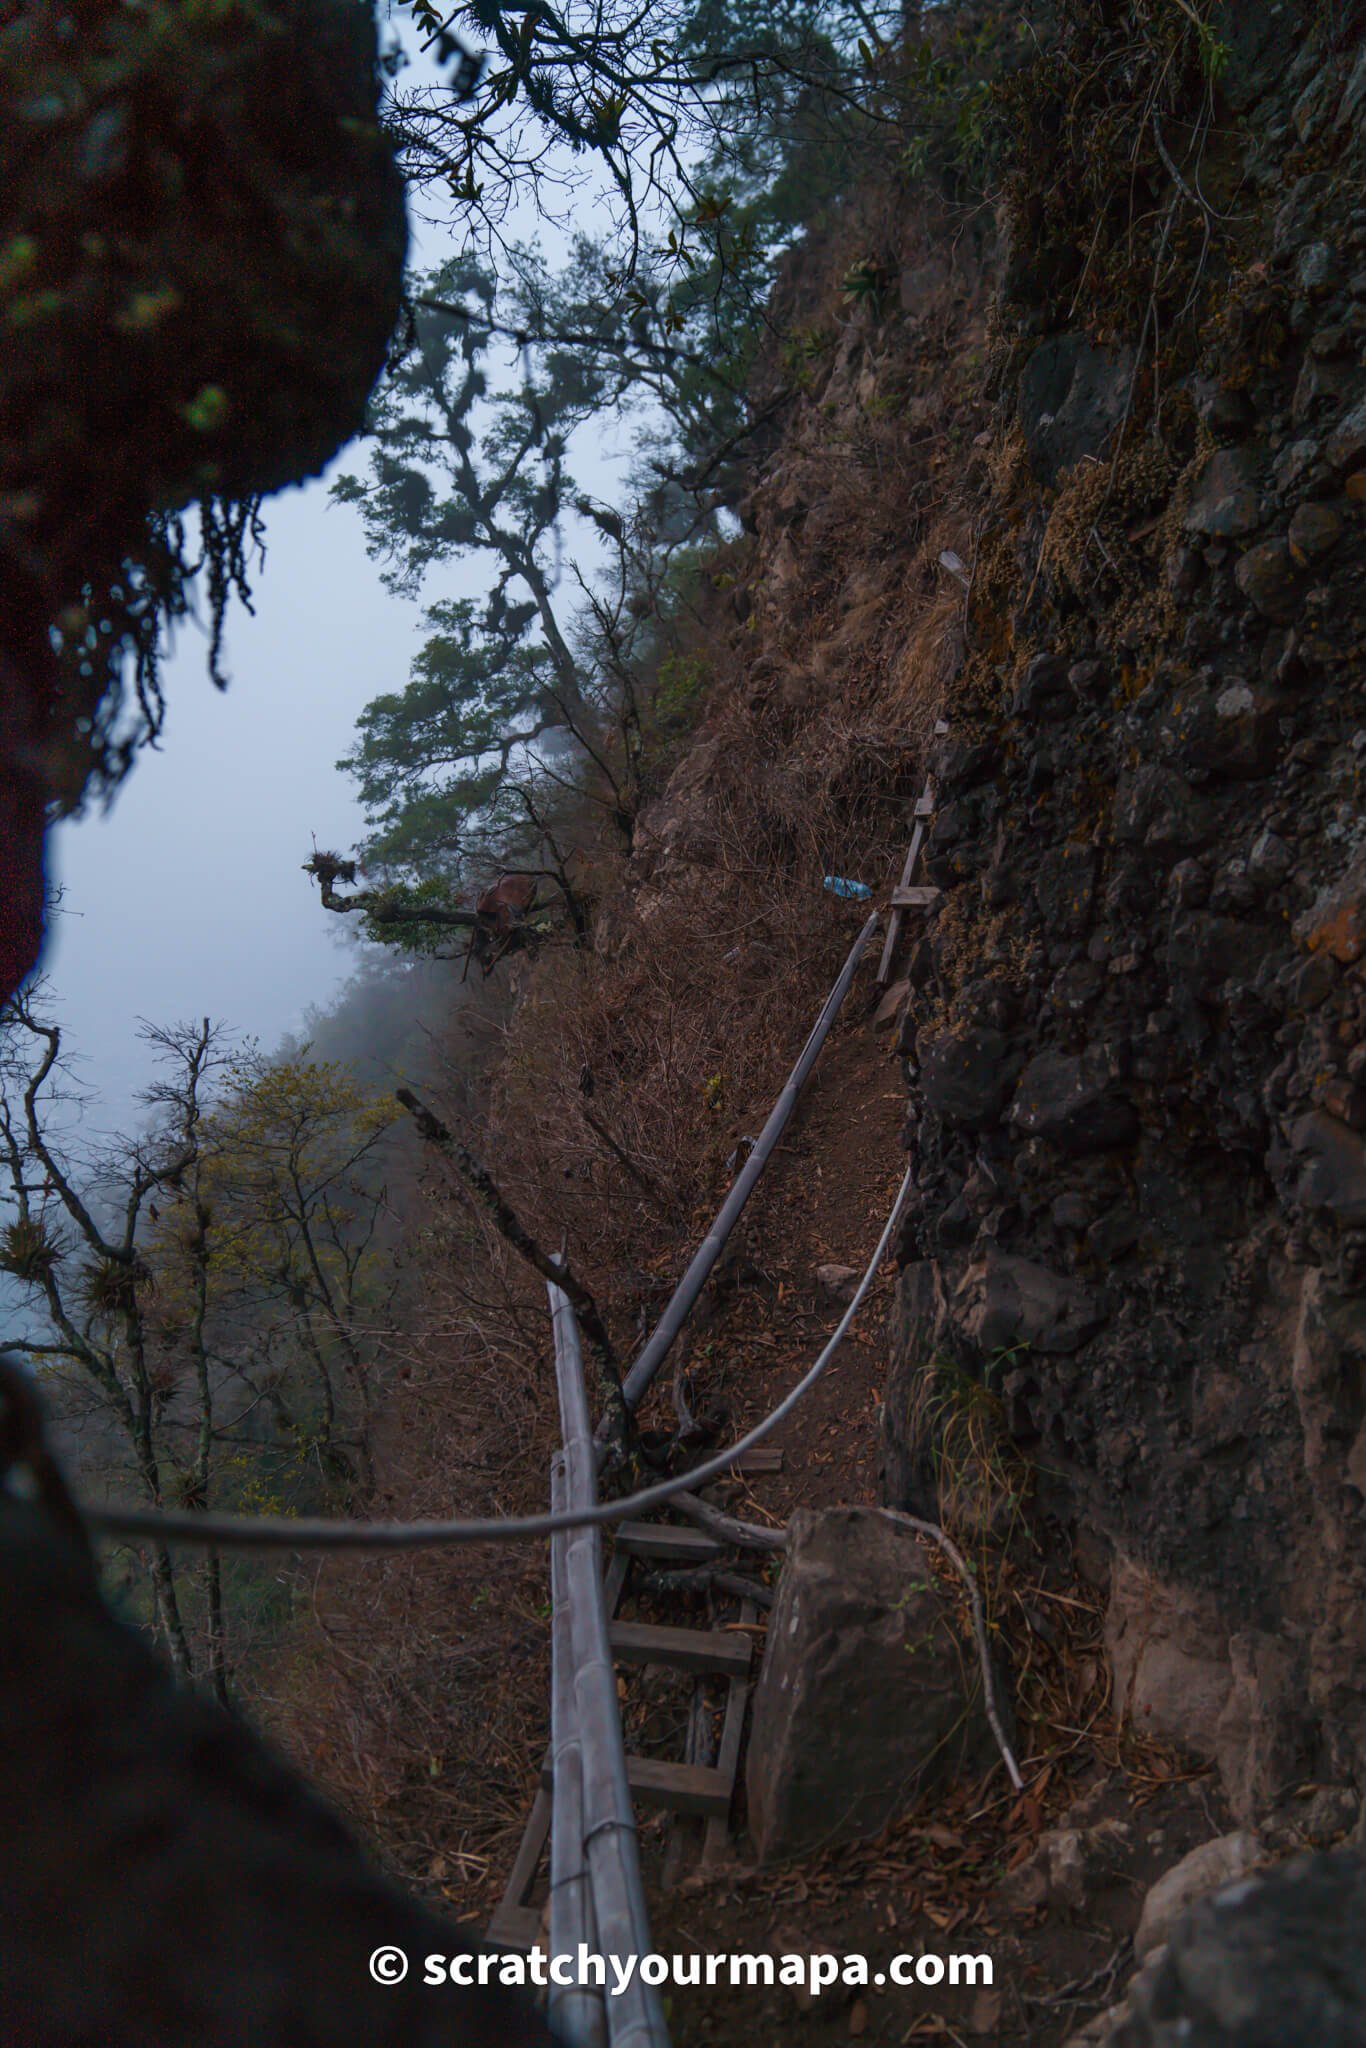
Pico del Loro is dangerous if you do it on your own.

Transform your photos
One click is all it takes to make your photos look stunning. Get our latest package of Lightroom presets, Into The Wild.
Other Things to Know for the Indian Nose Hike
Now that you know what the Indian Nose hike looks like, we're going to share some last tips and tid bits of information for you to plan properly.
🌅 When is the Best Time to Do the Indian Nose Hike?
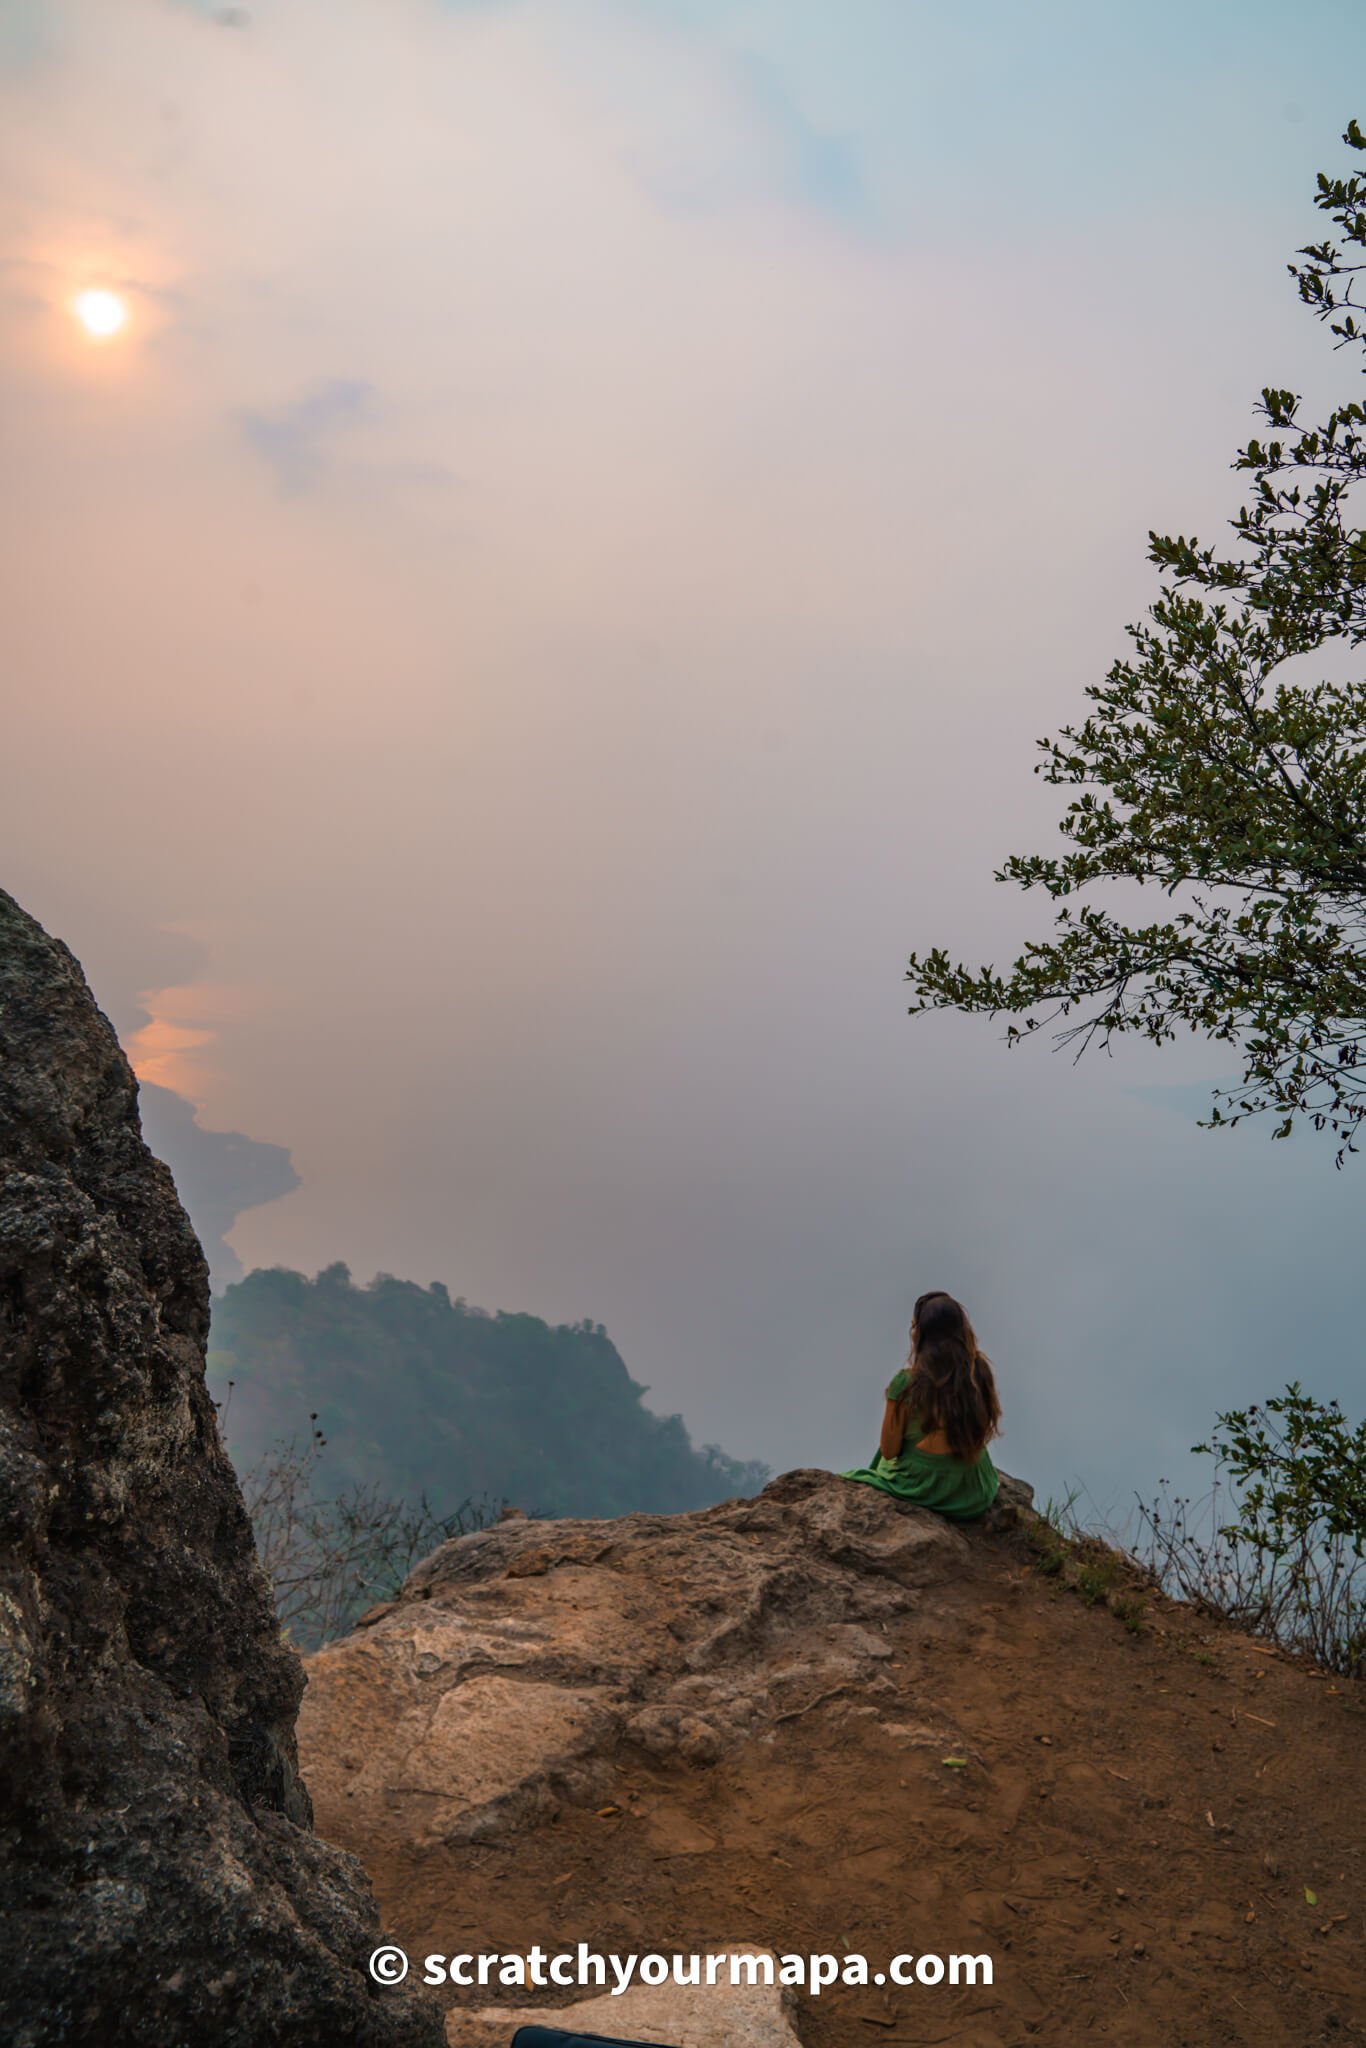
The best time to do the Indian Nose Hike is for sunrise, as it's the most beautiful time to experience this incredible view.
Not only is sunrise good for the colors in the sky and soft lighting, but it is also the best time to do the Indian Nose hike because of the visibility.
In the afternoons the clouds tend to settle more, and the visibility is typically worse than in the mornings.
📆 When is the Best Time of Year to Do the Indian Nose Hike?
The best time of year to do the Indian Nose hike is from the late fall to early spring. This is when the area is the driest, and you have the best chances of having a clear day.
We were recommended to visit Atitlan in November by a local, as this month is known for having the best sunrises and sunsets.
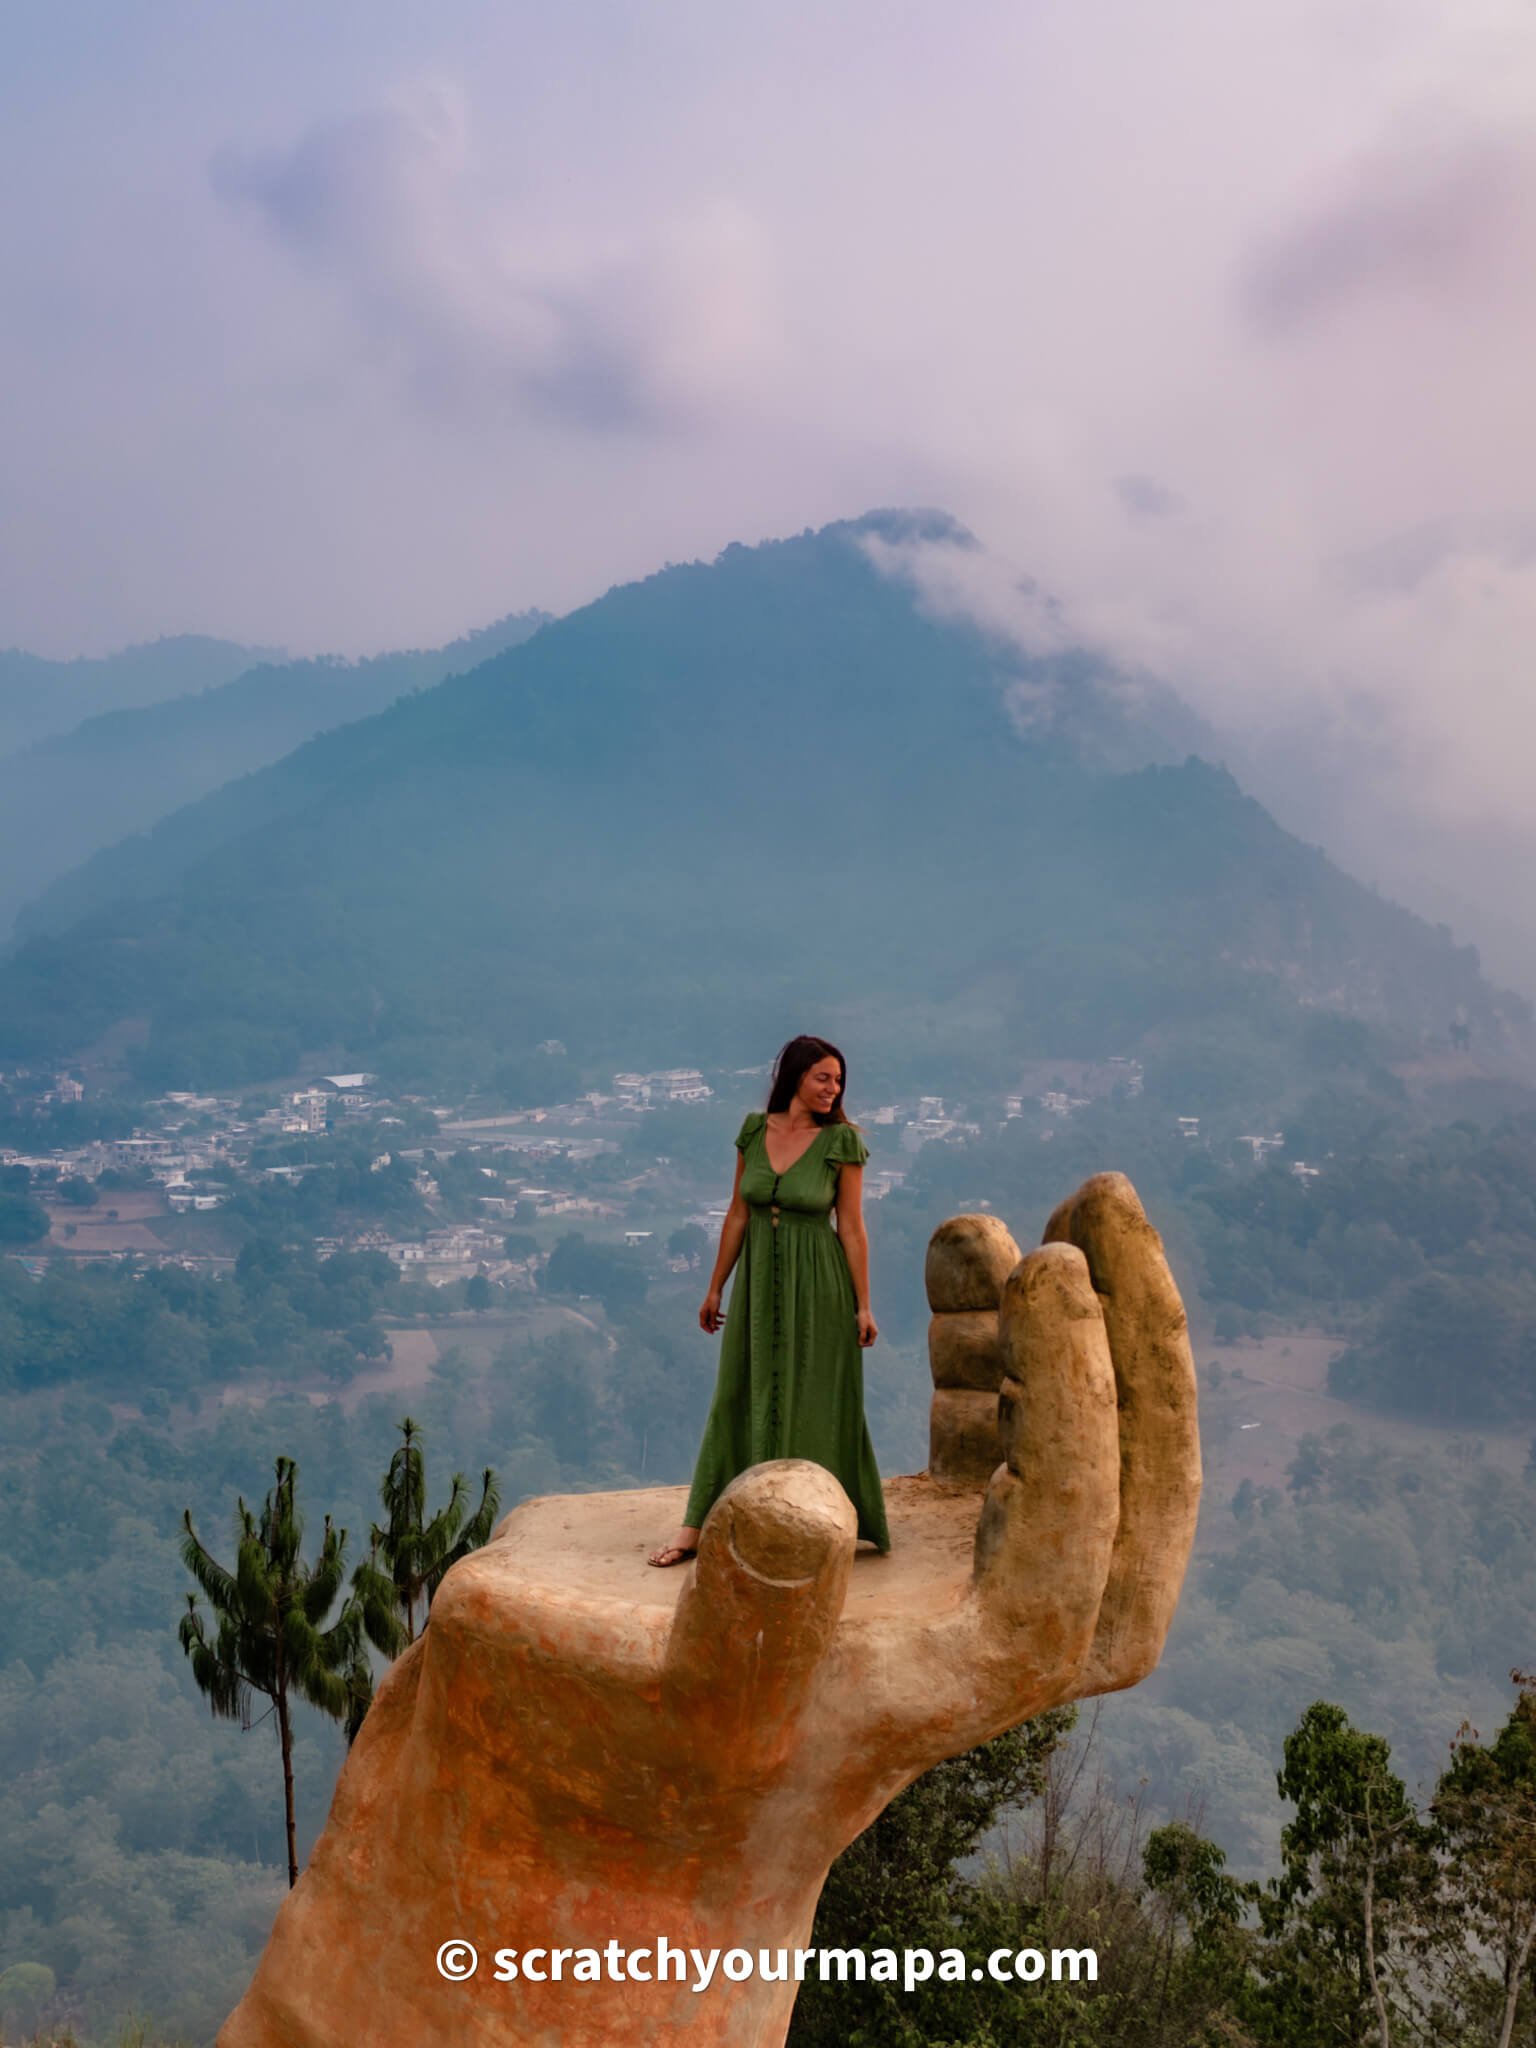
For the best visibility, go during the dry season.
👗 What to Wear for the Indian Nose Hike
Being that it is relatively short hike, you really can dress however makes you feel comfortable.
It was a bit chilly in the morning, so we did wear light jackets, but quickly took them off from our bodies heating up due to the intense incline.
Sneakers are of course recommended for any kind of hike, but since our sneakers were wet from our Santiaguito hike the day before, we had to hike in flip flops. Some people thought we were crazy, but it was totally doable.
If you decide to also hike to Pico del Loro, then that's another story. For that hike, you'll absolutely need sneakers with a good grip, and we'd actually recommend the Barefoot sneakers, since they are the safest thing to wear.
🎒 Indian Nose Hike Checklist:
- Flashlight
- Sneakers (especially for Pico del Loro - the best are Barefoot sneakers)
- Light jacket or sweater
- Camera (we use the Sony A7Riii)
- Drone for great aerial shots (We use the DJI Mavic Mini 4 Pro)
- Reusable Water Bottle (we use this water bottle from Cafago because it holds the temperature)
- Power Bank (we use Anker power banks as they are super long lasting and durable)
- Cash to pay for entrance
- Snack if you don't do the tour
🤔 Is the Indian Nose Hike Worth it?
If there is good visibility, Indian Nose hike is definitely worth it!
The views are spectacular, and it truly is one of the most stunning vistas you'll encounter in Guatemala.
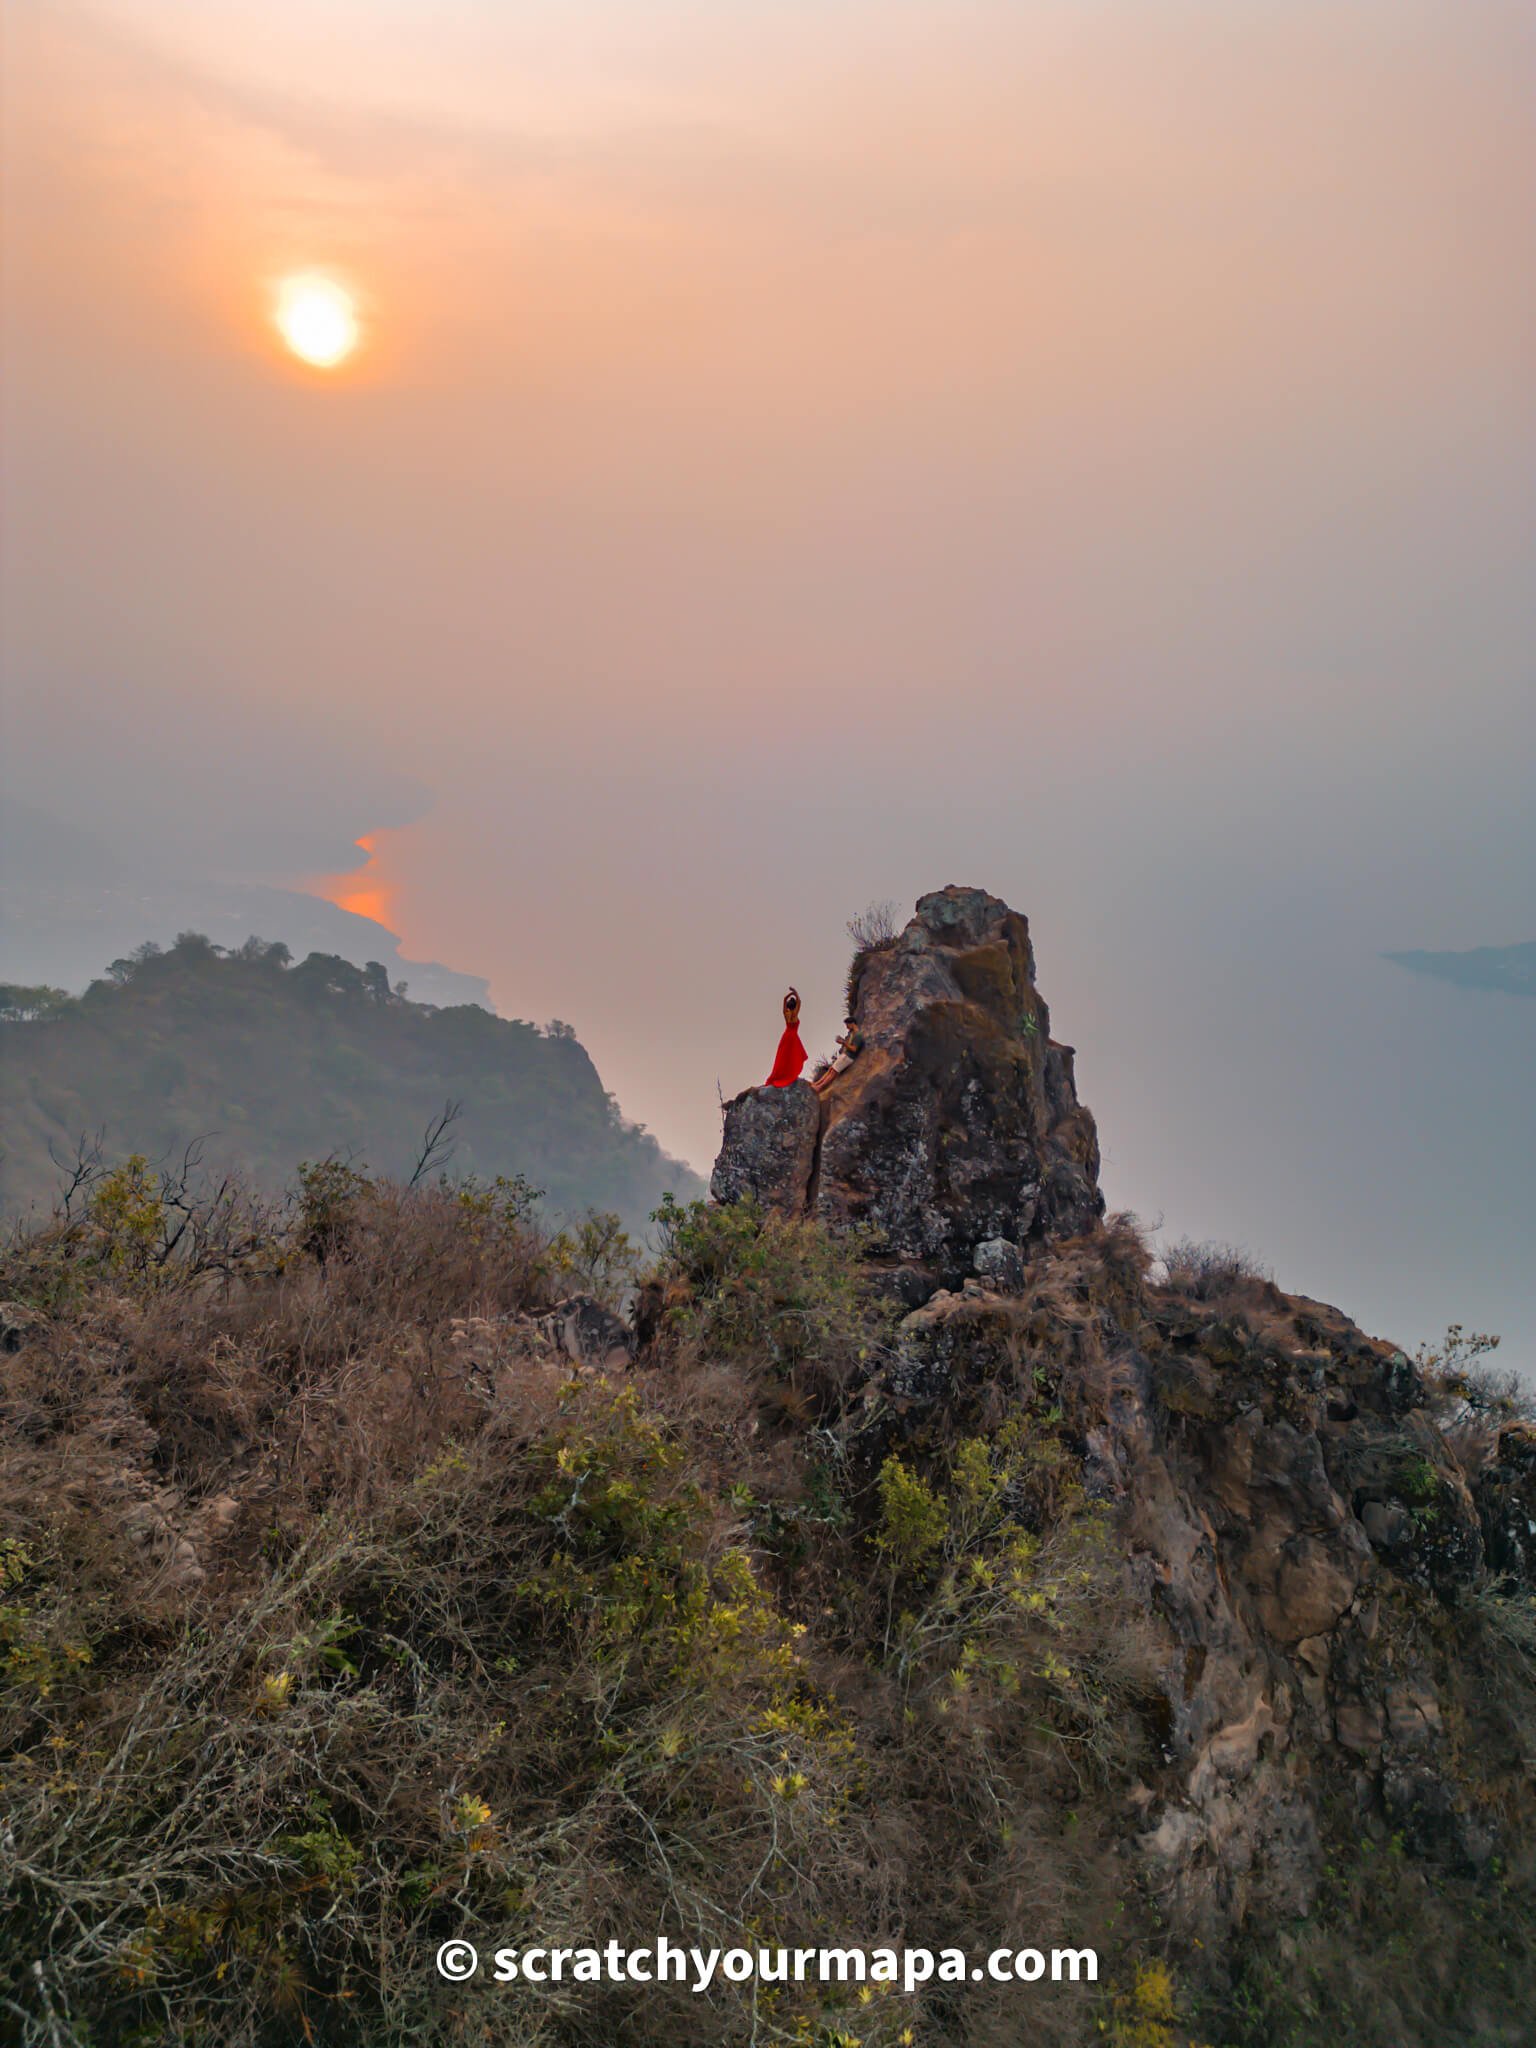
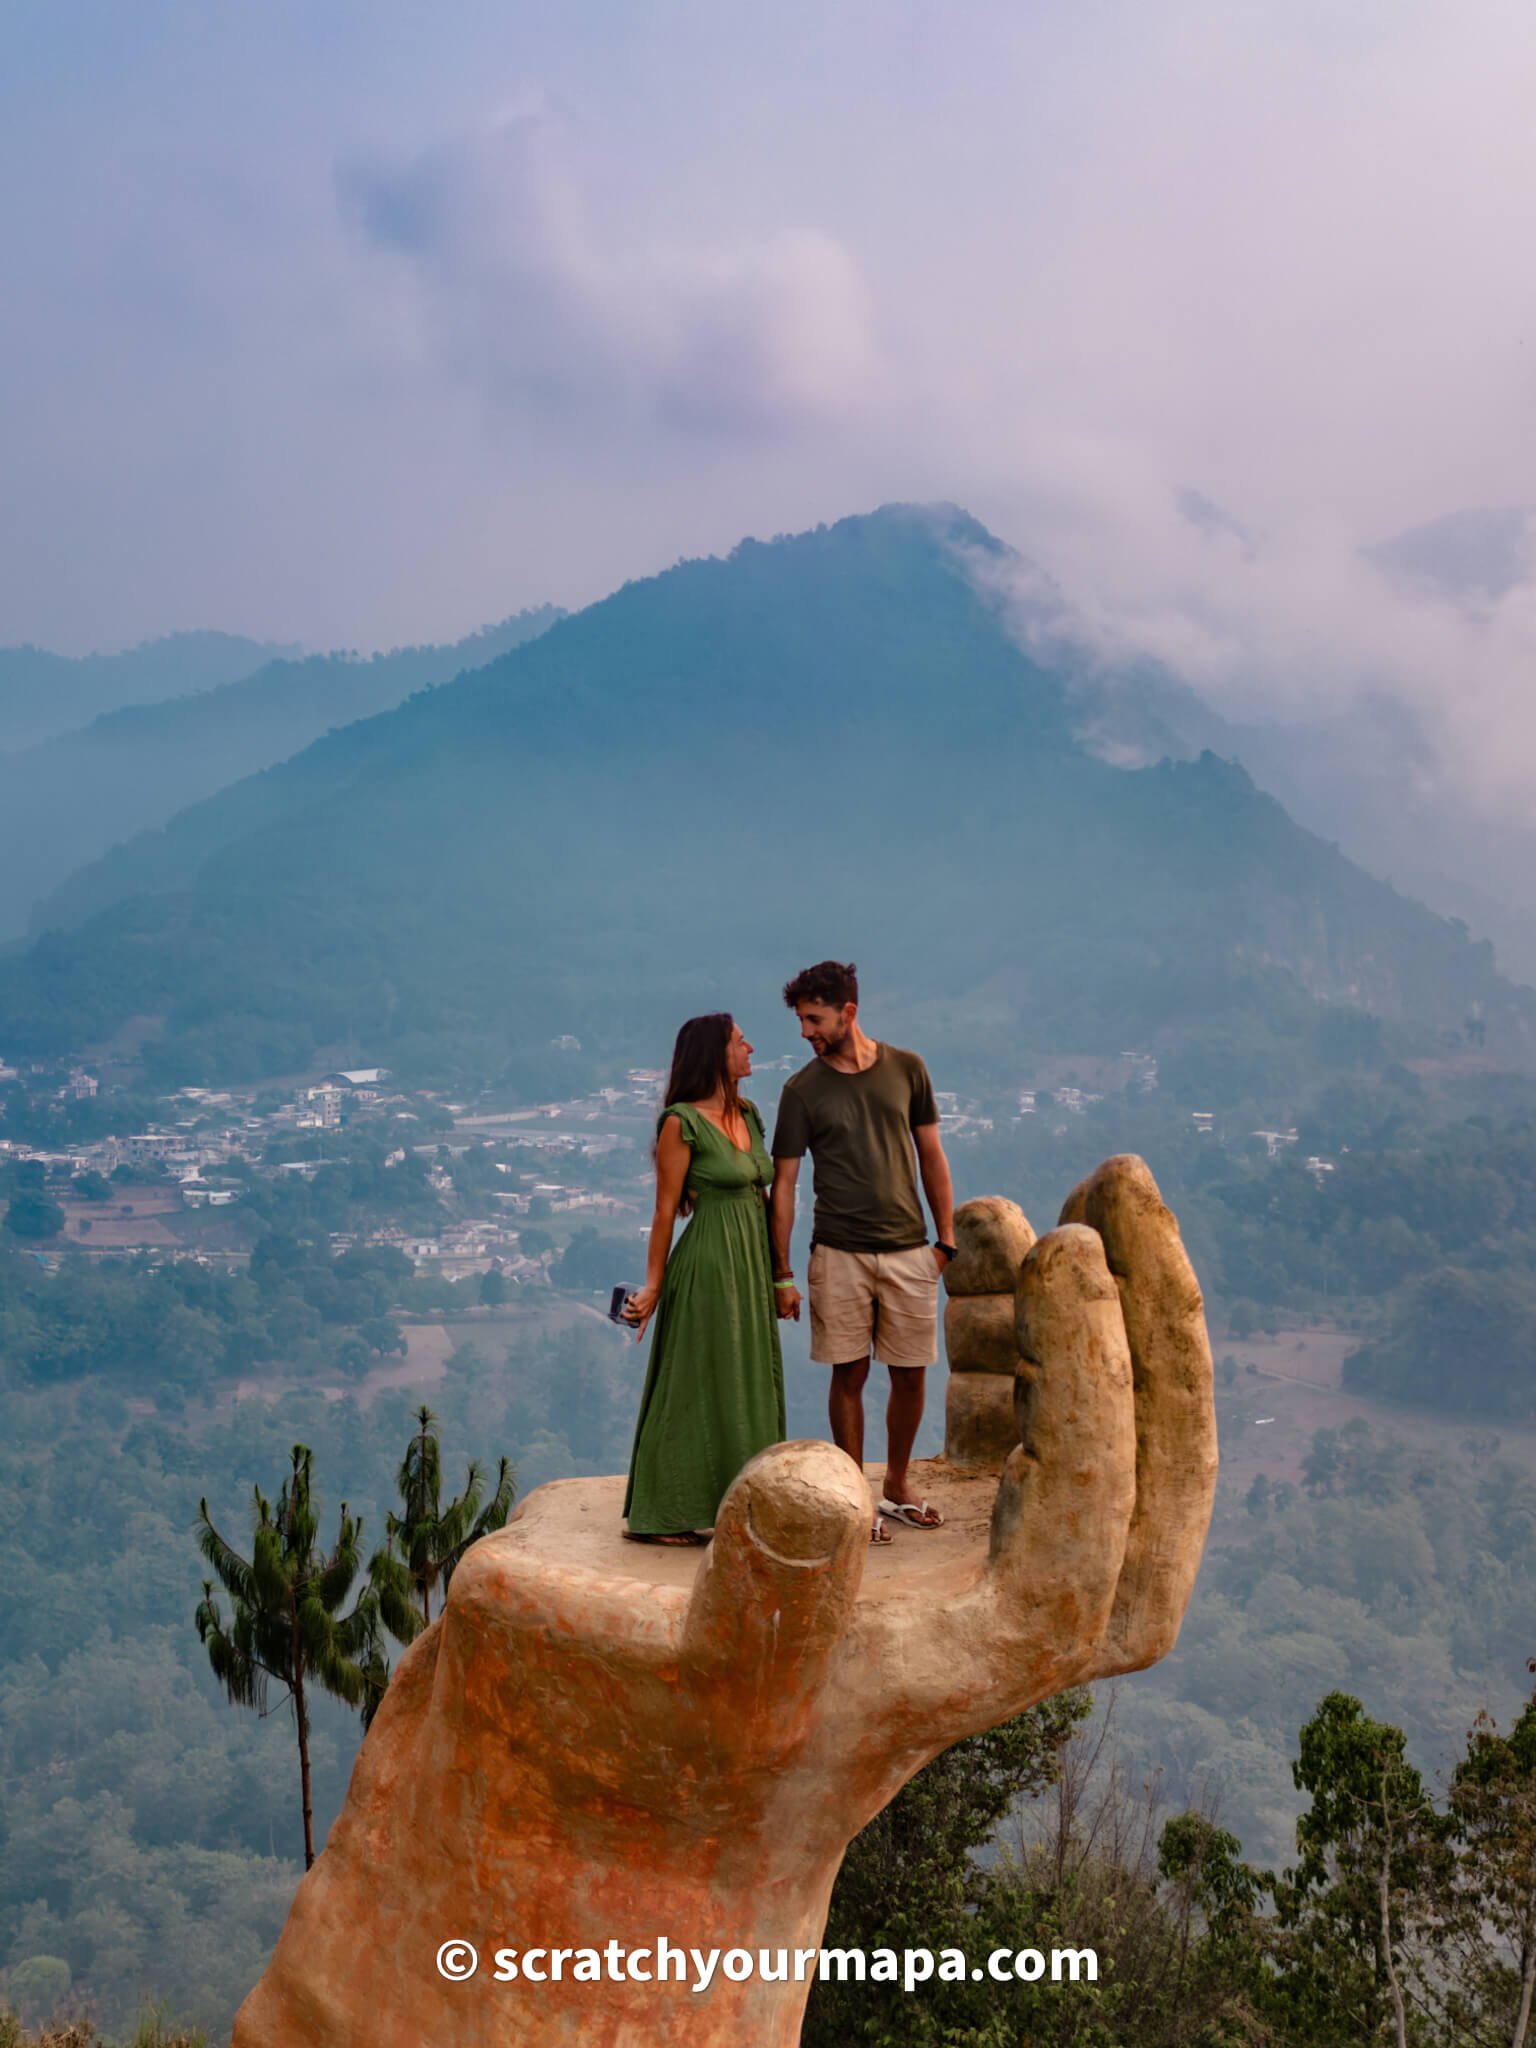
Indian Nose and Pico del Loro are both definitely worth the hike!
Tips for the Indian Nose Hike at Lake Atitlan
Don't forget a drone for some really cool perspectives!
Travel Planning Tools
Here are some useful tools that you can use for planning your upcoming trip!
So are you ready to experience one of the best views in Guatemala? Indian Nose hike is one of the best activities at Lake Atitlan, and definitely a place worth waking up early for.
Want to read about more fun things to do in Guatemala? Well, we have a ton of adventure-packed Guatemala travel guides coming up, so make sure to subscribe to our newsletter so that you can stay up-to-date with our newest articles, as well as get exclusive content and discounts on our products and services.
Looking to build your Guatemala itinerary? We can help! Scratch Your Mapa offers top-notch travel planning services, making sure to save you both time and money. Rather travel with a group? We also have some fun group trips to Guatemala coming up!

Here are some other articles you'll love:
Like this article? Please share it with your family and friends, so that we can continue to keep creating free travel guides for you! It takes just a second, and would mean the world to us. Thanks for being here!


